Hello, everybody, In this article, I will show you guys the 5 Best Zoom Techniques In Davinci Resolve of video or images.
Particularly for photos, if you were to leave a static image on the screen for a youtube video, that will generally look really boring. To give the illusion of movement, you can have DaVinci resolve Zoom in and out of those images.
5 Best Zoom Techniques In Davinci Resolve
1. Using Dynamic Zoom in Davinci Resolve
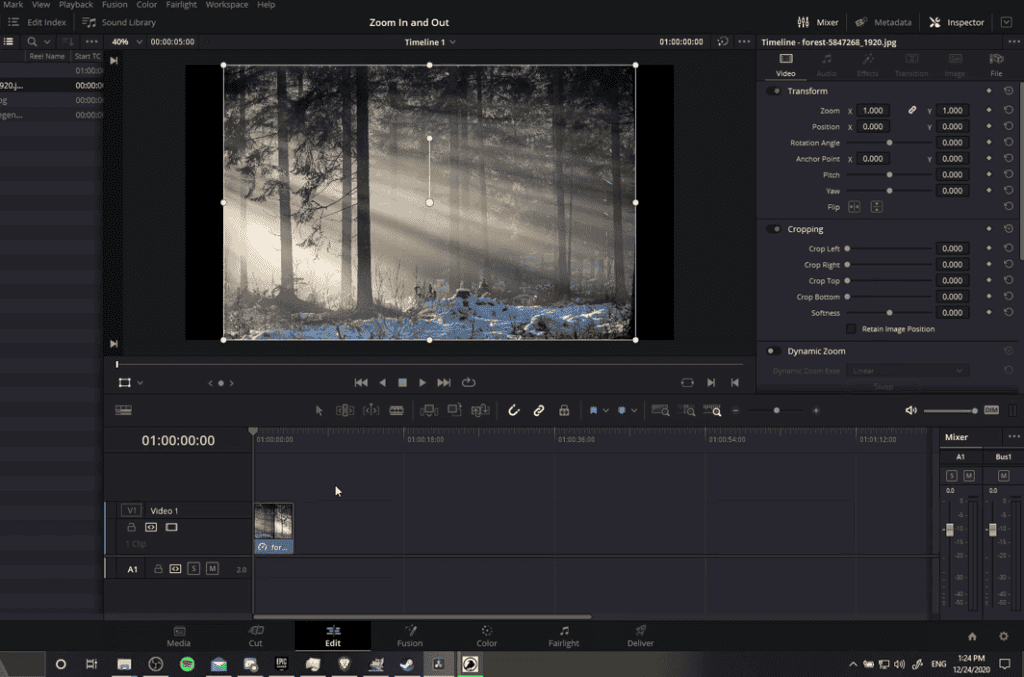
One visual way of doing Zoom is called a Dynamic Zoom, which is perfect when you want to Zoom from start to end across one shot. We can find the Dynamic Zoom in the edit page by going to the bottom left of the preview window.
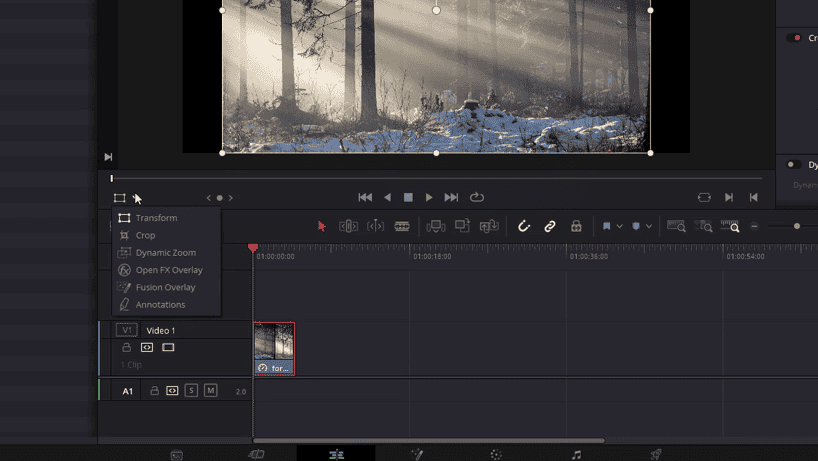
There’s a drop-down. By default, it’s on the Transform, which allows you to adjust the size and position of your clip. But if we drop down, we can switch over to Dynamic Zoom.
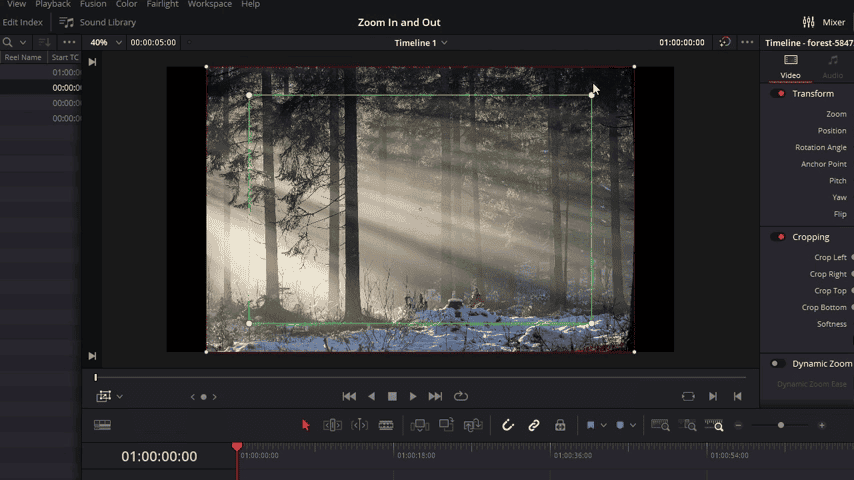
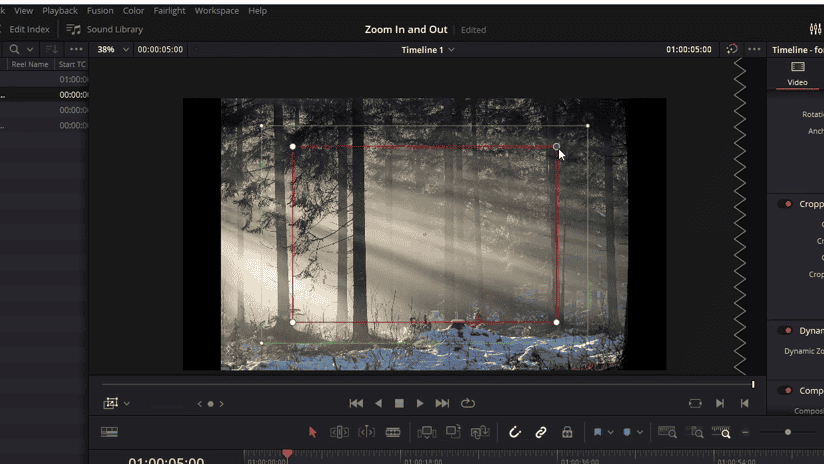
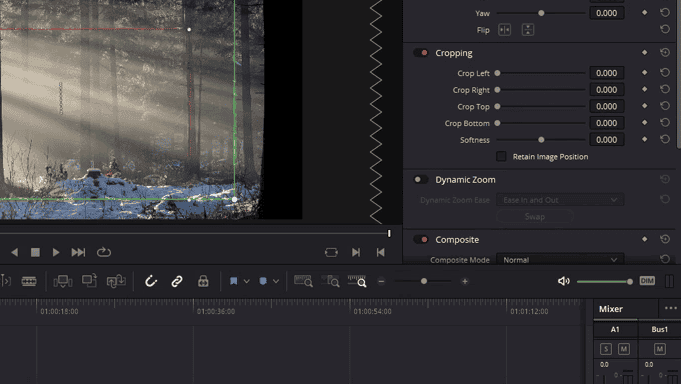
Inside Dynamic Zoom, we’re going to see two boxes: the green, the starting box, and the red, the ending box. Whatever is within the bounds of the starting and ending boxes is what you’re going to see at the beginning of the clip and the end of the clip.
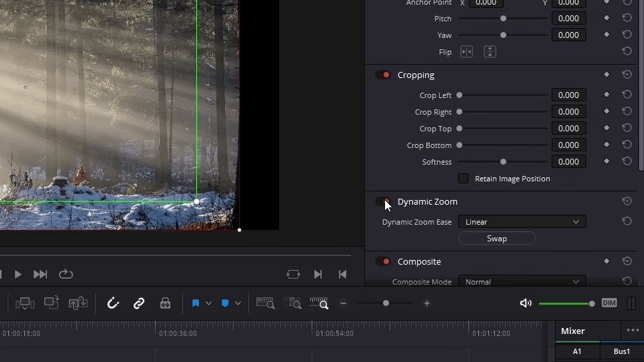
As it is right now, it’s going to start in with a zoomed-in shot, and then it’s going to expand outwards to reveal the entire image. Before this will actually do anything, though, we need to toggle on Dynamic Zoom for the clip. We can do that in the Inspector coming down to Dynamic Zoom and toggling it on.
If we hit play on the timeline, we should get that Zoom effect. When you hit play, we start zooming in, and then it zooms out to reveal the full image.
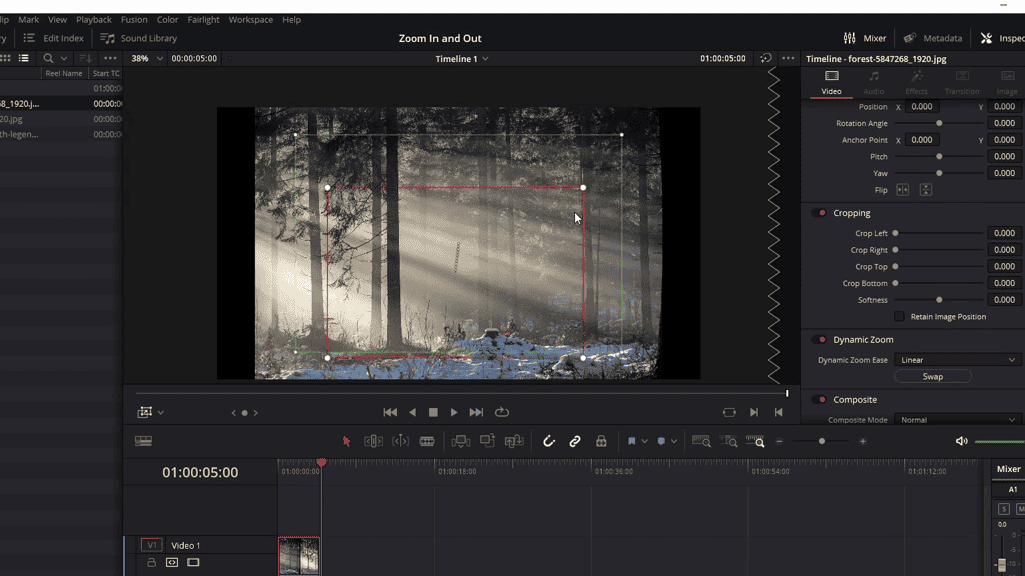
If we want to adjust the bounds of the Zoom, we can click on the four corners and bring them in. For instance, if we’re going to Zoom in rather than Zoom out, we have the ending box be smaller than the starting box.
You can also reposition them around the screen if you want the image to the pan. We could pull this down, expand the starting box. And now, if you hit play and now if you go to the start of the clip and hit play, we should have a Zoom in effect, and you can notice a little bit of “panning” because it’s aiming towards the bottom of the shot.
2. With dynamic Zoom, you can add easing.
By default, the speed is constant, but if you want to slow that down at the start and end, you can change it to ease in and ease out. Or if you want it to be slow just at the beginning, you do ease in or ease out for slow just at the end.
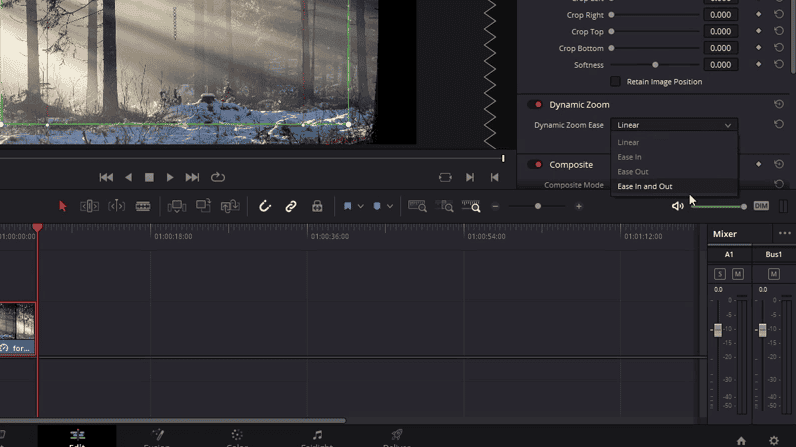
Let’s do ease in and out and show how that can look. Go ahead and hit play. You would see that most of the speed is in the middle, and it should slow down at the end once again.
Just by using Dynamic Zoom, you can already achieve some pretty cool Zoom effects, and then you don’t need to mess around with numbers or keyframes.
Okay, so let’s toggle Dynamic Zoom off and show off a couple of other ways you can do zooms.
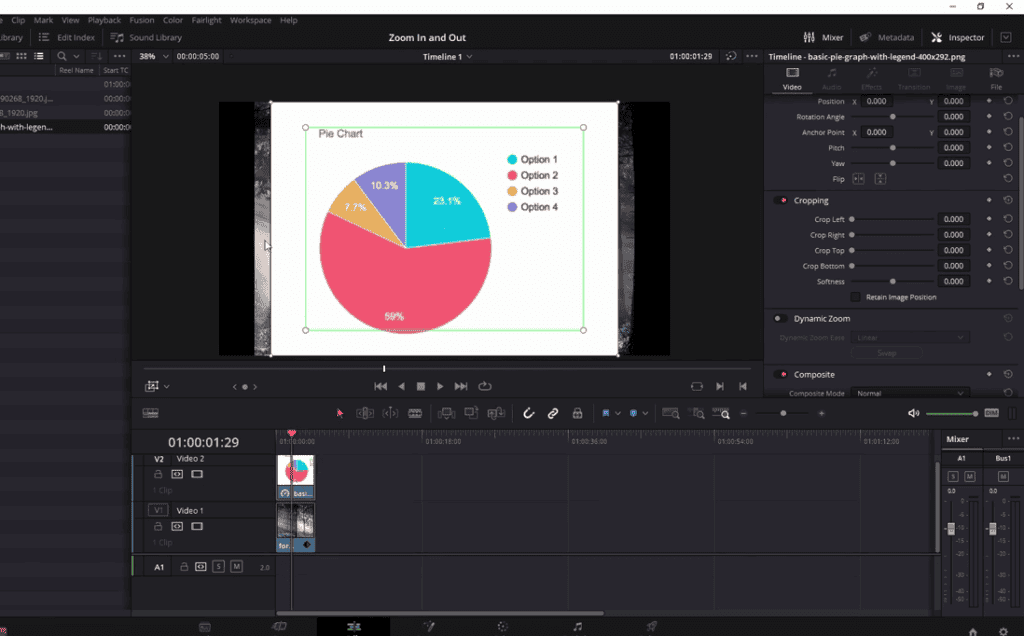
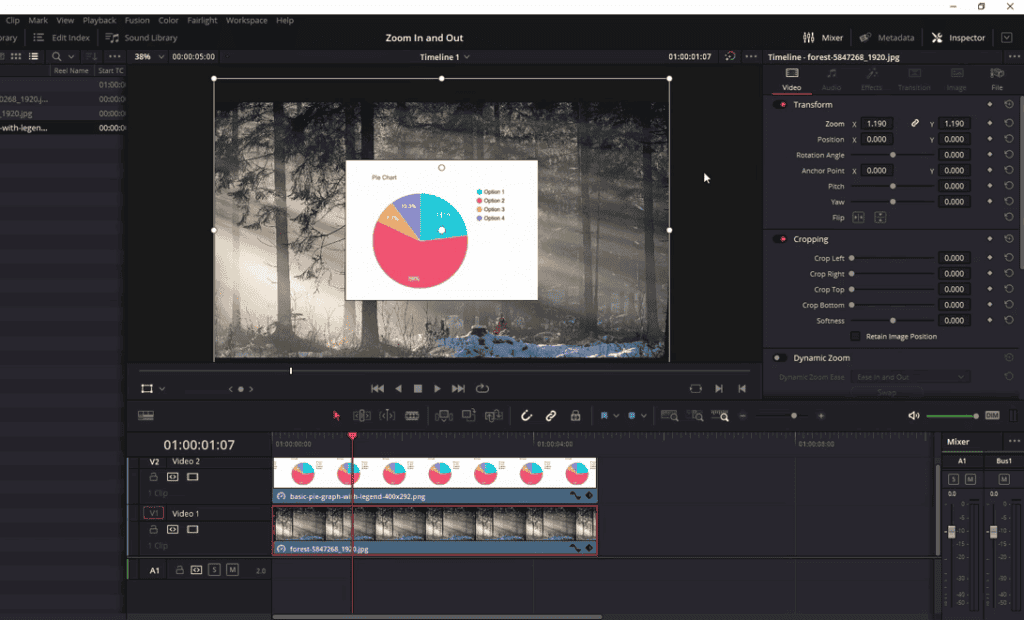
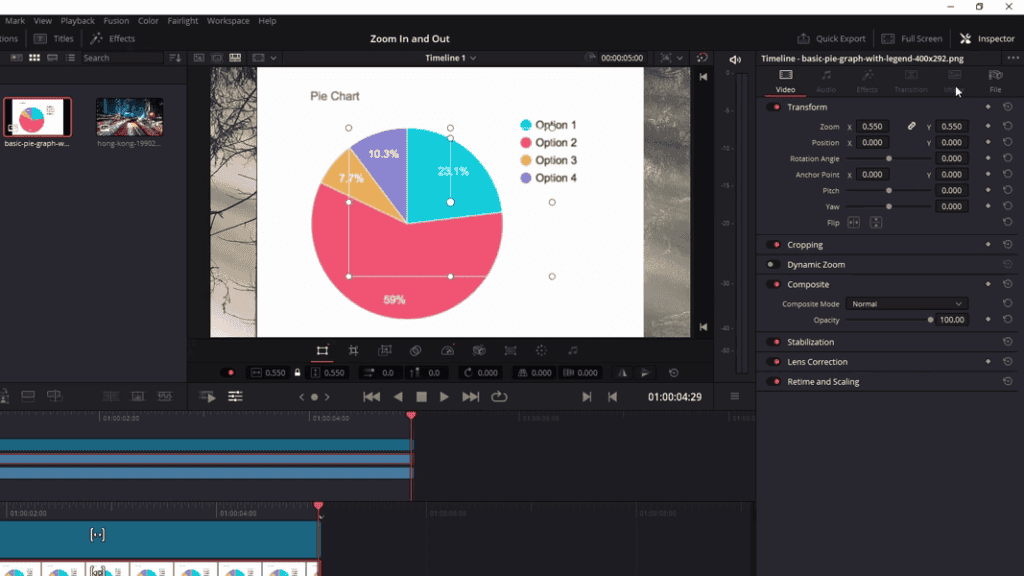
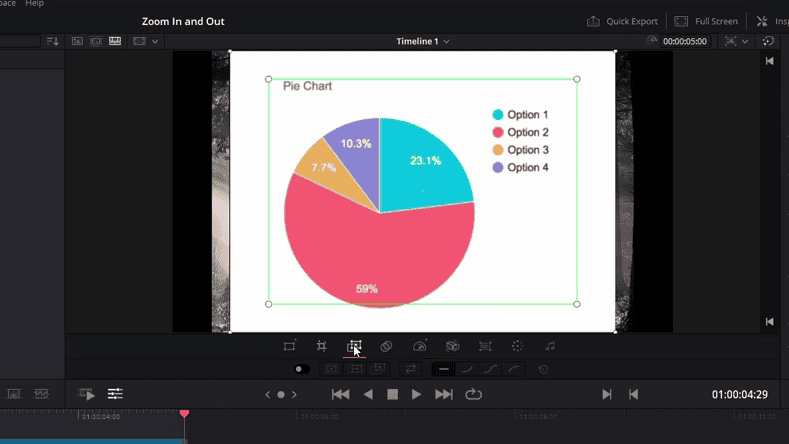
First, let’s add another image to our timeline. I’m just going to add a bar graph above our bottom image. Now you might notice that any image you bring in stretches to the top of the screen. This is actually more like a 400 X 400 Pixel square, so I’m going to shrink it back down to its original size, and let’s get out of Dynamic Zoom mode so that it looks accurate.
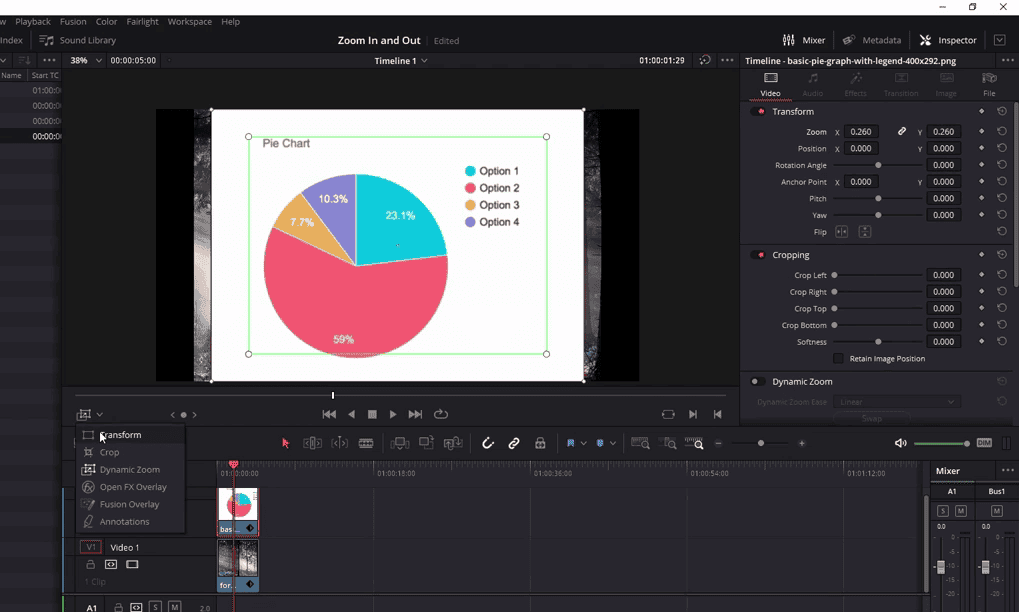
And right now, we’re in Dynamic Zoom, so it’s not going to show that Zoom. Let’s change the mode from Dynamic Zoom to transform. Okay, so now we are working with our standard Zoom on the right. You can see the transform Zoom property. I just adjusted this by pulling it up and down.
By default, the X and Y values are linked together, but you can unlink that if you need to stretch in one dimension rather than both simultaneously.
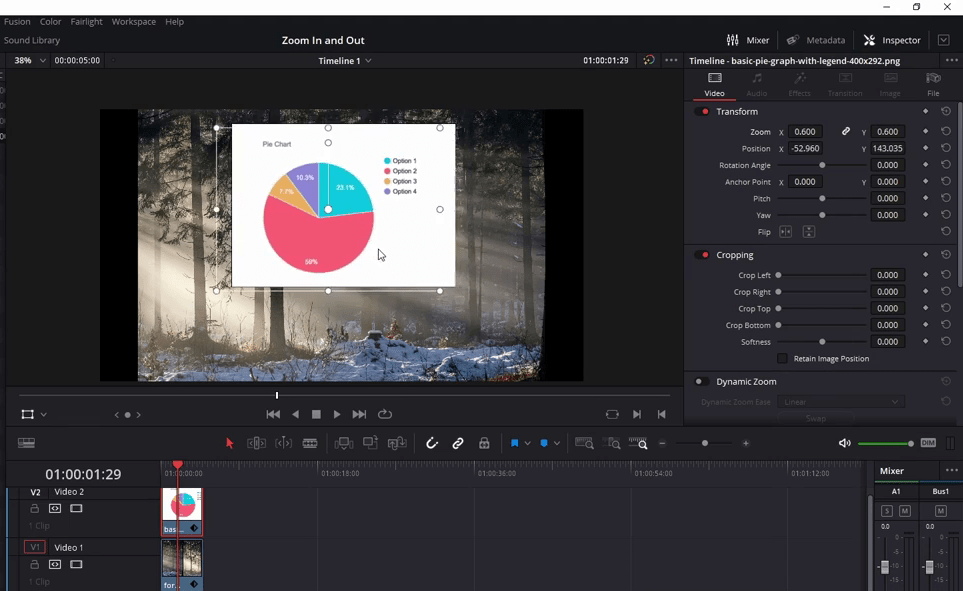
We can also reposition by using the transform gizmos and position it wherever we need it on the screen, and you’ll notice that the numbers get updated automatically.
How do we animate this Zoom property? Well, let’s go to the start, and let’s add a keyframe, assuming that this is the size and position you want at the beginning.

Then we can keyframe the Zoom property and optionally the position as well. And then let’s Zoom in a bit on the timeline by hitting the plus a few times; we go to a position where we want the Zoom to be done and change the Zoom value so that we can take the Zoom X . And let’s say we wanted to Zoom in a little bit.
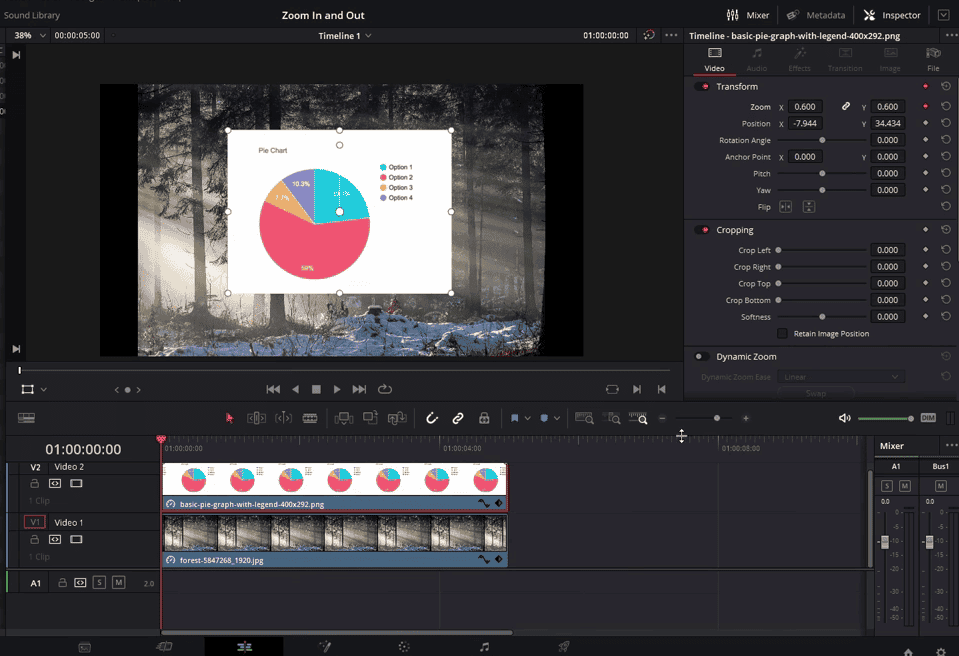
I will update the value because we already created one keyframe at the start. When we change the value on another part of the timeline, a new keyframe is automatically created, so keyframes are for animation, and what resolve will do is it will change the value between two keyframes until it reaches the value on the right side.
On the left keyframe will be your starting value, and on the right will be your ending value.
We start with a “0.6” Zoom and end up with a “0.7” Zoom, and resolve automatically calculates how fast it should increase the value to animate the property to the second keyframe. And that’s keyframing in a nutshell for every property.
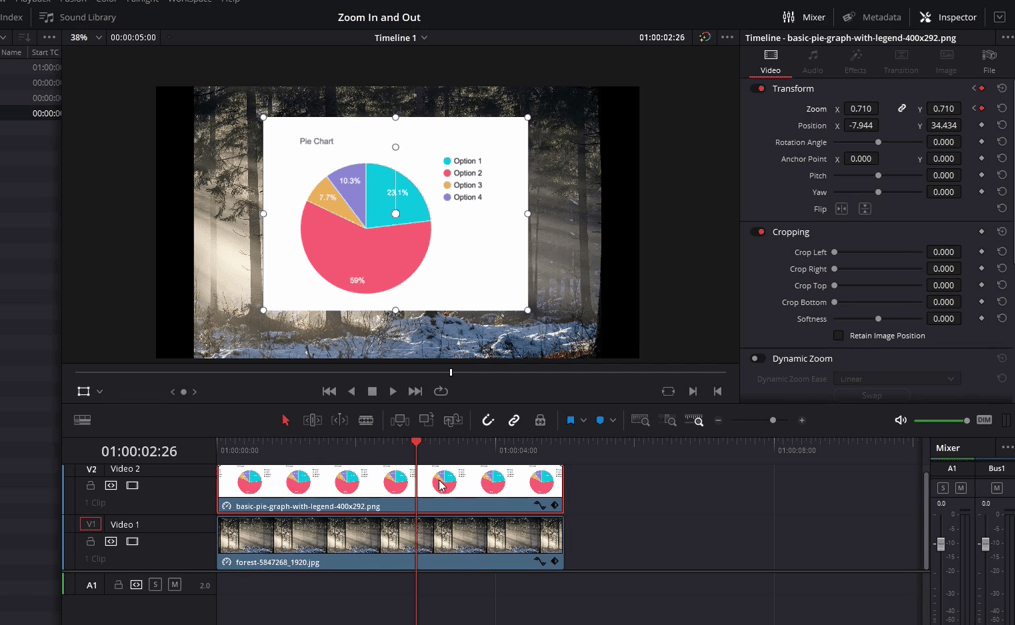
Now you can go to the start and hit play, and you should have the pie chart Zoom in a little bit. The only problem with this zooming is that it’s only doing one of these images at once.
We played the Zoom on video track two, but not on video track one. Maybe you would run into the case where you want to animate both simultaneously.
3. Animating zoom for multiple video tracks at a time
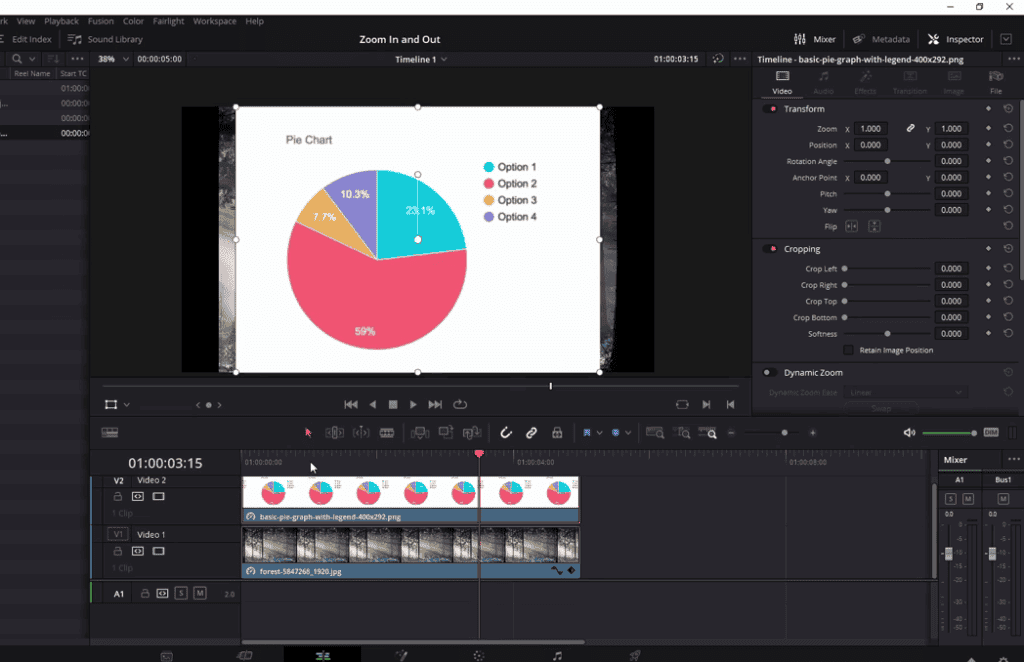
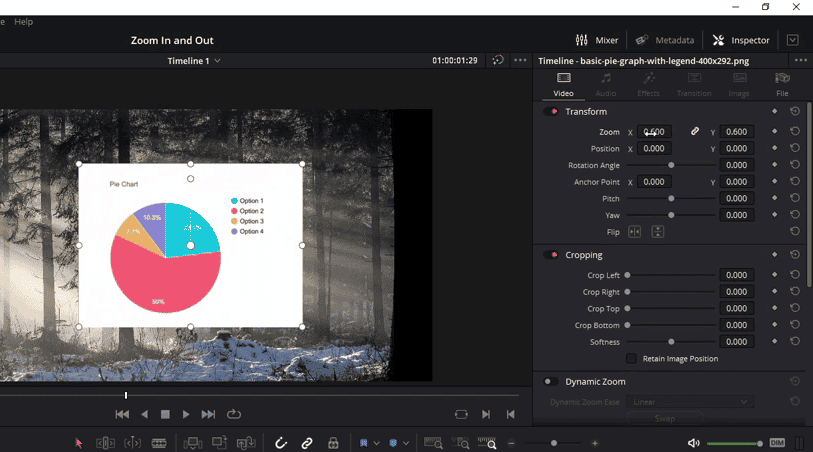
I’m going to reset the Zoom on the pie chart too, and we’ll also reset the position, and I’ll take the base Zoom, and I’ll make it something so we can still see the background and maybe on the background. I also increased the Zoom to get rid of these black edges.
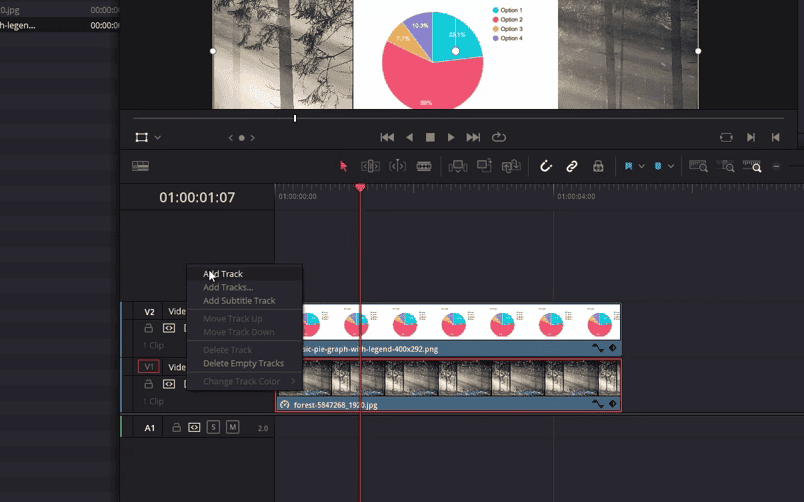
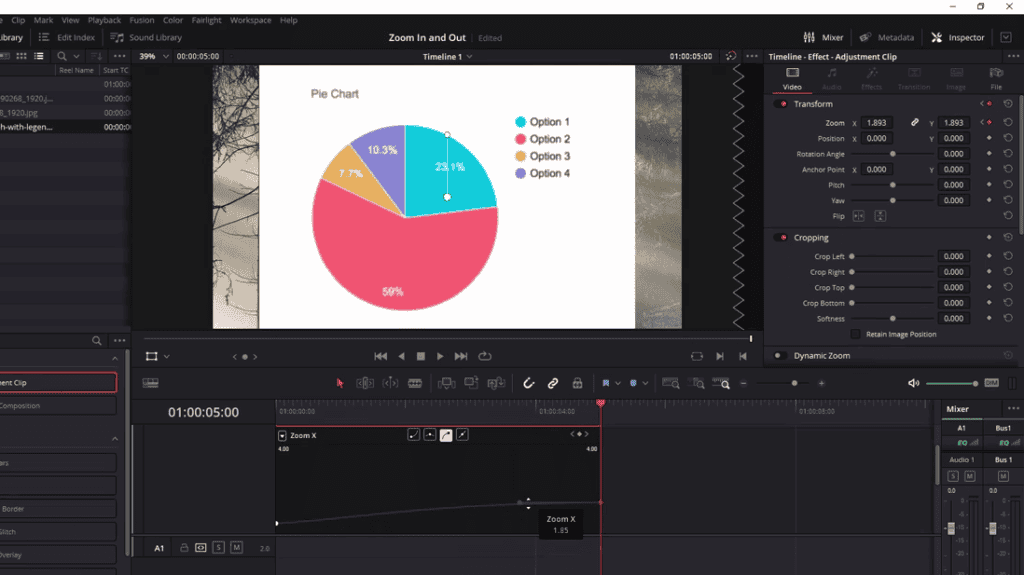
And now let’s suppose that we wanted to have both of them Zoom in a little bit at the same speed. We can use an adjustment clip to apply one effect to everything underneath that effect.
If we put the adjustment clip on video track three, not created yet, but we can do that right now with the right click add track, then any tracks under it will be affected by that adjustment clip.
We go to effects library and then effects>adjustment clip. Drag this over those two clips on the bottom. And now we can animate a Zoom property. I’ll go to the start adjustment clip selected. Make sure of that with the Orange box.
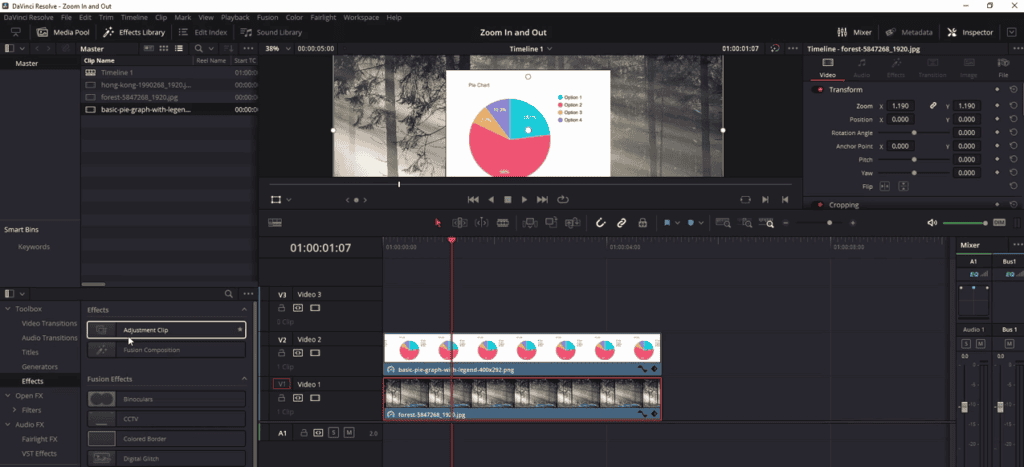
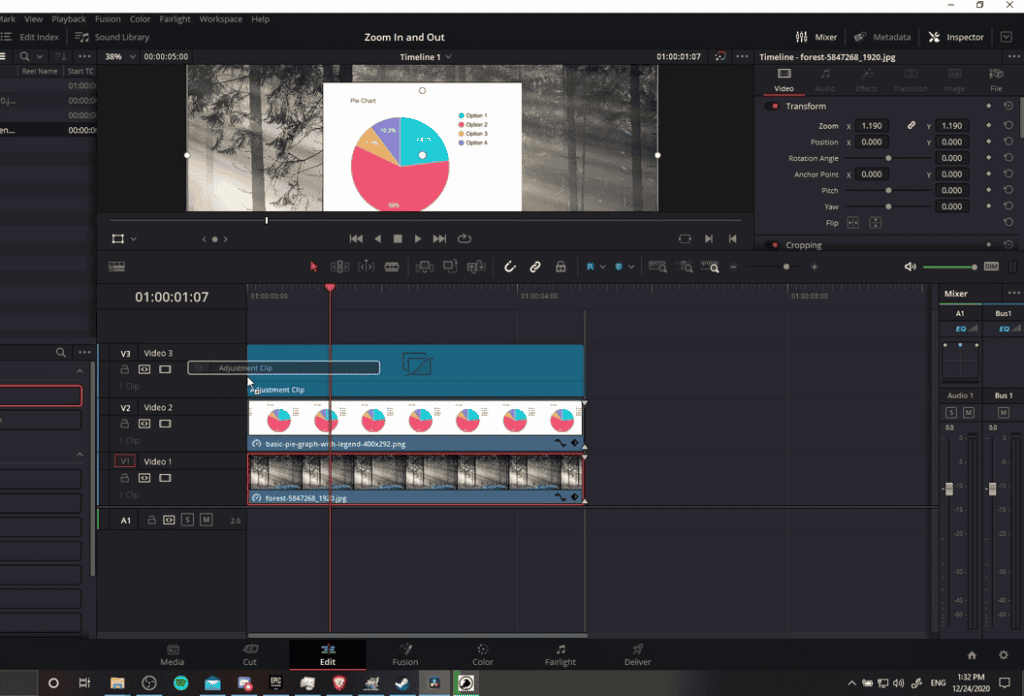
And I guess we’ll do keyframe there with Zoom “1.0”. Currently, it’s not affecting anything underneath. It’s just multiplying its Zoom value by one. And let’s go to the end and Zoom in to “1.2”.
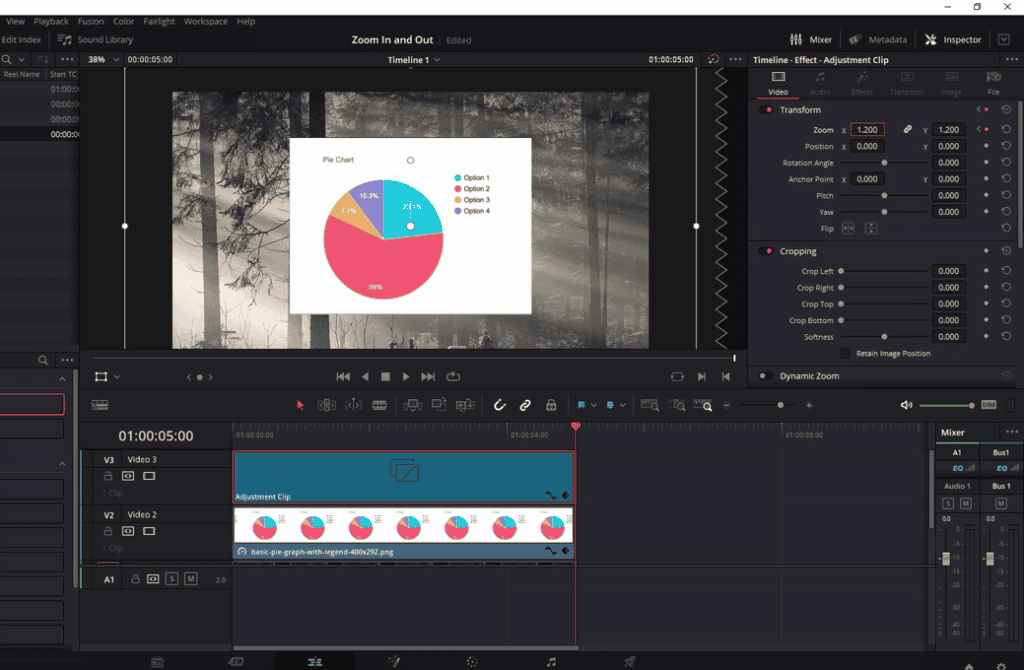
Throughout this adjustment clip, the Zoom in will increase 20%. Go back to the start hit play. And what you’ll see is that all of the underlying clips are affected by that Zoom.
Adjustment clips are convenient for zooms and can be used for color adjustments or anything else that you want to apply to underneath clips.
Don’t forget about them, especially if you’re working with many video timelines.
One last thing I want to point out for this article is that just like with Dynamic Zoom, you can also add easing to the speed of your property Inspector based zooms.
- Also Read-How To Upscale with Super Scale in Davinci Resolve
- Also Read- How to Add Cinematic Black Bars in DaVinci Resolve (Best Explained)
- Also Read- Is Davinci Resolve Free? Is It Good for Beginners ? in 2022
4. Add easing to the speed of your property Inspector based zooms.

Whenever you have a Zoom on a clip, you can click on this little thing that looks like curves on the bottom right of your clip. You’ll see that each of your video clips has them, and when you click on that, you may see the properties you’ve changed and added keyframes too.
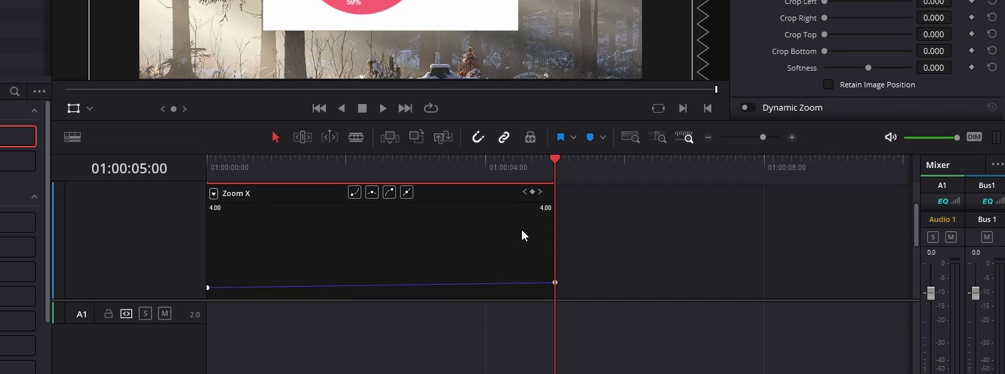
You can see the keyframes, and you can drag them around to change the values. If you prefer to do that than in the Inspector, we can change the curve on these.
Right now, they’re all set to linear, which means there will be a flat increase of value over time. It’s not going to accelerate or decelerate. But if we click on these curve options, we can change the curve for this animation.
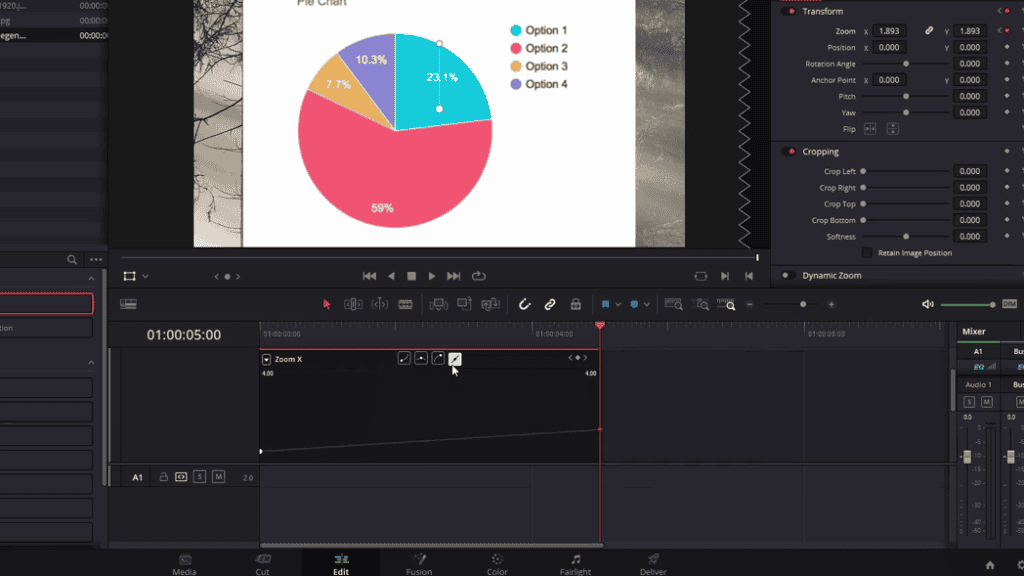
With this one, I add a handle to the right side. And as things are right now, it’s going to slow up fast at the start and slow at the end. As you can see, it flattens out.
That means the value isn’t changing much across time, or in other words, it’s going to decelerate or slow down. And then, because it’s to make up for that with the rest of this transition, it will be faster at the start than the end.
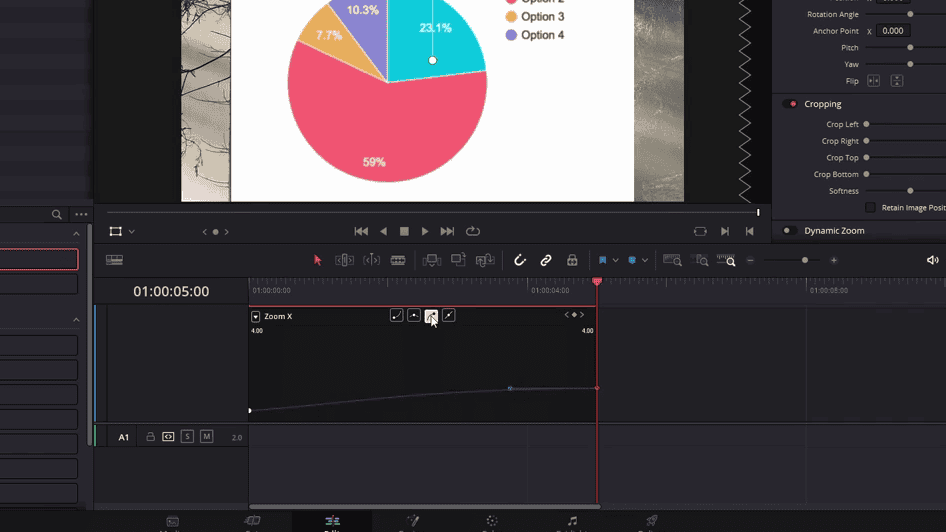
If you go there and hit play, you should see it moving pretty fast, and when it gets to the end, and it slows down a bunch, of course, these handles that it creates, you can pull them around and adjust them, and that is going to affect the animation between these two points. You can even pull the handle way out, in which case it will Zoom in past the end keyframe and then drop back down to the starting keyframe.
If you hit play there, you can see how it dips a lot, and then it kind of zooms out. There’s a lot of flexibility with using these. You can also go on the left keyframe. Set a curved handle point with this option. For simplicity’s sake, though, it’s probably going to be a little easier to control if you only use one handle, but if you spend a little bit of time adjusting these, then you can get your transition between the two keyframes to move at the speed you want it to.

All right, so that’s all of the basics of doing Zoom in and Zoom out inside of DaVinci Resolve.
5. Zoom In and Out in Cut page of Davinci Resolve
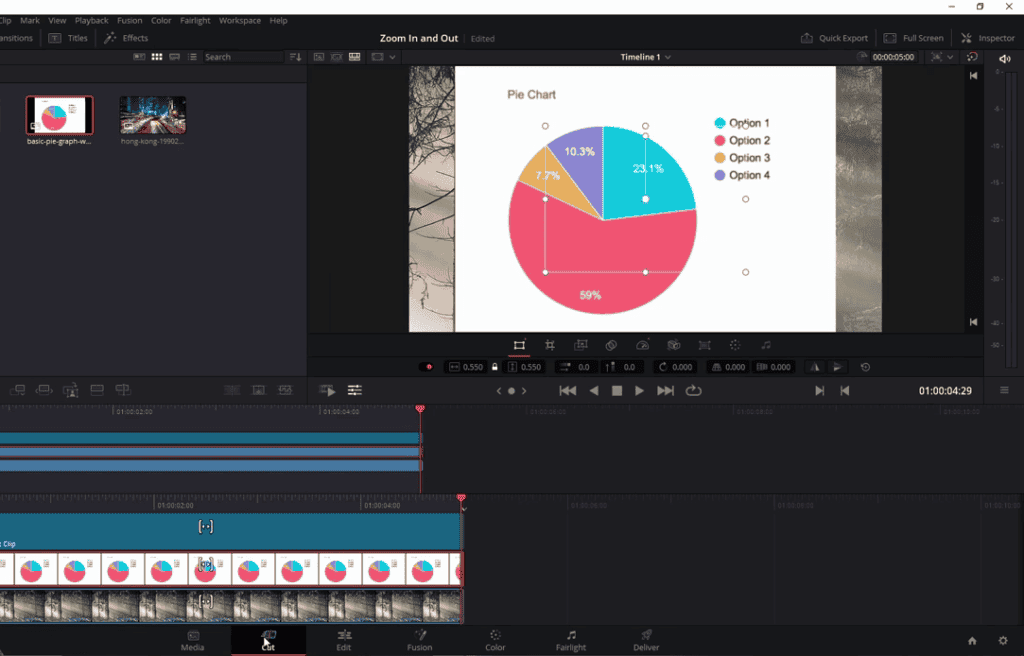
Quickly before we wrap up, let’s jump over to the “Cut page” to show where you can find similar tools for doing zooms. If you click on a clip in the “Cut page”, the Zoom options will be located in the preview window right down below.
There’s an option called Transform. And by the way, if you don’t see this bar, click on the Settings icon. Click on the Tools icon in the bottom left hand of the preview window, and you’ll reveal all of these.
But anyway, on the Transform tab, you have Zoom width and Zoom height, which are currently locked together for your current clip, so you can Zoom in and Zoom out the same way as before.
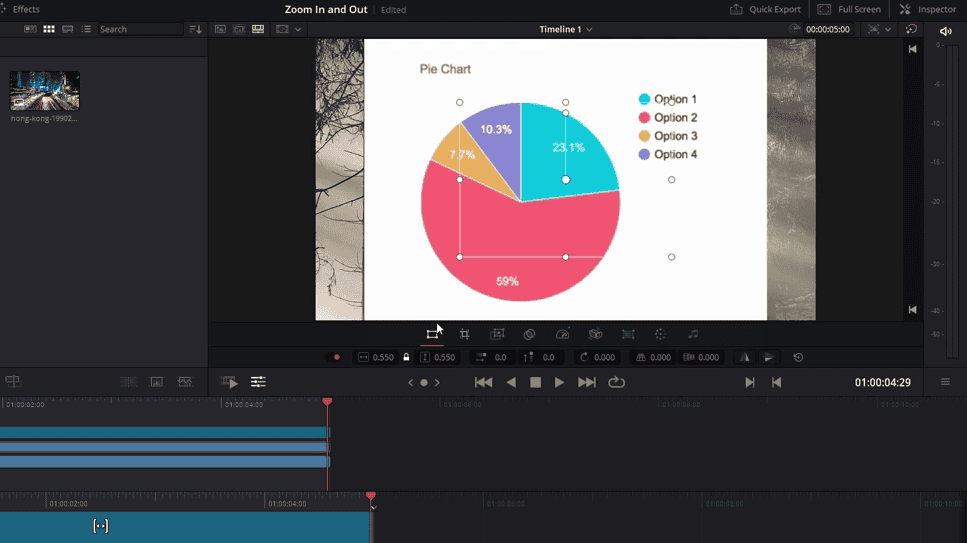
You can also open up the Inspector inside of Resolve . It didn’t use to be there, but you have the same controls over that you have in the Edit page, being able to keyframe and set values using the Inspector instead. Also, Dynamic Zoom You can find that as the third tab works exactly like before.
The red box is the ending point, and then the green box is the starting point, and you drag the boxes and Resize them as they were shown at the start of this article, and then that’s pretty much it for doing zooms inside of DaVinci resolve.
I hope this article has helped you guys out.
Thanks for reading!
Bye.