
In today’s world of filmmaking and video editing, the demand for eye-catching and modern visual effects is higher than ever before. One such effect that has become popular is neon text, which can add a dynamic and stylish touch to any video project. In this article, we will guide you through 2 ways of creating neon text in Davinci Resolve, completely free of charge. By following a few simple steps, you’ll be able to elevate your videos with this striking effect.
Creating Neon Text in DaVinci Resolve Fusion Page
Setting up DaVinci Resolve
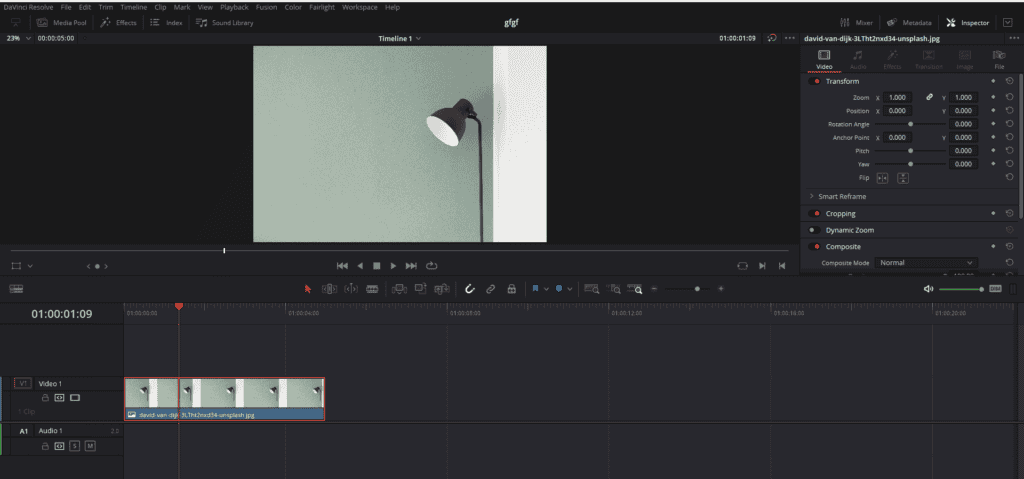
- Place the playhead on the video clip or image:
Before you start creating the neon text effect, place the playhead on top of the video clip or image where you want to insert the title with the Neon effect.
- Go to the Fusion page:
Next, navigate to the Fusion page by clicking on the Magic Wand icon at the bottom of Davinci Resolve. This will open the node-based compositing environment where you will create the neon text effect.
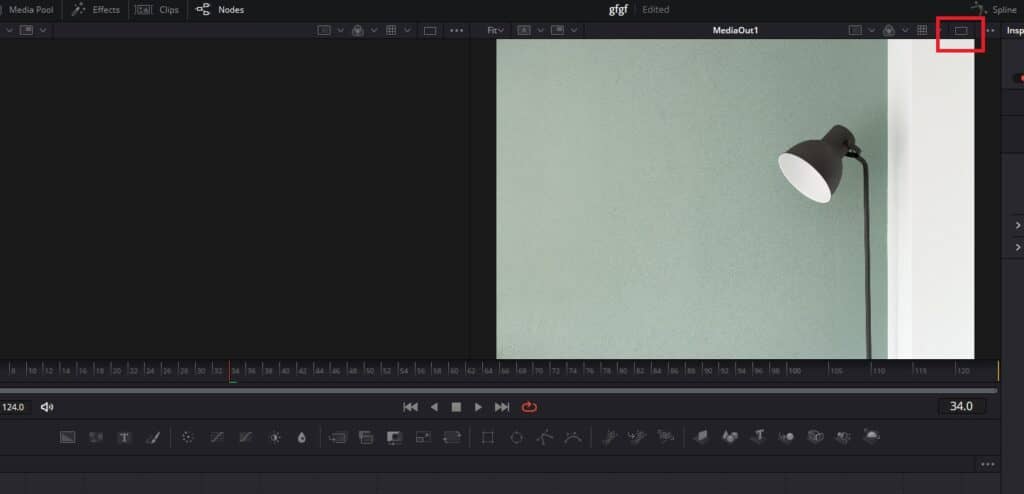
- Activate both viewers:
For a smoother workflow, activate both viewers by clicking on the two rectangles looking icon on the top right corner. When you click it, it becomes one rectangle meaning both the viewers are turned on. The left viewer will be used for configuring the text, while the right viewer displays the final result.
Adding Text
- Add text with the Text+ icon:
Click in the empty space in the node graph so that you deselect if any node is selected. Press Shift + Space and search for Text+ and select it. Alternatively, you can click on the Text+ icon to add a text node. This node will be used to create and configure your title.
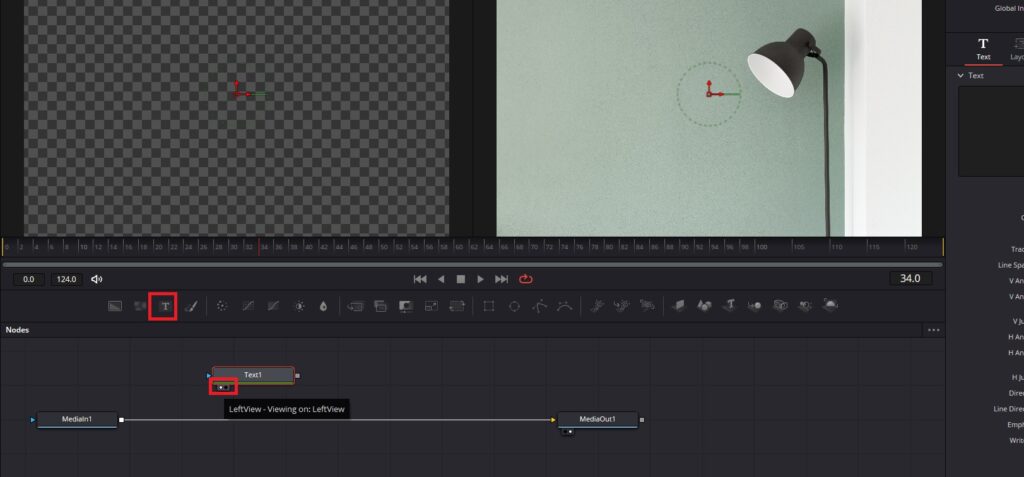
- Activate the text node:
To see the text in the left viewer, activate the small circle on the left in the Text+ node.
- Write the desired text:
With the text node selected, navigate to the Inspector panel on the right and type the desired text for your title within the text menu.
Formatting Text
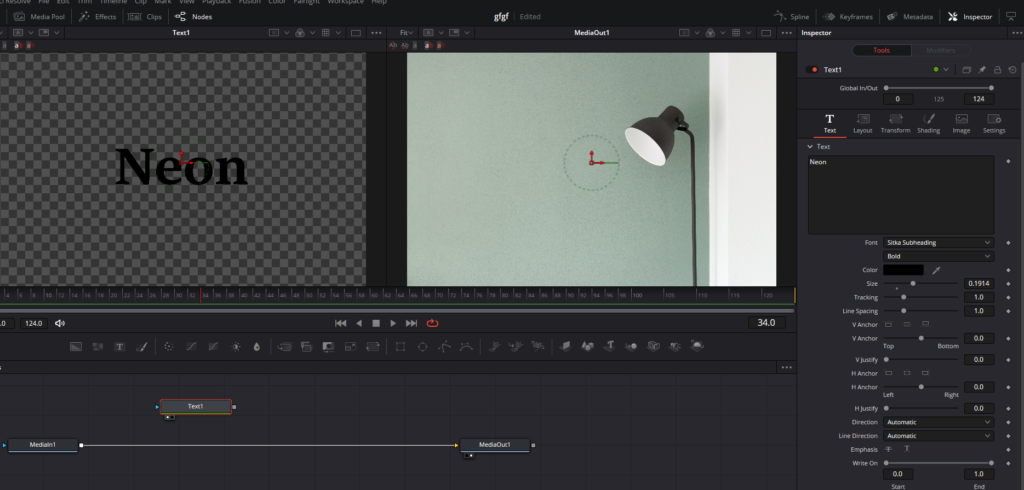
- Choose a striking font:
Although the neon effect can be applied to any font, we recommend choosing a bold and striking font to enhance the overall appearance of the effect. Experiment with different fonts to find the one that best complements your project.
- Adjust the size and color:
Increase the size of the text, so it is clearly visible. Additionally, change the color of the text to black. This will be the base text that appears when the neon lights are off, and the black color is necessary to achieve the desired flickering effect.
- Create text for when neon is off:
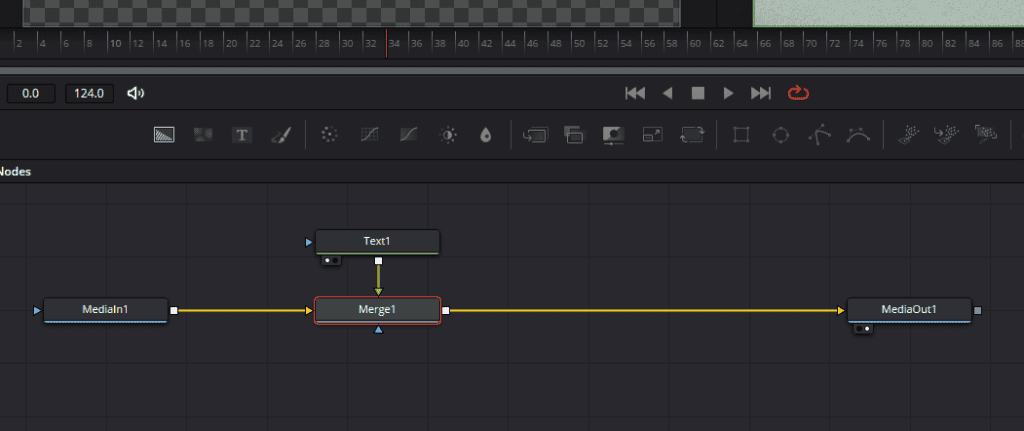
Connect the Text 1 node by clicking on its square and connecting it to the square of the MediaIn 1 node. This will automatically create a Merge node, allowing you to join the two nodes.
Creating Neon Text
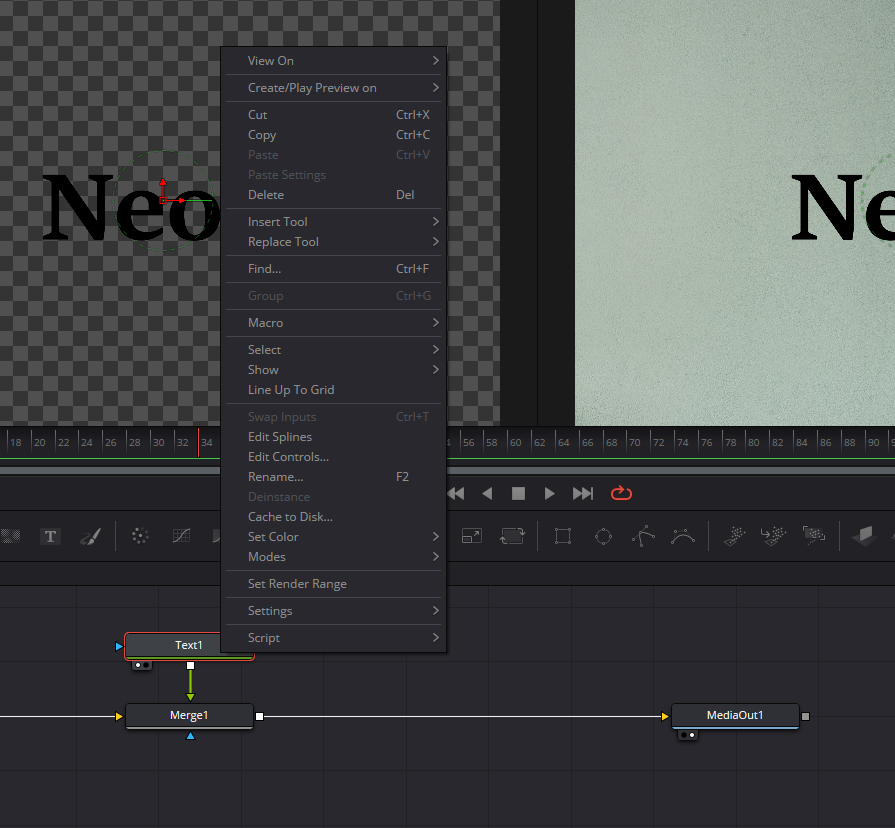
- Duplicate the text node:
Right-click on the text node, then click on copy. Right-click in the empty paste and paste it to create a duplicate.
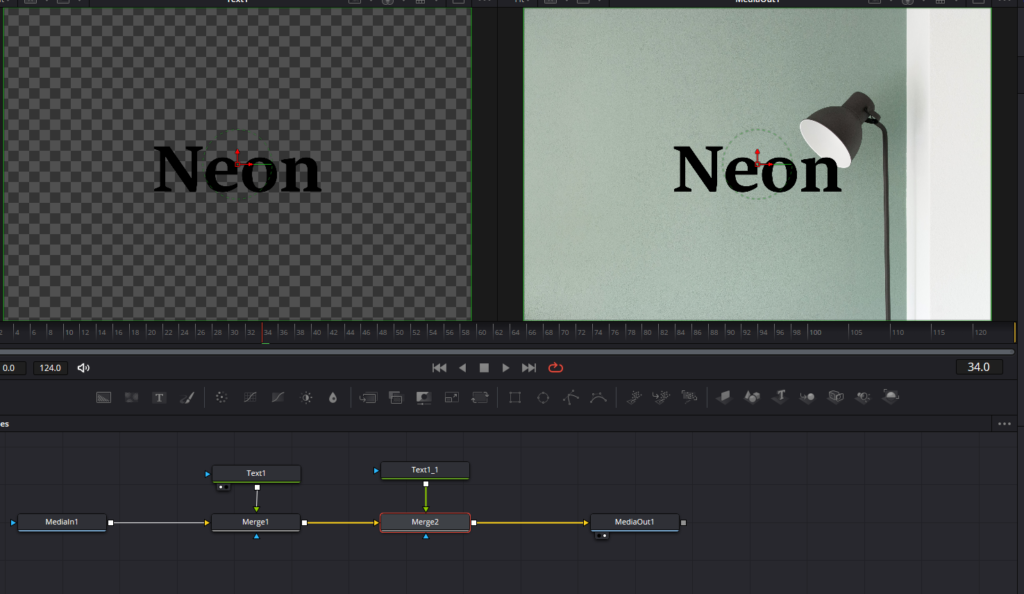
- Connect the new text node:
Connect the duplicate text node in the same manner as before, clicking on the node’s square and connecting it to the square of the Merge1 node. This will create a new Merge node automatically (Merge2).
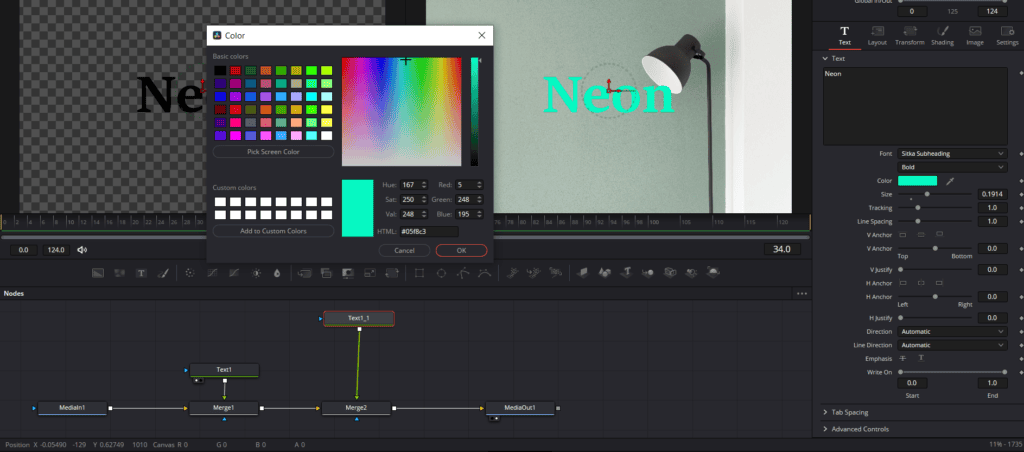
- Choose the neon light color:
Select a striking color for your neon light. For example, use a light blue hue. The color choice will significantly impact the overall appearance of the effect, so feel free to experiment with different options.
Creating Neon Effect
- Add Glow effect:
With the text node selected, press Ctrl+Space (or Cmd+Space for Mac users) to open the effects browser. Search for the “Glow” effect, select it, and click “Add.” A node with the Glow effect will appear under the text node.
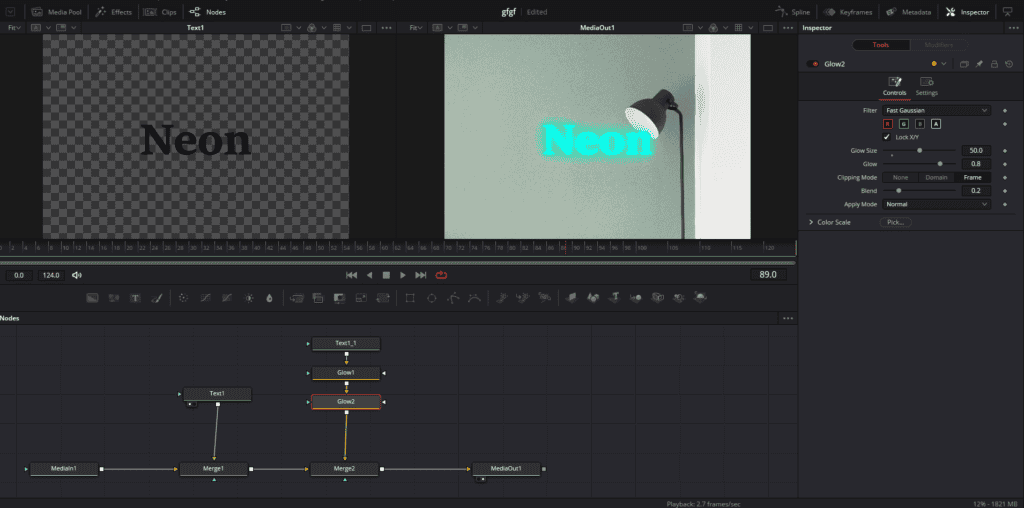
- Modify Glow nodes:
- First Glow node: Do not modify this node.
- Second Glow node: Select the Glow1 node and press Ctrl+Space (or Cmd+Space) again and add another Glow effect (Glow2). In the Inspector panel, increase the Glow Size option to a value of 50 for this second Glow node. This adjustment will create brightness around the edges of the letters.
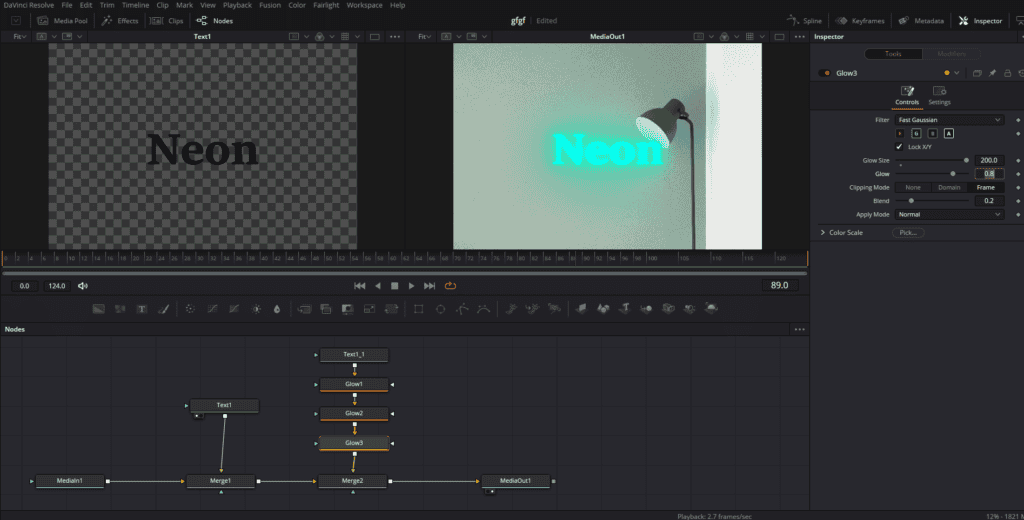
- Third Glow node: Click on the Glow2 node and press Ctrl+Space (or Cmd+Space) once more and add a third Glow effect (Glow3). Increase the Glow Size parameter to a value of 150 or 200, which will cause the neon light to illuminate a larger area.
- Adjust the Blend parameter:
If you wish to increase or decrease the intensity of the neon light, adjust the Blend parameter in the Inspector panel. Configure the Brightness power to achieve your desired effect.
Adding Flicker Effect
- Create keyframes in the Merge2 node’s Blend option:
To add the flickering effect, position yourself at the first frame of the video (frame 0) and select the Merge 2 node, where you can deactivate and activate all the Glow effects. In the settings menu on the right, create a keyframe in the Blend option by clicking on the small rhombus icon. The rhombus will turn red, and you should then lower the Blend value to zero. This will turn the text black with the lights off.
- Alternate Blend values between 0 and 100:
Move forward one or two frames and create another keyframe in the Blend option, but this time set the value to 100. This will activate the Glow effects and turn on the neon light. Continue moving forward one or two frames and alternate the Blend value between 0 and 100, creating keyframes at each step. Repeat this process several times to create the flickering effect.
- Vary frame intervals for a more realistic effect:
To achieve a more realistic flickering effect, vary the frame intervals between keyframes. For example, advance one frame in some instances and two frames in others. This variation will make the blinking effect appear more dynamic and convincing.
Creating Neon Text in DaVinci Resolve Edit Page
A captivating way to make your video projects stand out is by incorporating neon text effects. This section will guide you through the process of creating neon text in DaVinci Resolve on the Edit Page. By following this tutorial, you will learn how to achieve that Photoshop-style outer glow around your text, adding a touch of visual appeal to your work.
Setting Up the Text
Before diving into the neon effect, you’ll first need to set up your text in DaVinci Resolve. Here’s a step-by-step guide on how to do that:
A. Dragging and Dropping the Text+ Tool into the Timeline
- Launch DaVinci Resolve and open the project you want to add the neon text to.
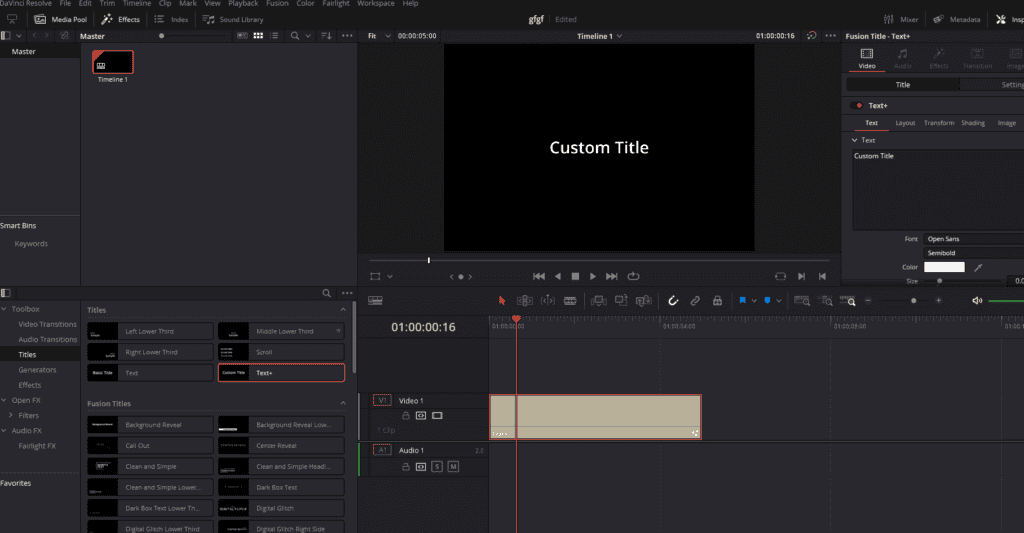
- Click on the Effects Library from the top left corner of Davinci Resolve and in Toolbox section, go to Titles.
- Find the Text+ tool and drag it onto your timeline.
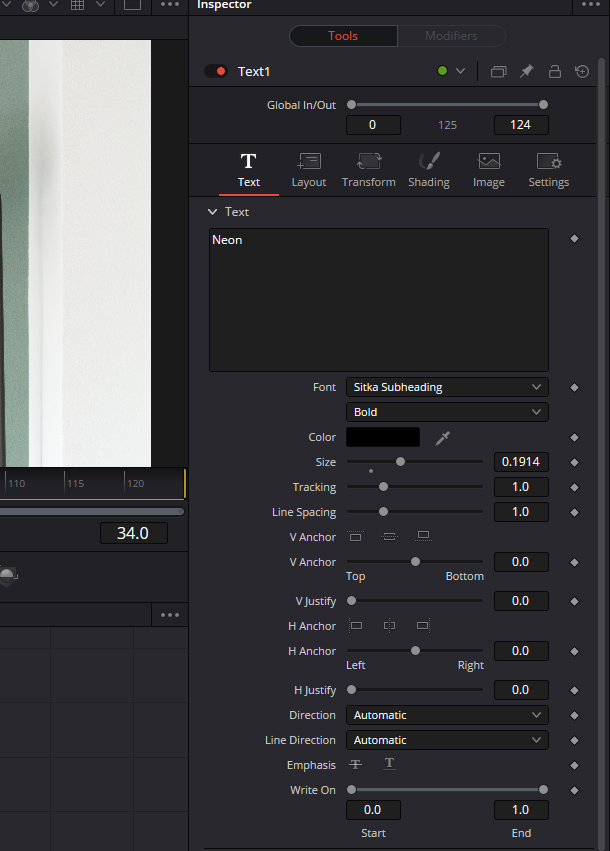
B. Customizing Font and Size
- With the Text+ tool selected, navigate to the Inspector panel on the top right corner.
- Under the Text section, click the drop-down menu next to Font and choose your desired font.
- Adjust the size of the text using the slider or by entering a value in the Size field.
C. Writing the Desired Text
- In the Inspector panel, click on the text field next to Styled Text and enter the text you want to display.
- Use the alignment and positioning tools to position your text as desired.
Creating the Neon Effect
Now that your text is set up, it’s time to create the neon effect. Here’s how:
A. Accessing the Shading Section
- In the Inspector panel, select Shading.
- Click on the Shading tab to expand it.
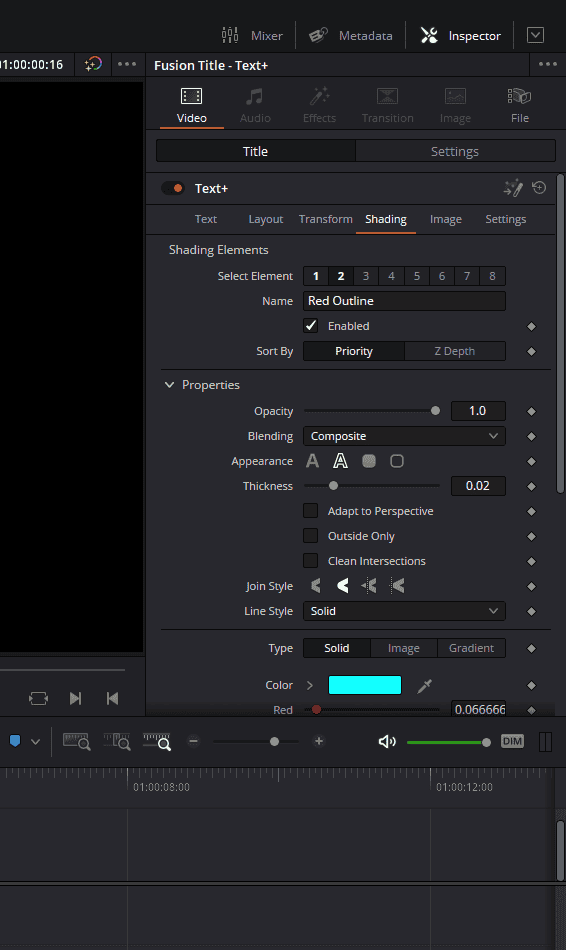
B. Adjusting the Color of the Outline
- In the Shading section, change the Element drop-down menu from 1 to 2.
- Click the Enabled checkbox to activate the outline effect.
- Click on the color box next to Color and choose a color for your neon effect.
C. Adjusting the Softness
- In the Shading section, locate the Softness parameter.
- Double-click on the Softness parameter to expand it.
- Increase the X and Y values to your desired level. For this tutorial, we’ll set both to 19.0.
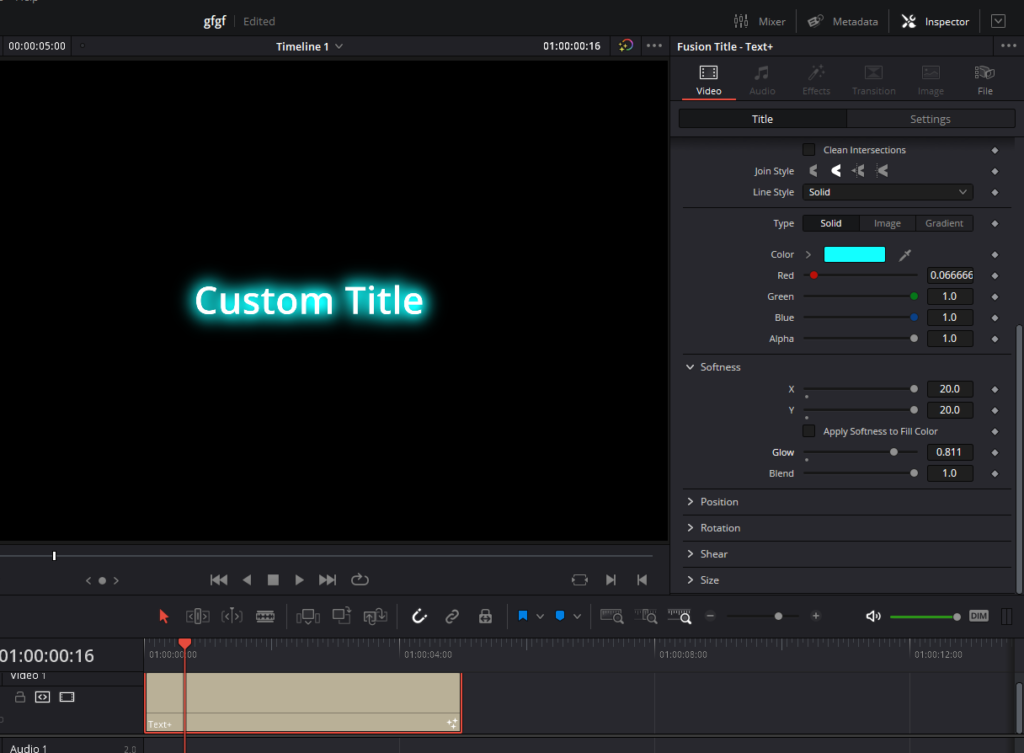
D. Fine-tuning the Glow
- In the Shading section, slide the X and Y sliders to the right and locate the Glow parameter.
- Increase the Glow value to your liking, but be careful not to overdo it. The goal is to achieve a realistic glow effect.
- Adjust the Blend parameter to fine-tune the glow. Play around with the values until you find the perfect balance for your text.
- Keep an eye on the corners and inner edges of your text, ensuring that the glow looks natural and smooth. Make any necessary adjustments to achieve the desired effect.
Finalizing the Neon Text
Now that your neon effect is complete, it’s time to finalize your text:
A. Changing the Text Color to Match the Background
- In the Inspector panel, click on Text icon to come back to text settings and go to color box next to Color.
- Choose a color that matches your background, or simply pick black if you have a black background.
B. Using the Color Picker for Precise Color Matching
- If your background has a specific color, you can use the color picker tool to select the exact color for your text.
- Click on the color box next to Color.
- Click on the color picker icon (the eyedropper) and hover over the background color you want to match.
- Click on the desired background color to select it, and your text color will automatically update to match.