Hello guys, welcome to Filmmaking Elements, thanks for checking out another one of my articles. In this article, we are talking about Day For Night Color Grading in Davinci Resolve.
There are quite a few tricks that resolve gives us to be able to do something like that. This is something that’s traditionally done in a compositing program, but you can definitely pull this off in resolve.
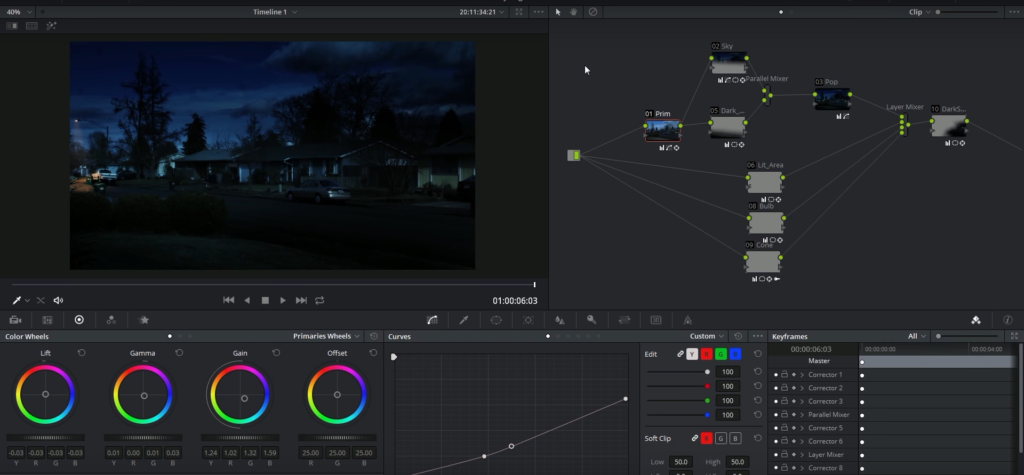
So I have a shot which I will be sharing stills off, throughout this article, that I have looking halfway decent. This was, of course, shot during the day, and with a few different tricks that we’ll go over it’s looking like that blue-tinted movie night look.
Day For Night Color Grading In Davinci Resolve
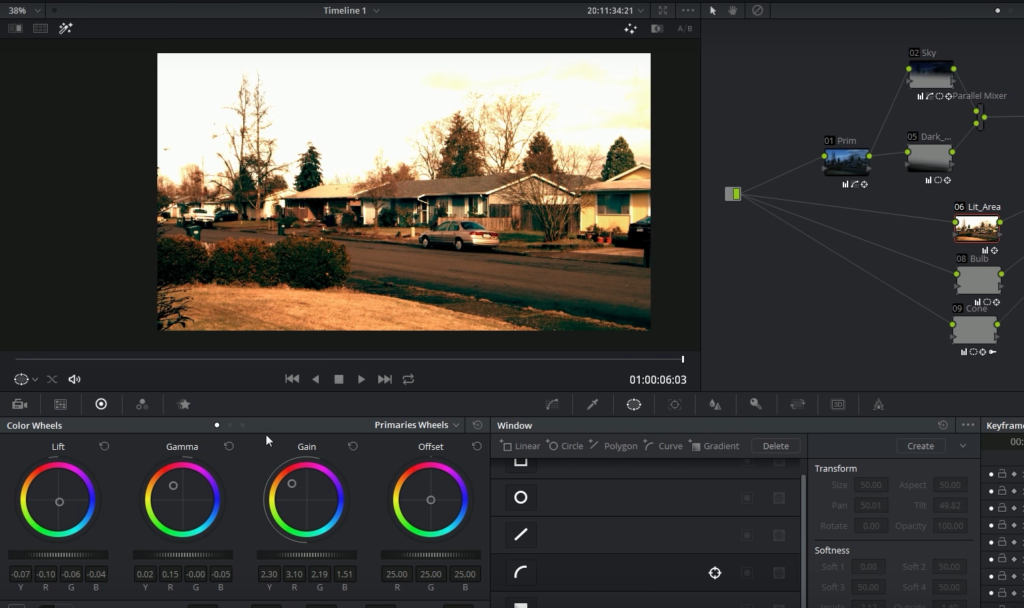
So here’s what we started out with again, a shot that was taken in the middle of the day. I believe the sun was behind a cloud at that time. It generally works better if you have some kind of overcast sky if you don’t have direct sunlight because direct sunlight shots look very strange when they’re turned blue and darkened down.
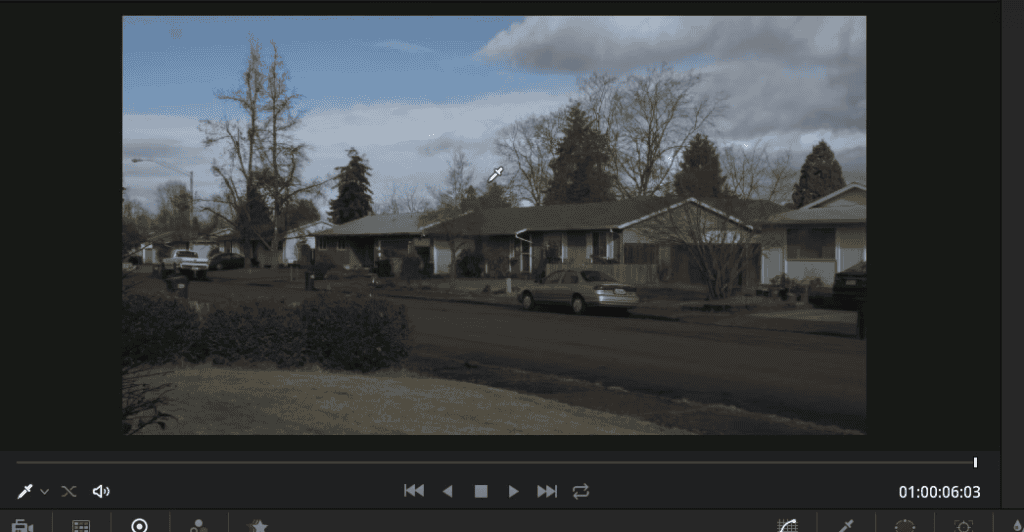
So if you’re planning on shooting something to convert to a nighttime shot, try and shoot it on an overcast day, or at least when the sun is behind a cloud. And I guess you could just race the whole day trying to do that, which I think is a very important factor. Mimicking the sunlight look like moonlight becomes very difficult and sometimes impossible if the light is very harsh.
It’s best to select a shot with no sun in the frame of course, nor any harsh sunlight bouncing from shiny surfaces such as cars as it will be a nightmare to deal with it during the day for night color grading in Davinci Resolve.
I’ll walk you through my nodes and what I’m doing to maybe give you some good ideas for something for your shot. Do you think that might be fun? That might be good, yeah! Okay, let’s go.
Steps To Follow:


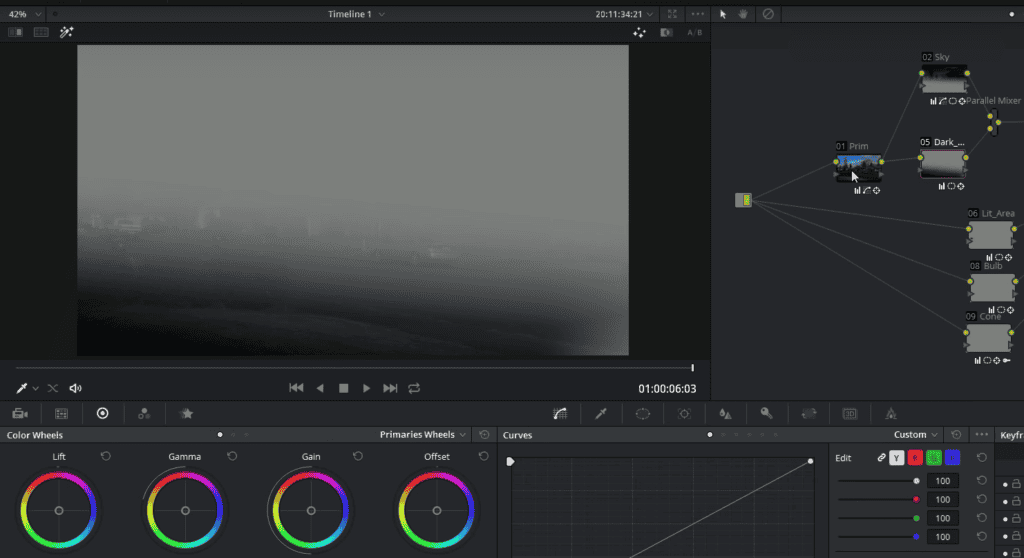
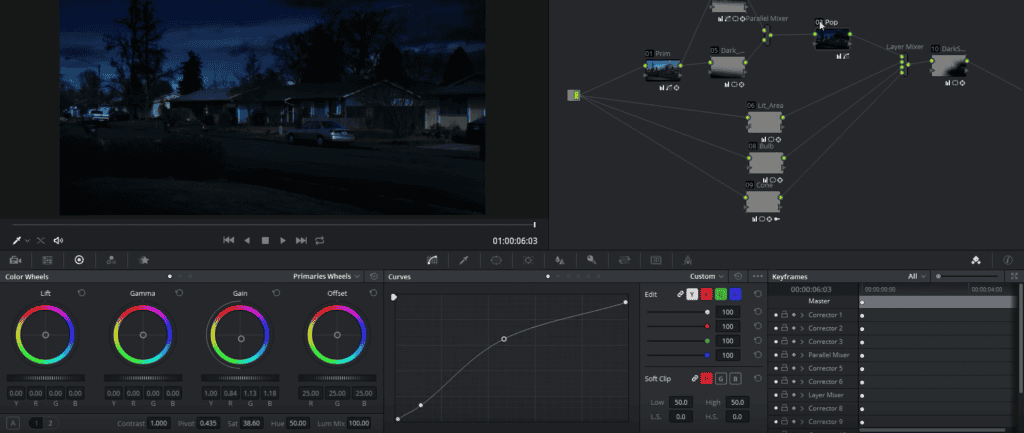
- So the very first node is a primary correction. All I’m doing is just darkening things down with a curve and turning them a little bit blue. This is just to give us a good starting point for this whole dark blue look.
- You can use your Gain or Offset wheel and shift it towards blue. It will be a very good starting point.
- A lot of people just stop at this point because you have already achieved the day for night look but let’s take things further in our case.
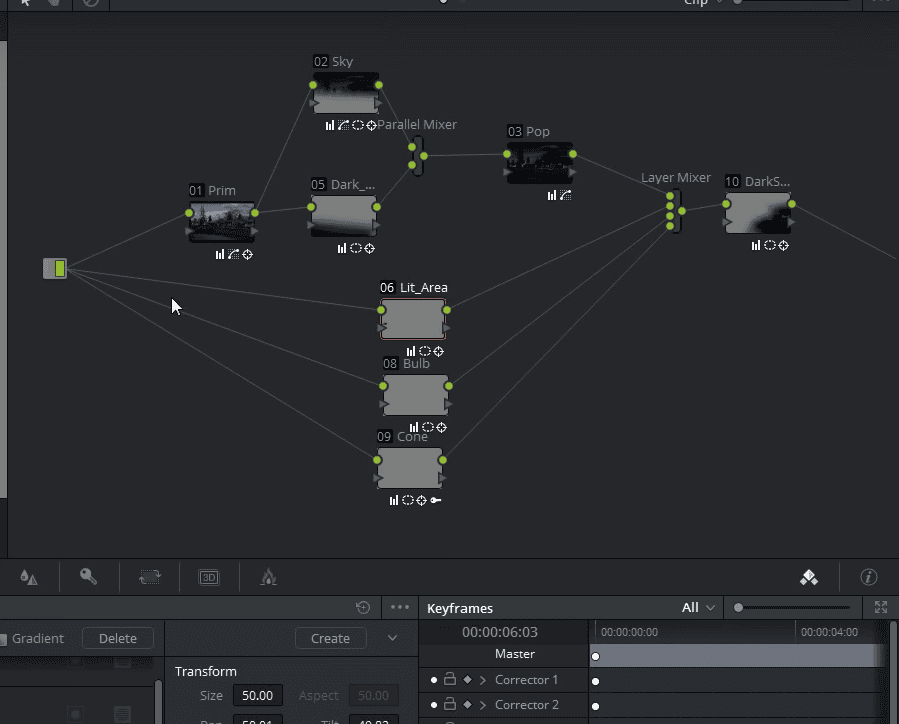
- From there, I have two parallel nodes, and what we’re doing is just darkening the sky with a dark curve (doing the same thing but in a specific area) and darkening the foreground a little bit with the dark curve. And then we pretty much have a dynamic look going in between.
- Our next node gives us a little bit of pop in the highlights just to give it kind of that moonlight feel. You can do that by simply raising your Gamma and Gain a tad bit or with your curves.
- And at the end of our nodes, we also have an area that’s darkened down just to give a little bit on the right side of the frame to give variance in the lighting throughout the shot.
Lighting Up Street Lamps and Windows In Day for Night Color Grading In Davinci Resolve
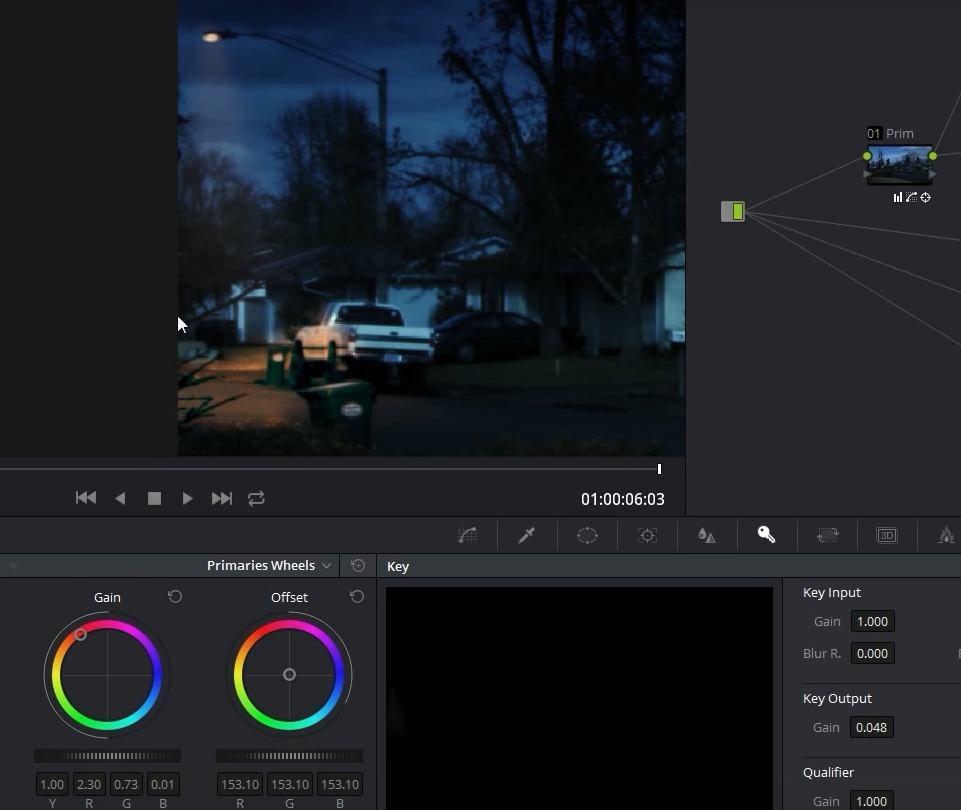
I also thought I’d get a little bit tricky, and I wanted to take the street lamp that’s off and make it look like it’s shining a light down on the street.
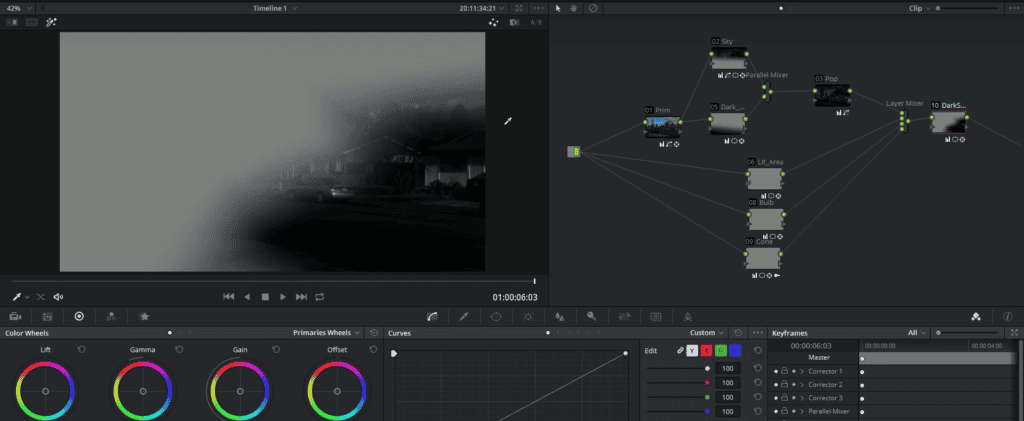
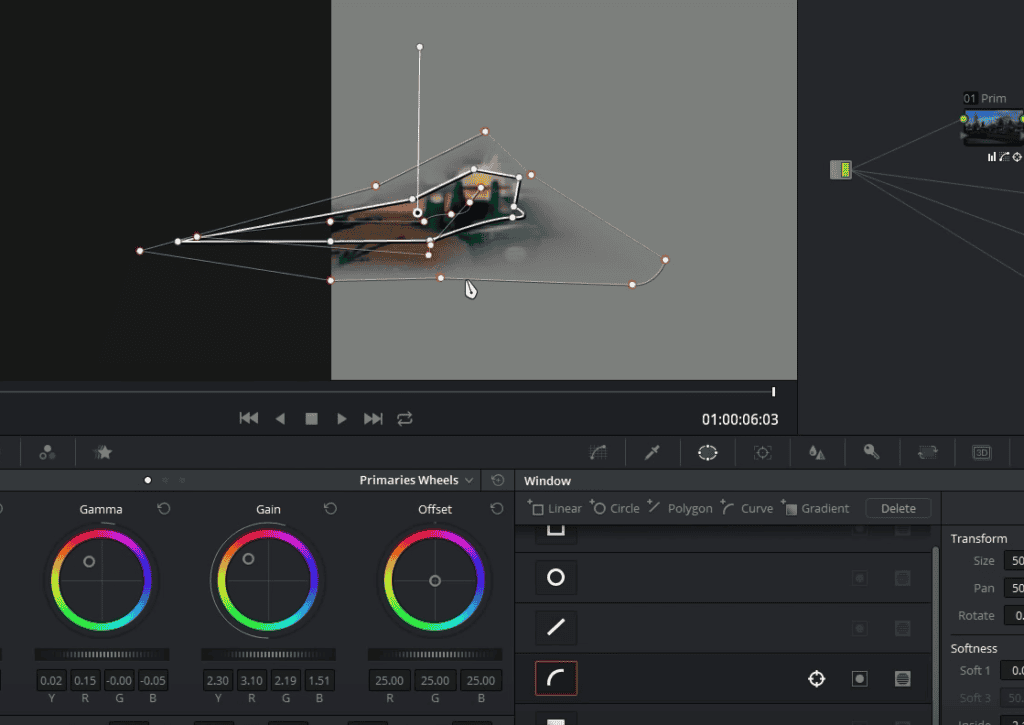
- So what I did is made a layer, bypassing all of my other corrections and just taking my input image from the starting and I did some pretty heavy warming corrections and brighten it up quite a bit. You can do this by shifting your gamma and gain towards yellow and also by raising them and then limiting all that with a power window so that’s just giving a little bit of illumination to the little area.
- I did a similar thing with the bulb. I made everything super bright and just drew a circle window over the part of the street lamp.
- To make a little cone of light because everybody likes that on a foggy night. I made another layer and pretty much just brightened the crap out of everything. So it’s just a white screen and then drew a triangle and made it really soft and put that where it was supposed to be.
- Then went to my key tab and turned down the gain to be very low. You can barely see it when it’s so low. But when you put everything together, it shows up as a pretty soft cone of light. We have the illuminated area and the bright lightbulb.
I could do a little bit more work and make this look a little bit more realistic, but you get the idea. You can do the same trick with windows but do remember to soften your windows enough so that it looks realistic.
So it’s pretty much a combination of darkening things, making things a little bit more blue, splitting up the sky and splitting up things that are maybe too bright or too dark and limiting your corrections with windows, and adjusting the things that are maybe too bright for the shot that needs to be darker all by themselves.
So all of that comes together to make the shot work and without these pieces that are darkened, you see the effect isn’t the same.
So that’s kind of the key to making it work is just darkening certain parts of the image to kind of sell that effects a little more.
Tracking the windows!
The cool thing is because I did all of these with windows, I can track each of these windows to go along with the shot because this is a handheld shot and everything moves along with the shot just fine.

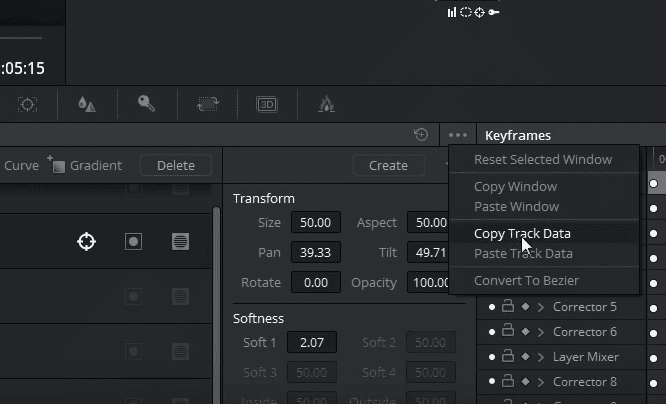
One trick I’d like to share is because the whole shot is moving all at once, we can copy this track data from one window and apply it to each of our layers.
So I just tracked it in one window, went to my windows palette, and selected copy track data. Went to each of my nodes with windows and pasted the track data and put the window where it’s supposed to be and boom, there it is stuck to the shot. So there are some tips on doing a quick day-to-night conversion inside of Davinci Resolve.
It’s very simple actually just keep in mind that the shot you select does not has direct sunlight but rather has soft and even light.