Welcome back to Filmmakingelements.com, Are you looking to achieve smooth skin in DaVinci Resolve but don’t know where to start? Don’t worry! In this comprehensive blog post, we’ll guide you through using the Beauty Tool in DaVinci Resolve, an essential tool for enhancing your video projects by effectively smoothing out skin tones without making them look artificial or plasticky.
Getting started with the Smoothing Skin in DaVinci Resolve

- Open DaVinci Resolve and load your project: Begin by launching DaVinci Resolve and opening your desired project. Ensure that your clips are imported and placed on the timeline.
- Access the Color page: Navigate to the Color page, which is where you’ll be working with the Beauty Tool.
- Click on the OpenFX button: Locate the OpenFX button on the top right corner of the screen and click on it to access the OpenFX Library.
- Add the Beauty Tool to your project: In the OpenFX Library, find the “Resolve FX Refine” category and select “Beauty” by clicking and dragging it onto the desired node in your color grading workflow.
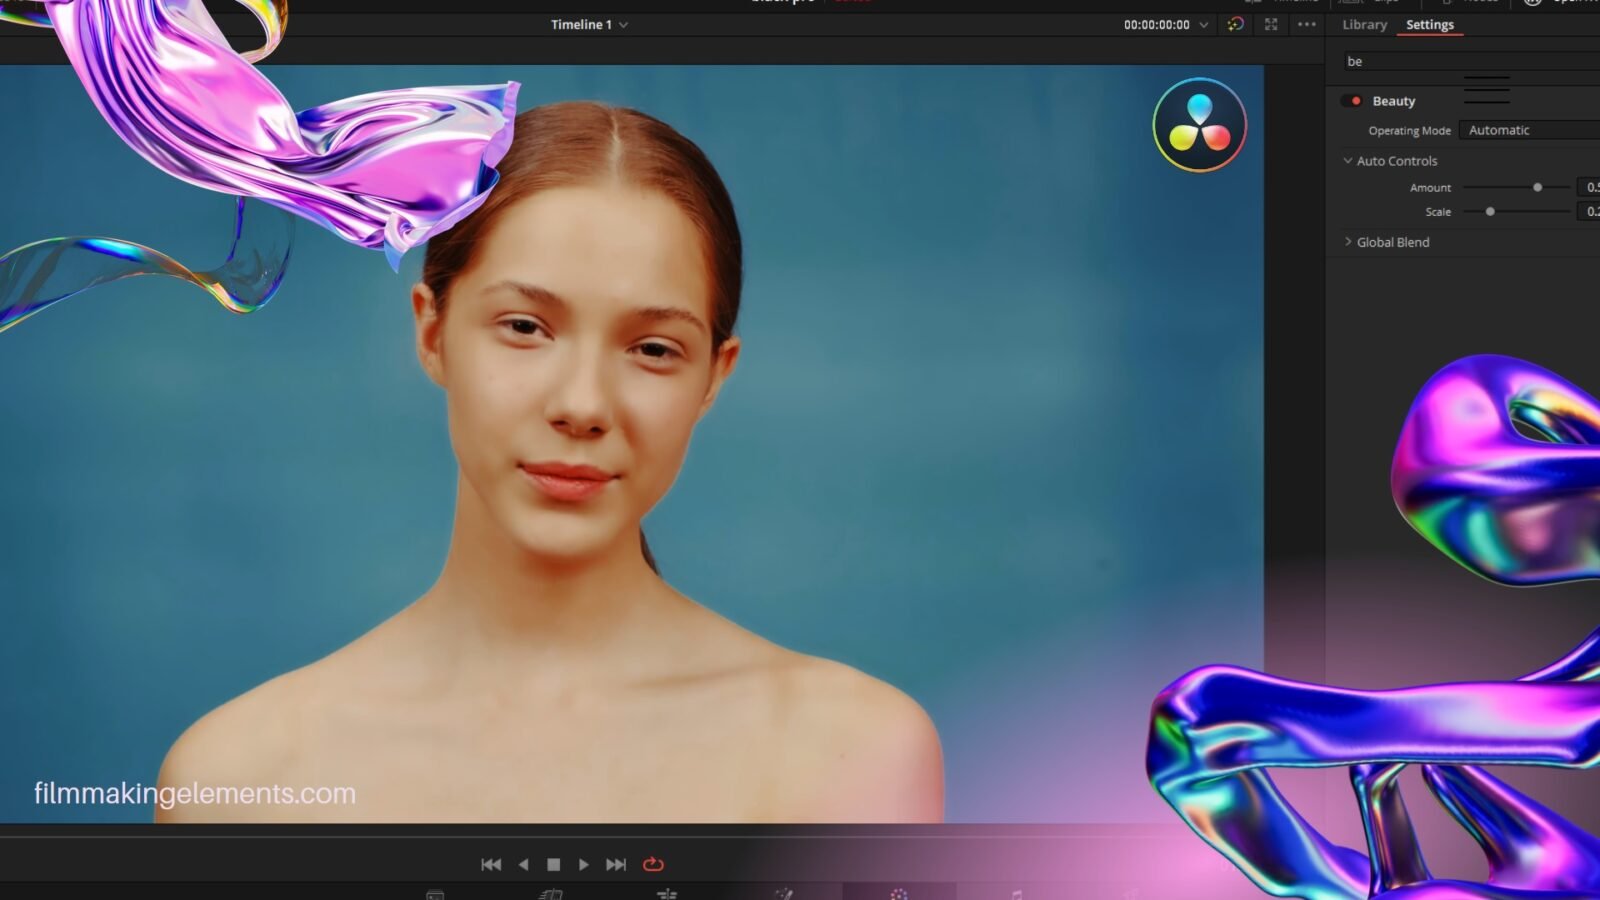
- Select the Automatic Operating Mode: With the Beauty Tool added, you’ll find an “Operating Mode” dropdown menu in the OpenFX Inspector. Select “Automatic” to access the user-friendly auto mode designed for beginners.
Using the Beauty Tool in DaVinci Resolve For Smooth Skin:
The Beauty Tool employs frequency separation techniques, which are somewhat similar to the texture pop tool but with a more user-friendly automatic mode for beginners. This automatic mode pre-defines the appropriate frequency generally associated with skin tones and adds back some texture detail in the higher frequencies to maintain a natural look.
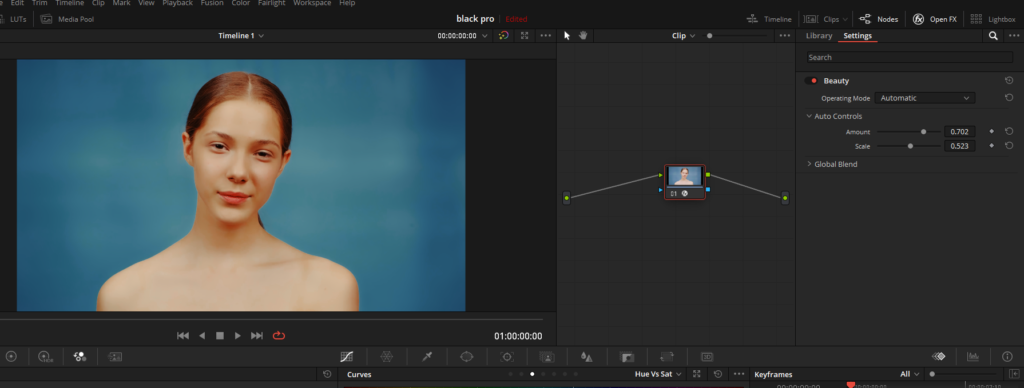
- Adjust the Amount Slider: To adjust the effect, navigate to the auto tools and tweak the amount slider. Sliding it to the left results in sharpening, while sliding it to the right leads to smoothing. This slider helps control the degree of smoothing applied to the skin tones in your footage.
- Control the Scale Slider: The scale slider is crucial for controlling the strength of the effect. With zero disabling the effect and higher values increasing the intensity, you can find the perfect balance for your specific project.
- Preview your changes: As you make adjustments, it’s essential to preview your changes by toggling the Beauty Tool effect on and off. This will help you assess whether the effect looks natural and doesn’t overly smooth out the skin.
- Optimize the Beauty Tool effect: In addition to the automatic mode, the Beauty Tool also offers an advanced mode for more experienced users. This mode allows you to fine-tune the effect by adjusting parameters like radius, threshold, and detail level, providing even more control over the final result.
- Isolate the effect to specific areas: One critical aspect to remember while using the Beauty Tool is that it doesn’t isolate skin exclusively. Instead, it targets medium to low frequencies, which generally correspond to skin tones. Consequently, you need to be cautious about the tool affecting other parts of your image simultaneously.
Isolating Areas with the Beauty Tool and Window Tracking For Smooth Skin
Mastering face retouching in DaVinci Resolve requires knowing how to isolate specific areas effectively when using the Beauty Tool. In this section, we’ll guide you through the process of isolating an area and refining the effect to achieve a natural-looking result.
Isolating the Area with the Beauty Tool and Window Tracking:
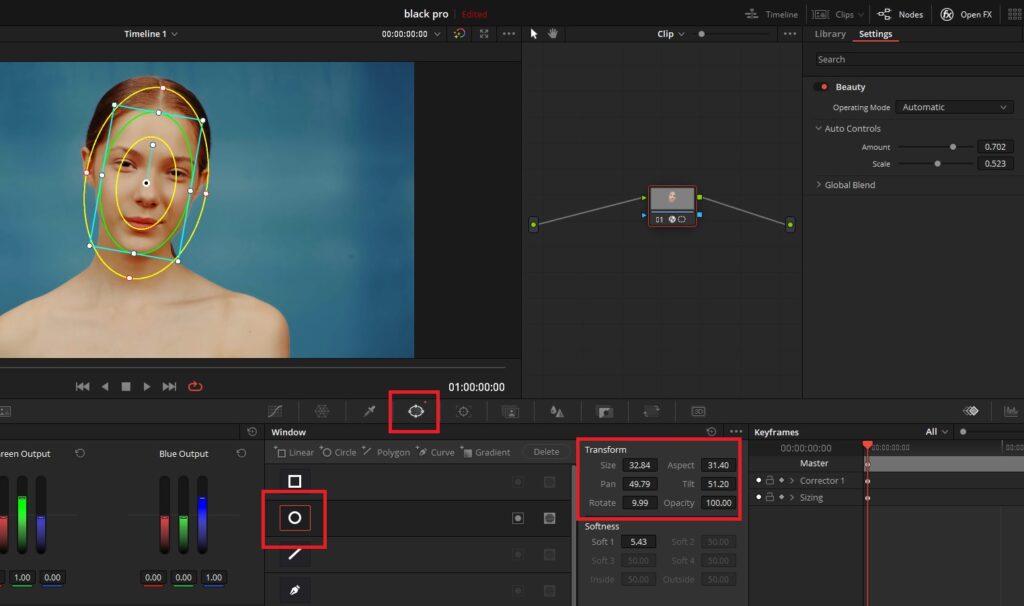
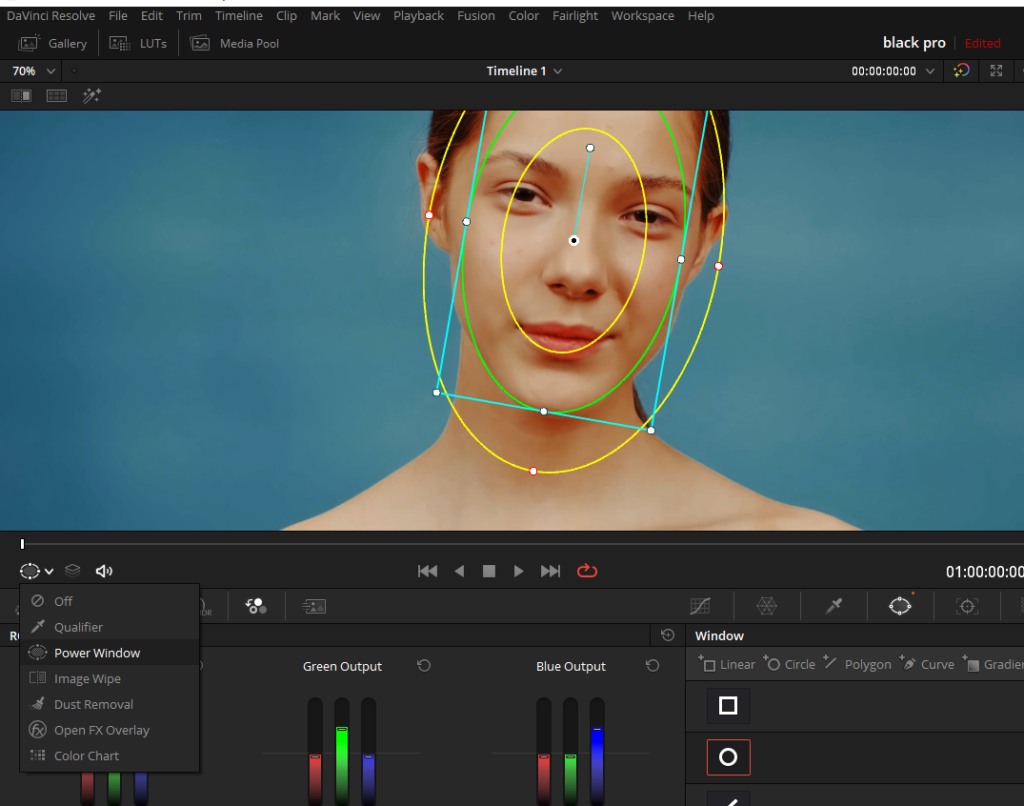
- Access the Window Tool: In the Color page, locate the Window panel in the middle-right section of the interface. This panel allows you to create various shapes for isolating specific areas of your footage.
- Create a window around the subject’s face: To isolate the face, draw a window around it using the pen or shape tools available in the Window panel. Spend some time ensuring that the window accurately covers the entire area you want to retouch.
- Power Window Overlay: If you’re having trouble seeing the power window overlay in DaVinci Resolve, simply look for the drop-down menu located below the viewer and make sure to select the window overlay option to display it on your workspace.
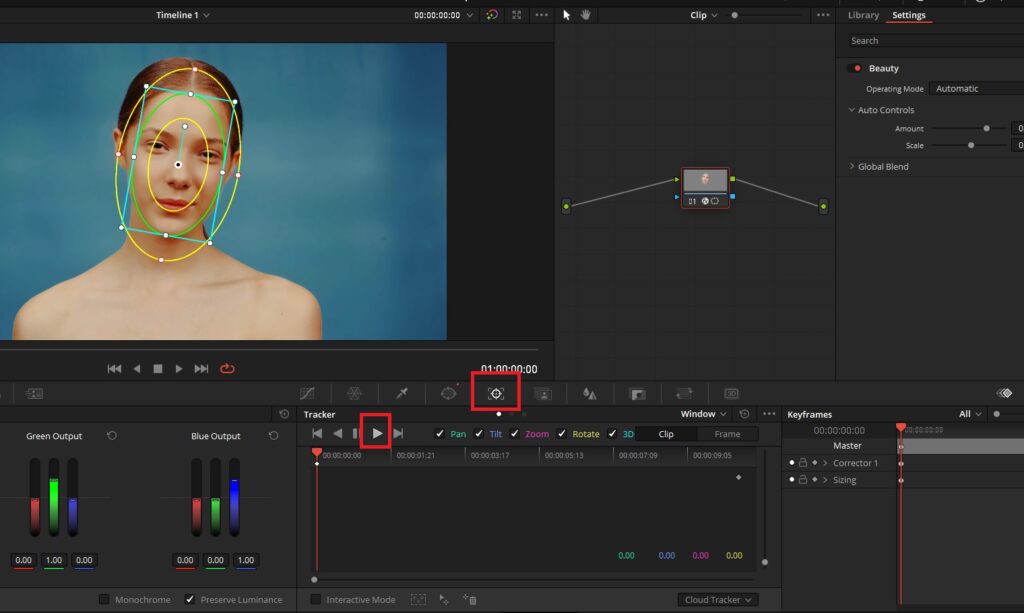
- Track the window: After drawing the window, use DaVinci Resolve’s tracking tool to track the subject’s face throughout the clip. Click on the arrow once, and the tracking will automatically move forwards and backward according to your clip’s timeline.
- Refine the window: Once the window has been tracked, go back to the Window panel and adjust the softness to create a more natural transition between the isolated area and the surrounding footage.
- Apply the Beauty Tool: With the area isolated, the Beauty Tool will now focus solely on the skin within the window. If the effect appears too harsh, use the Global Blend option, even in Automatic mode, to blend the retouched image with the original footage.
Advanced Features of the Beauty OFX
Creating smooth skin in DaVinci Resolve can be achieved by utilizing the advanced features of the Beauty OFX. This powerful tool offers a range of options to refine skin texture and tone, while preserving important details like hair and pores.
Advanced Features of the Beauty OFX:
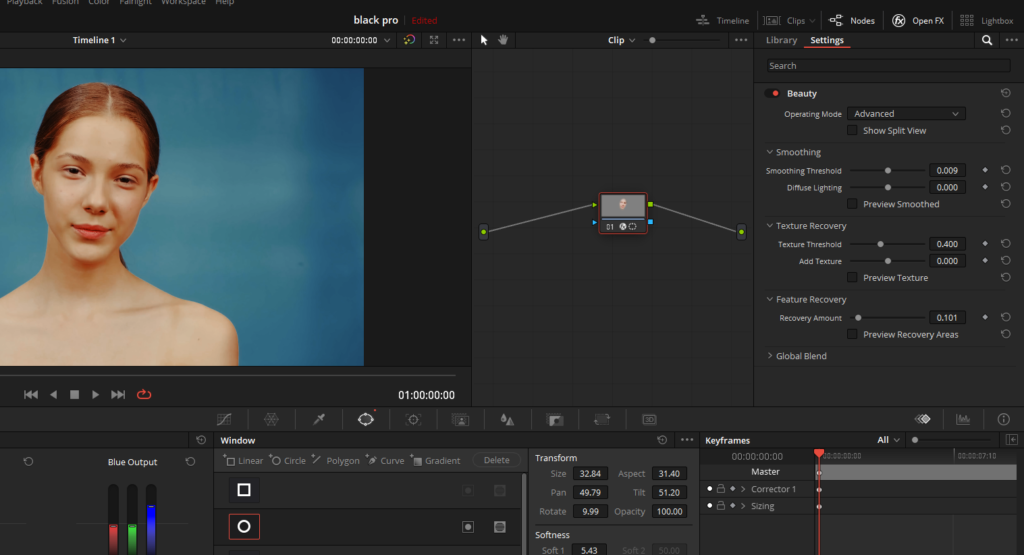
- Switch to Advanced Mode: In the Beauty OFX settings, toggle from Automatic to Advanced mode. This will reveal additional controls for smoothing, texture, and feature recovery.
- Adjust Smoothing Threshold: The smoothing threshold slider can be used to control the degree of smoothing or coarsening applied to the skin. The diffuse lighting option, similar to the mid-tone detail tool, adjusts the contrast without changing the actual lighting.
- Fine-tune Texture Recovery: To maintain a natural appearance, it’s essential to recover some texture in the skin. Use the texture threshold slider to determine the amount of texture to be restored, and preview the changes to ensure the right balance between smoothness and detail.
- Preserve Key Features: The feature recovery settings focus on preserving crucial details, such as the eyes and lips. Adjust the slider to control the amount of recovery, and use the preview to visualize which areas will be affected.
- Use Global Blend for a Natural Look: After making adjustments to the various settings, use the global blend slider to blend the retouched image with the original footage. This can help achieve a more natural and seamless result.
Don’t forget to read our article How to use Face Refinement In Davinci Resolve.
Leveraging Show Split View in the Beauty OFX
Using Show Split View in the Beauty OFX for Effective Skin Retouching:
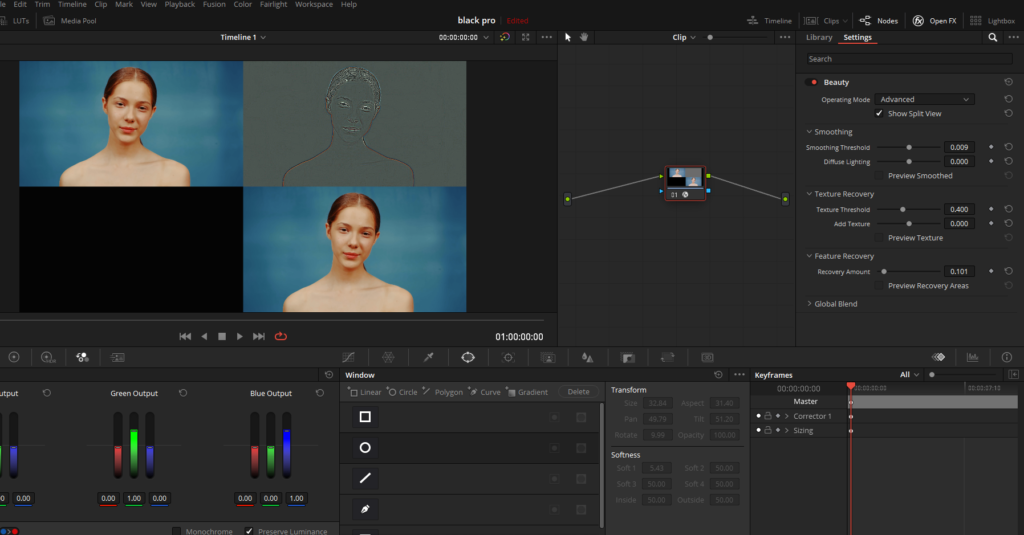
- Access Show Split View: To access this feature, navigate to the Beauty OFX settings and enable the Show Split View option. This will divide your frame into four sections, displaying the various stages of your retouching process.
- Understand the Split View sections: The top-left section represents the amount of smoothing applied to the image. The top-right section displays the texture recovery adjustments, while the bottom-left shows the feature recovery settings. Lastly, the bottom-right quadrant presents the final image after applying all retouching adjustments.
- Adjust the smoothing threshold: With Show Split View enabled, you can easily see how changes to the smoothing threshold affect the overall result. As you adjust the slider, you’ll notice the top-left section and the final image change accordingly, giving you a clear visual representation of the effect of your adjustments.
Mastering Smooth Skin in DaVinci Resolve: Working with Multiple Nodes for Effective Retouching
Achieving smooth skin in DaVinci Resolve often requires more than just a single setting. When working with beauty tools or face refiners, you may need to use multiple nodes to address different areas of the face independently, resulting in a more polished and professional final product. In this section, we’ll discuss how to use parallel nodes to work on different facial features simultaneously and effectively.
- Understand the need for multiple nodes: In some cases, you might need to adjust various facial features separately. For example, you may want to work on the mouth area without affecting the settings applied to the rest of the face. To do this, you can either add another serial node or create a parallel node. A parallel node is advantageous because it allows you to access information from the lips independently of the other node.
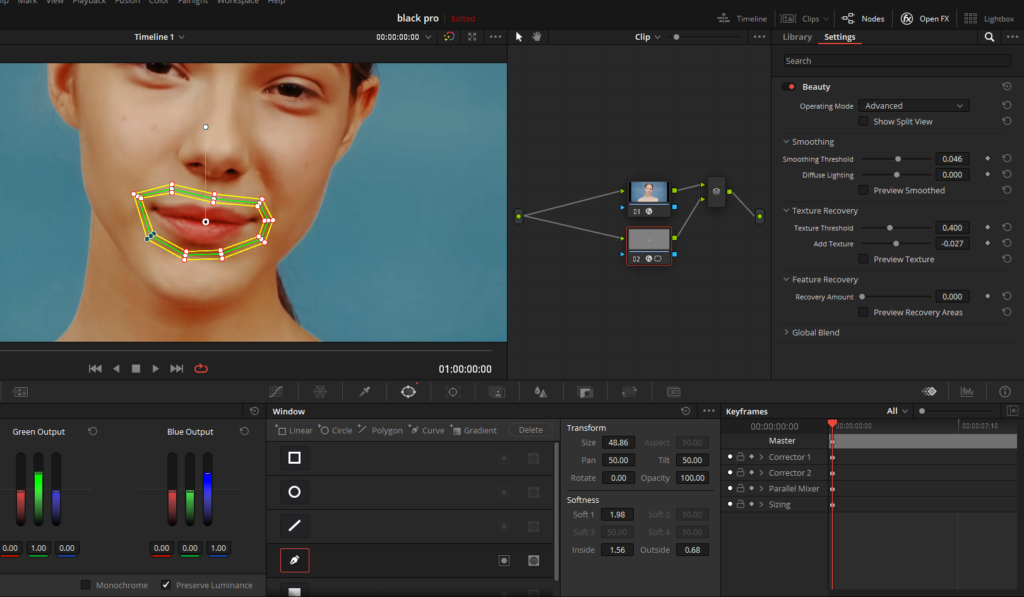
- Create a parallel node: To add a parallel node, first, select the node you want to create a parallel connection with. Then, right-click on the selected node and choose “Add Node” > “Add Parallel” from the context menu. Alternatively, you can use the keyboard shortcut “Alt + P” (or “Option + P” on a Mac) to create a parallel node quickly. This new node will now be connected in parallel to the original node, allowing you to work on separate areas of the face without interfering with each other’s settings.
- Add the beauty tool to the parallel node: After creating the parallel node, add the beauty tool to it. You can do this by simply dragging the Beauty OFX plugin from the effects library and dropping it onto the new parallel node.
- Isolate the desired facial feature: Before making adjustments to the new node, you’ll need to isolate the specific facial feature you want to work on. For example, we’ll focus on the lips. To do this, draw a window around the lips using the Window tracker in the color page. Then, track the window to ensure it follows the lips throughout the clip. Finally, soften the window edges for a more natural blend.
- Adjust settings in the advanced tools: With the lips isolated, switch to the advanced tools in the Beauty OFX settings. Here, you can adjust the smoothing threshold, texture recovery, and feature recovery to improve the appearance of the lips. For example, you might want to smooth out any dry or cracked areas on the bottom lip.
- Experiment with diffuse lighting: Diffuse lighting can help reduce any unwanted shine on the lips. Adjust the diffuse lighting setting to see if it improves the overall appearance.
- Add texture back and blend: After making your adjustments, you might want to add some texture back into the lips for a more natural look. Gradually increase the texture recovery slider until you achieve the desired balance between smoothness and texture. Finally, blend the adjustments with the original image using the global blend slider.
- Preview your work: As you make adjustments to the parallel node, be sure to preview your work regularly. This allows you to see the impact of your retouching in real-time and make any necessary tweaks to achieve the perfect result.
- Combine the power of multiple nodes: By using multiple nodes in DaVinci Resolve, you can address different facial features individually, ensuring that each area receives the appropriate level of retouching.
Conclusion
I hope you liked our detailed guide to achieving smooth skin in Davinci Resolve. This face-retouching method is the fastest and most efficient way to achieve good-looking faces for your projects.