Hi everyone, I will show you how to Move Premiere Pro Timeline to Davinci Resolve (Using XML Workflow), ready to start grading. If you’re an absolute beginner, I’m going to show you exactly how to do this process.
It’s straightforward, but it’s not always a smooth ride. I will show you some of the things that you might come up against and exactly how to fix them.
Let’s go and take a look.
Transferring XML timeline to Davinci Resolve
We’re in Adobe Premiere. What I want to do in this first part is to show you, as an absolute beginner, how easy it is to take a timeline and send it to another system. In our case, it’s going to be DaVinci Resolve, ready to start grading.
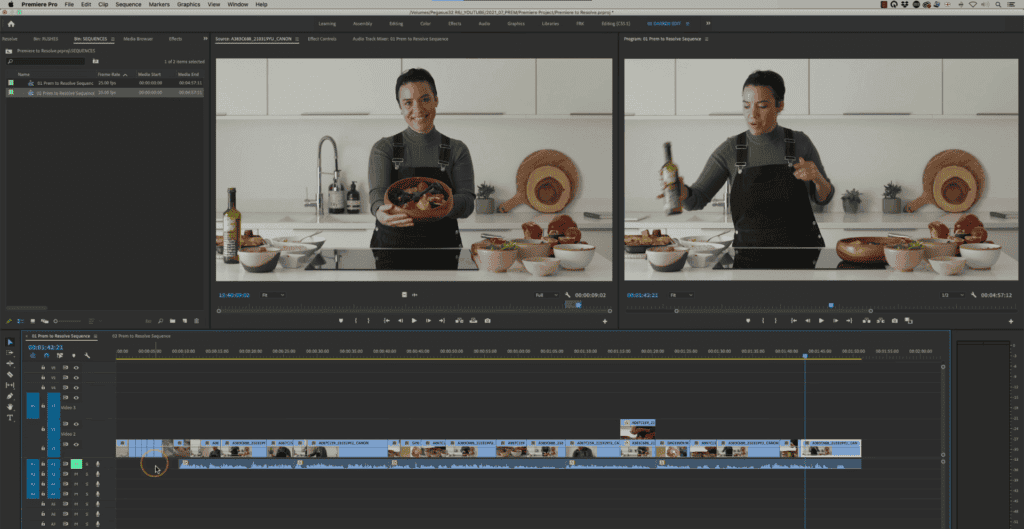
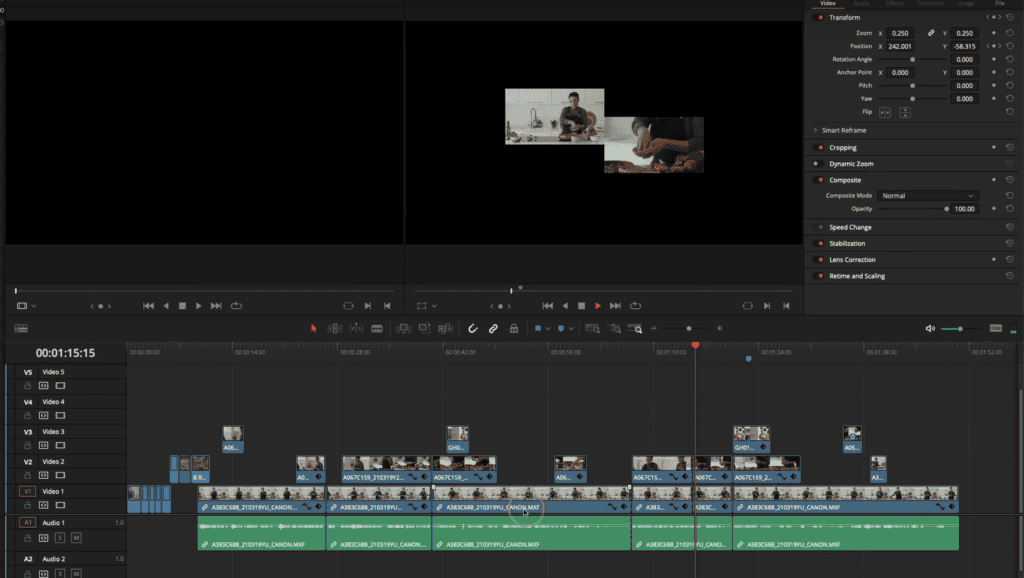
We’ve got our sequence in Premiere Pro. It’s a standard edit with just some regular cuts. There’s a dissolve, and something else is happening that is a picture-in-picture type thing. We need two layers for that.
That’s the essence of the program. We want to get this information to DaVinci Resolve as quickly and efficiently as possible. Now, the best way to do that is to export an XML. An XML contains all of the edit decisions. Every time I’ve made an edit, the XML knows where that is, and it knows which file name the clip belongs to.
It will list all these clips in the order they appear with the correct time codes. That information will come across in the XML as well. An XML is an industry standard. It’s a common way of exchanging edit information between different systems.
It will also take across things like speed changes, resizes, audio levels, effects, how many video tracks you’ve used, how many audio tracks, stuff like that. How do we export that?
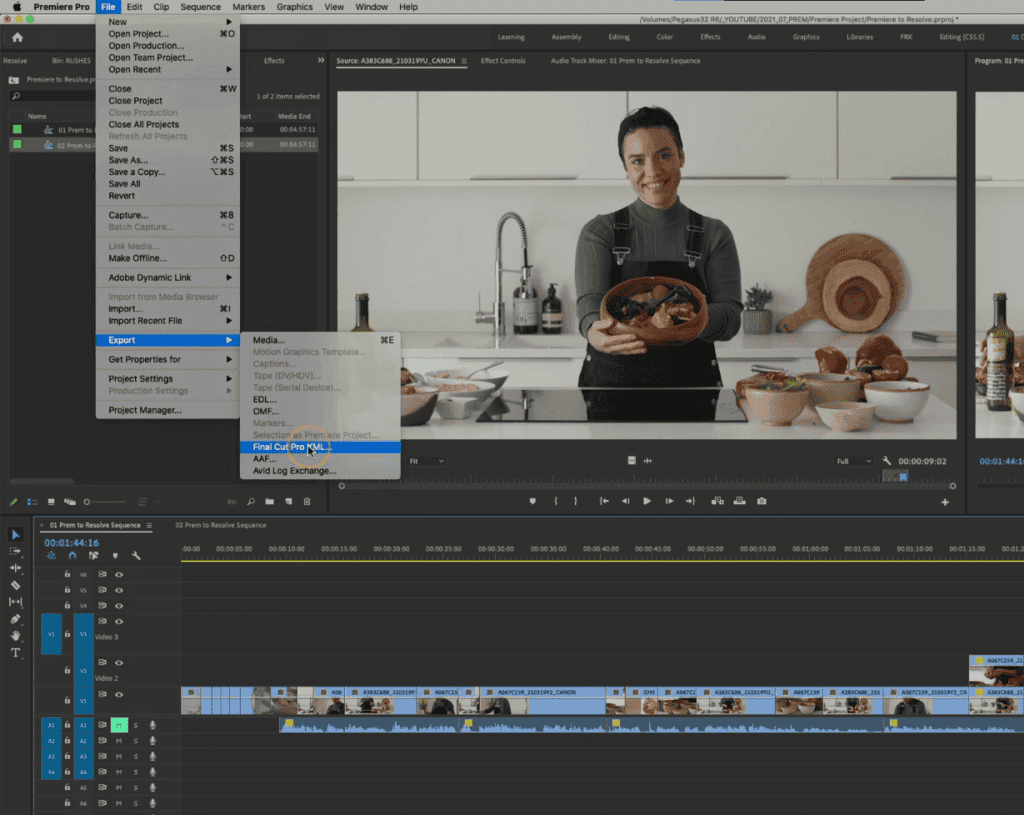
We go up to file, and we say export Final Cut Pro XML, don’t worry that it says Final Cut Pro. It’s an XML file. XML files can talk to many different systems.
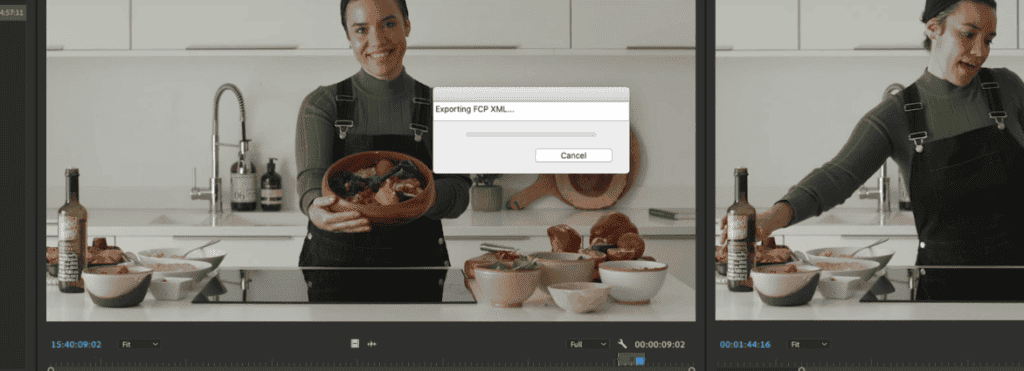
You can then give it a location and save it. That is now exporting out an XML of my timeline. It’s not exporting any media. It’s just taking the information from the timeline, the metadata. All we have to do now is switch to whatever system we want to go to. In our case, that’s DaVinci resolve.
Open XML in Davinci Resolve
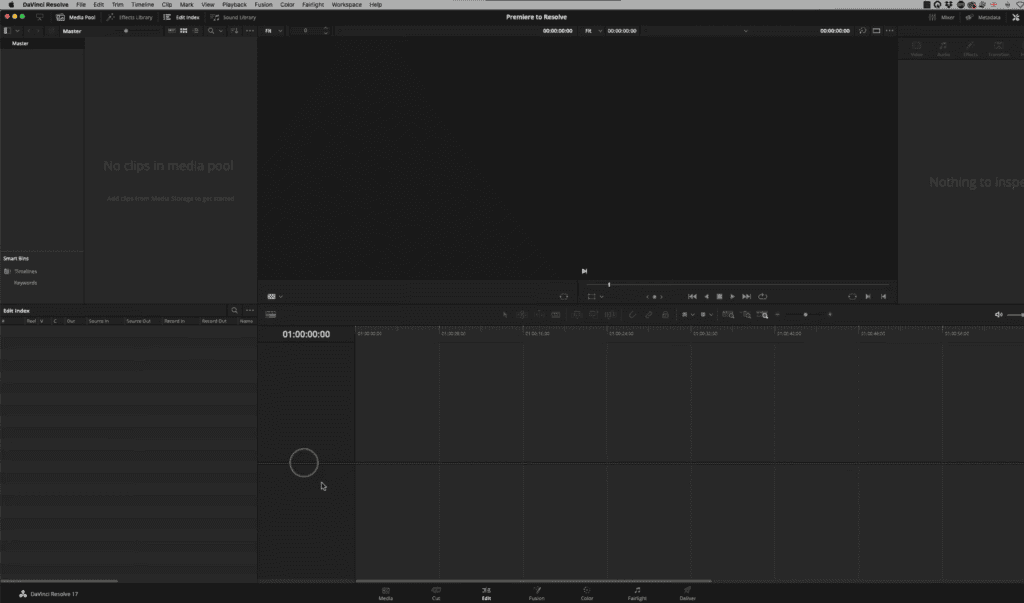
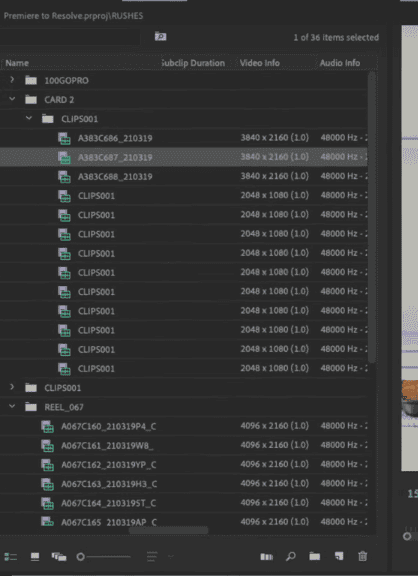
In DaVinci Resolve, you have a media pool. All the clips we want to use for the grade need to be inside this media pool.
Resolve will not work if those clips are not in there. In Adobe Premiere, to import material, you open a bin and say file import. Suppose we go straight to our edit page. Make sure you are on a new project.
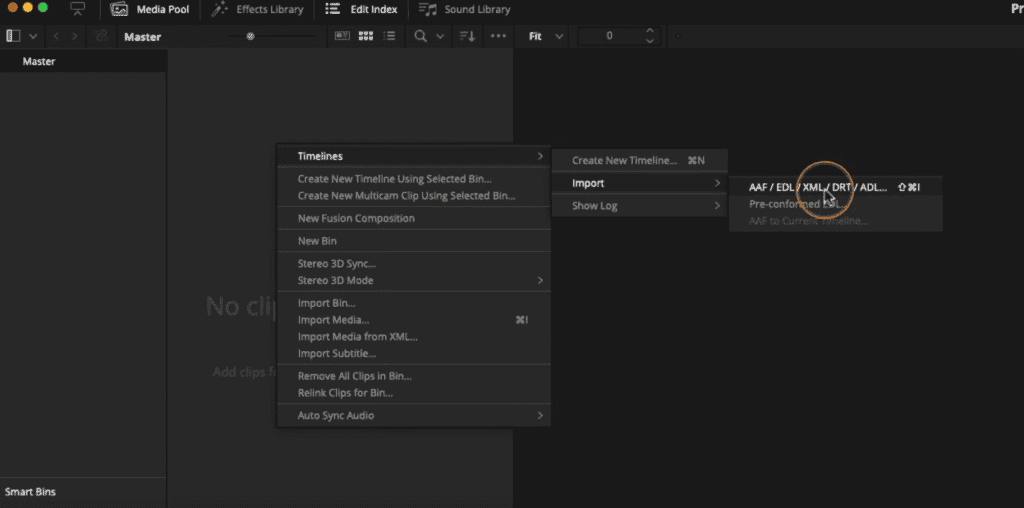
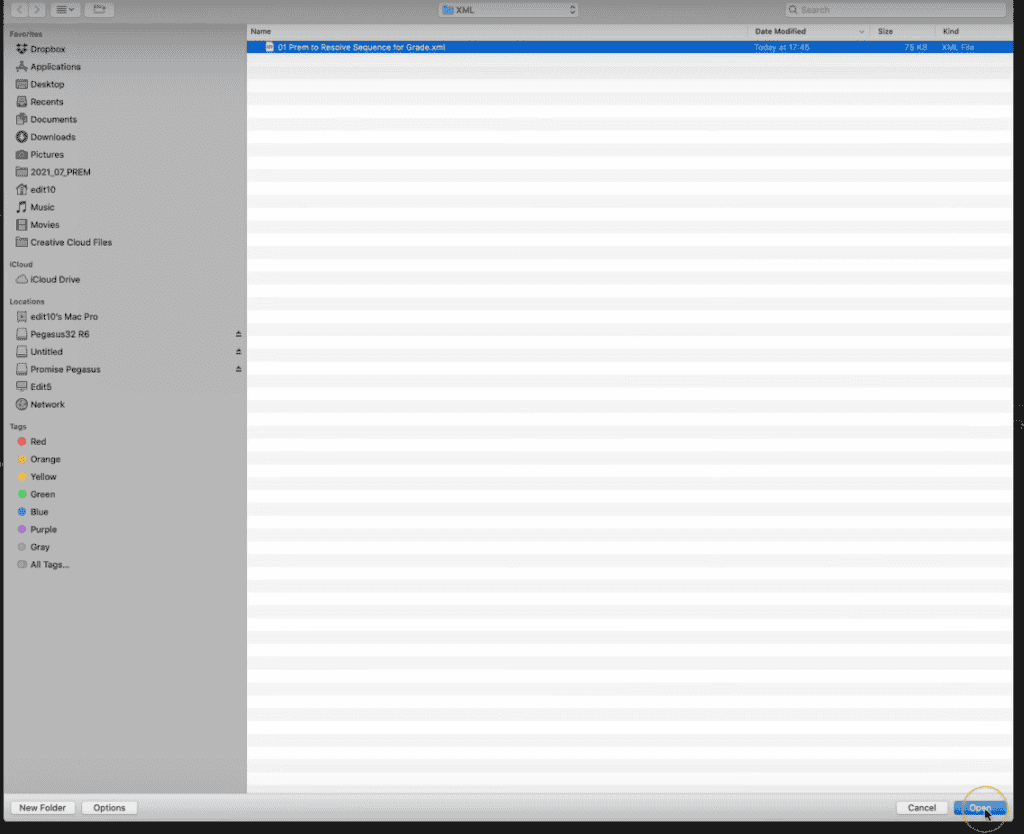
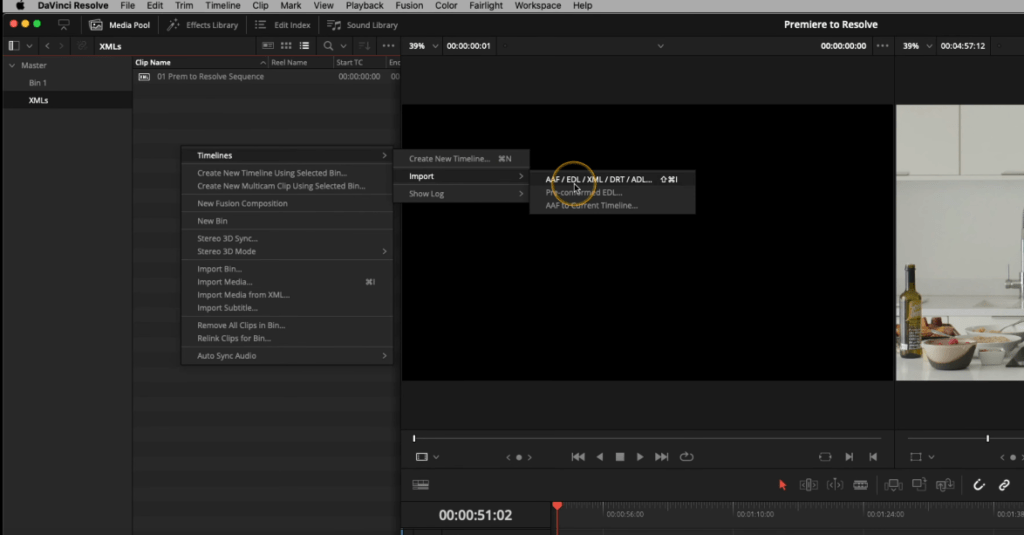
I’m going to right-click in the media pool. Go to Timeline>import>XML. I will point to the XML that we just created and say open. What happens now is we get a dialog box.
Resolve is being intelligent here. It’s looking at the XML and saying, what do I want to do with it? The source file is the name of the XML.
The timeline name gives it the same default name as you’ve imported. The master timeline’s start timecode; it’s saying is 1 hour. That’s actually what the default is on my edit page.
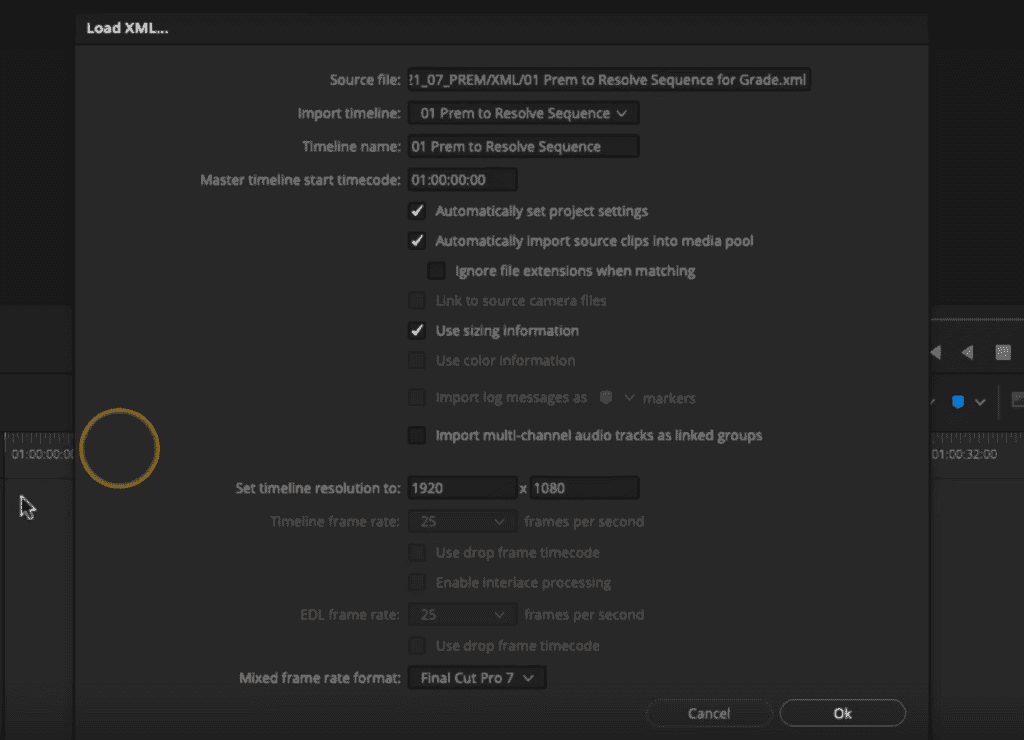
What we’re going to do is override that. If I say automatically set project settings, it will override the start timecode. Because in Premiere, our time code started at 0-hours, you don’t have to worry about it too much. Davinci Resolve projects begin with a 1-hour timecode by default.
I’m automatically going to set the project settings to look at the frame rate. I’m going to import the source clips into the media pool automatically. Davinci Resolve will do it for me; it’s going to look at the XML, it’s going to see which clips are used in Premiere, and it’s going to bring them into the media pool for me automatically.
It’s also going an option to use the sizing information. When we did that picture in picture effect, we must have resized it. I will bring that information across because the XML has saved that information.
My timeline resolution is 1920 x 1080. That has been taken from the Premiere sequence settings that I had. Now just Ok.

It’s as simple as that. We now have all our cuts in the timeline ready to go. These can now be graded in Resolve by simply clicking on the color page.

Okay. I can now go ahead and simply start grading these shots. A straightforward way of bringing them in. Now that is an effortless way of doing it. That is all you need to take away as a beginner.
What I want to do now is move on to a more advanced part and look at when things don’t go quite to plan. If we look at our picture in picture effect, it’s not worked. Okay, so what I want to do in the next part is to show you how to fix this and go into a little bit more advanced work when we’re working with more complex timelines.
Also Read- How To Render 60fps In Davinci Resolve
Also Read- How To Transcode In Davinci Resolve
Also Read- Make Motion Graphics in DaVinci Resolve
Fixing Scaling And Resizing
Let’s look at what went wrong with the XML when we had a look at the picture in picture effect in Resolve. If we check our sequence settings, in Premiere Pro, we go to sequence>sequence settings, and we see that we are set to 1920 x 1080. This is an HD regular Timeline.
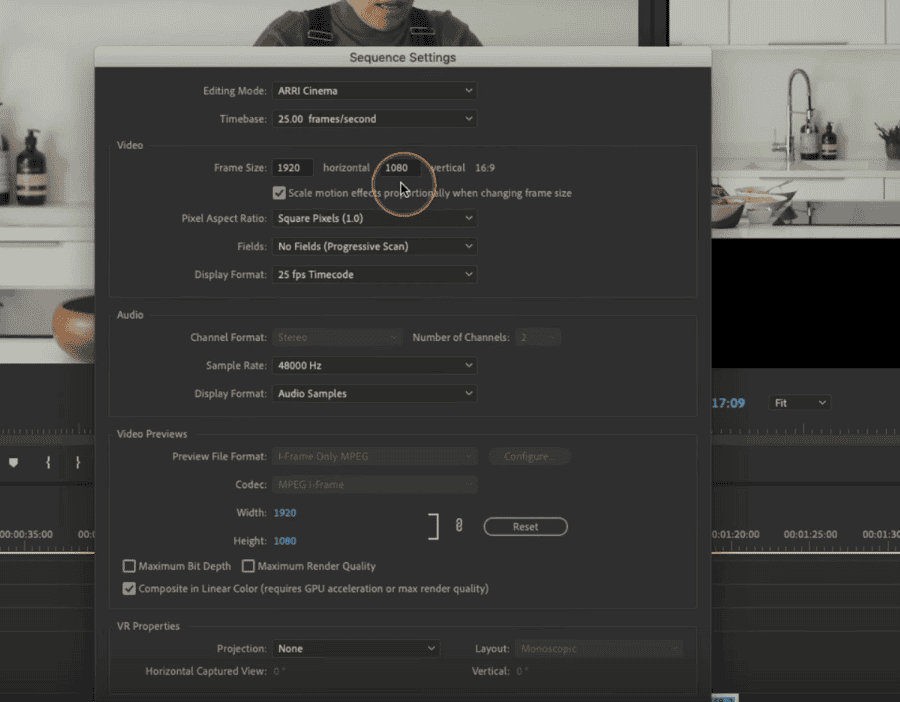
Now our footage is made up of a combination of UHD, 2K, and 4K footage, and Premier can handle that quite cheerfully.
Premiere has two different ways to resize images—Scale to frame size and Set to frame size.
Now when we’re on the Scale to frame size, what Premiere does is it automatically rescales it to be HD. But the effect control doesn’t show anything in the scaling. The scaling is still at 100% because it’s rasterizing the image.
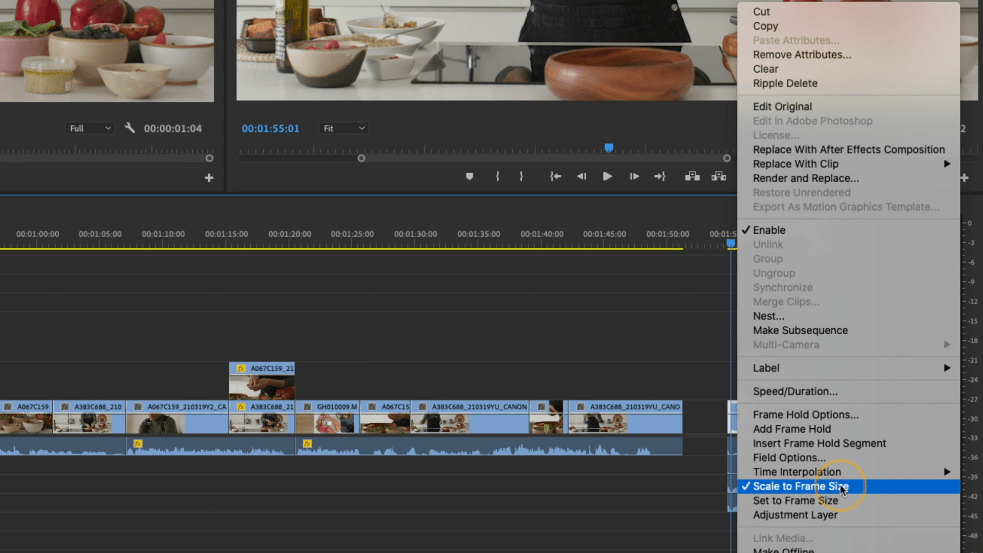
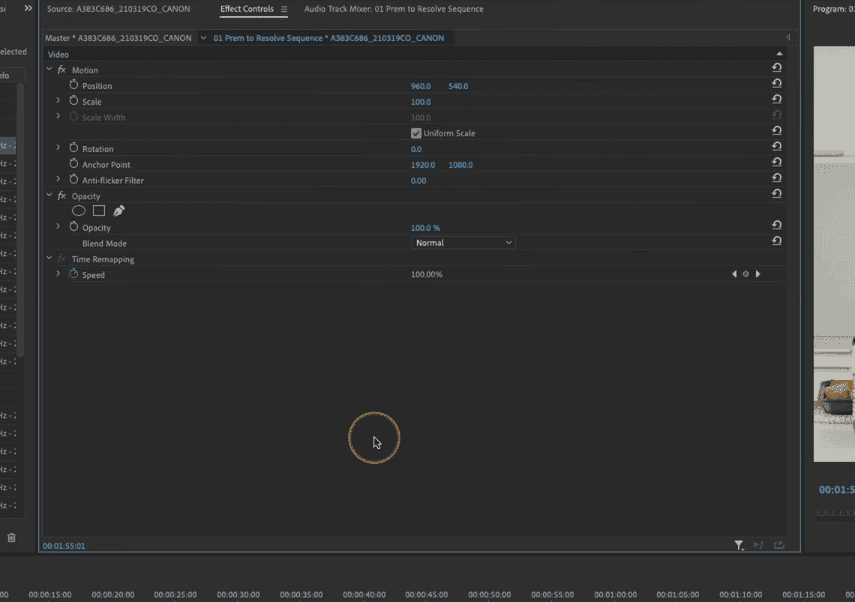
It’s virtually bringing it into HD resolution instead of Ultra HD resolution. If I change that, right-click and click on set to frame size, you will see now that the scaling has become 50%. It’s now correctly scaling the image from Ultra HD down to HD size. It will give you much better quality.
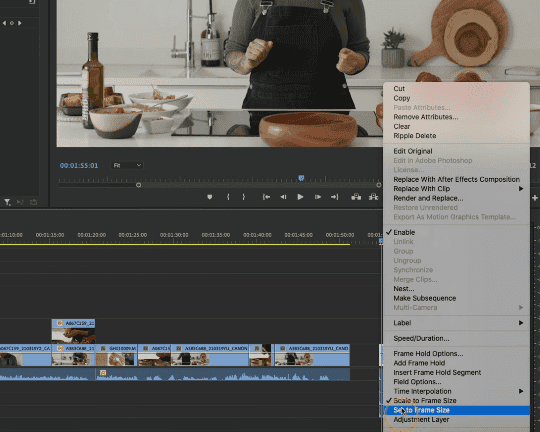
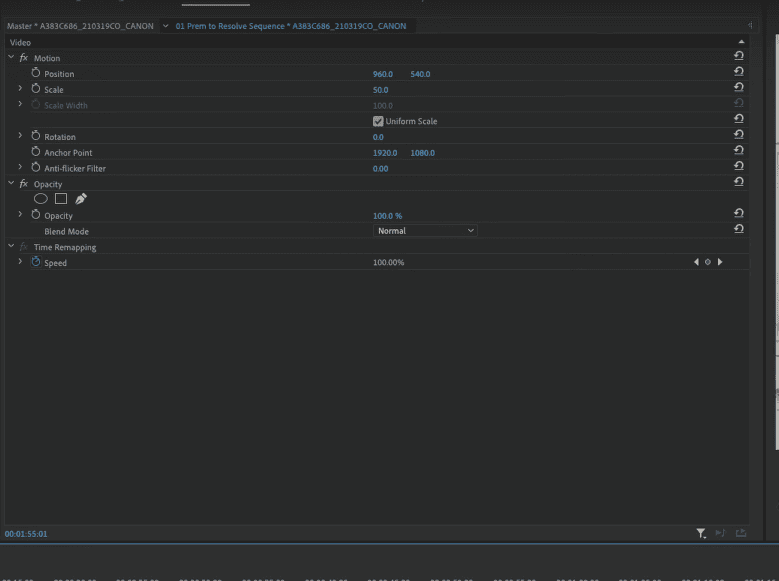
The set to frame size is going to give you much better quality. The XML didn’t work on the picture in picture effect because the XML was misreading the information.
Because the XML did not transfer the scaling information as Scale to frame size did not show up in the effects, it just rasterized the footage. But, if you use Set to frame size, the scale change will appear in the Effects tab. Hence, that information can then be carried in the XML.
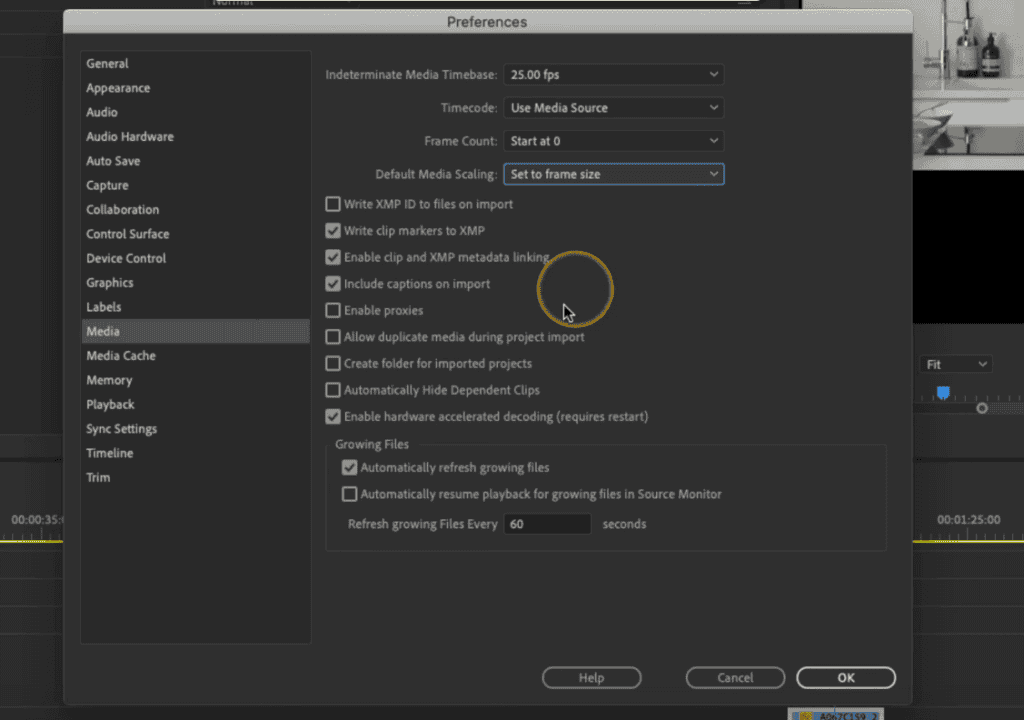
You can use set to frame size to be a default. If you go to Premiere Preferences and get to Media, you will see that the default media scaling is currently scaled to frame size.
Before starting a project, the first thing you want to do is “set to frame size,” not “scale to frame size” is selected. It will give you better quality images, and it’s going to make sure your XMLs work correctly.
Advance way of moving Premiere Pro timeline to Davinci Resolve
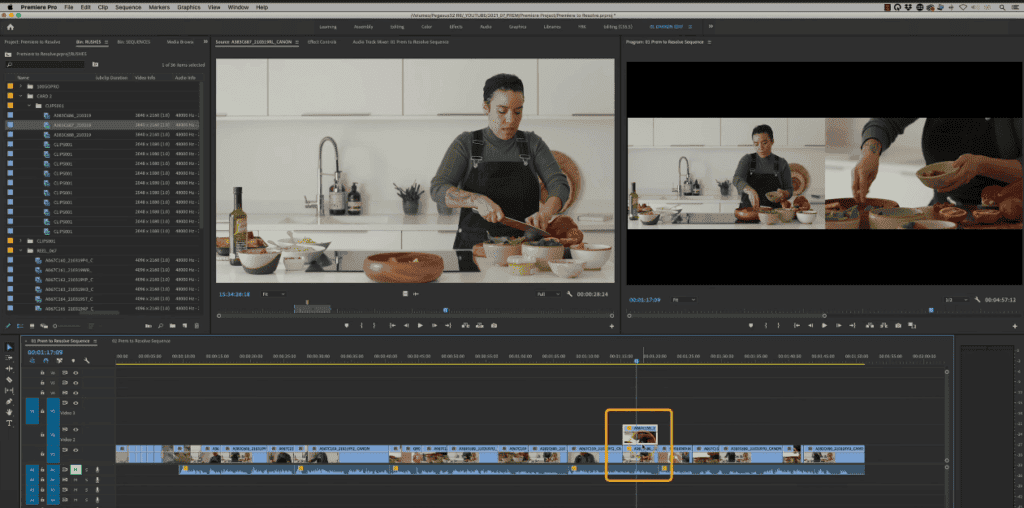
Now I’m going to go to the second sequence, and we’ve got a lot more going on in the edit. When the sequence was built, the preferences were set to frame size.
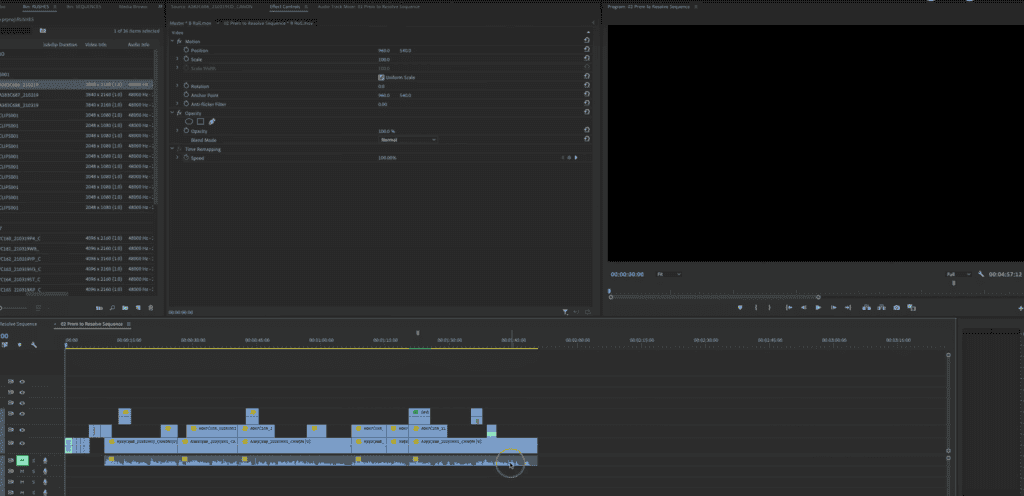
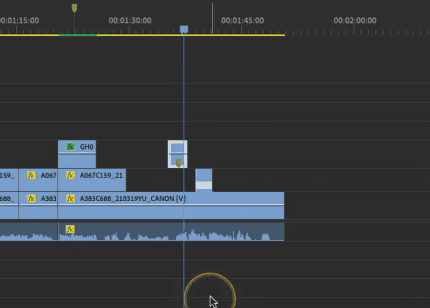
We know our XML is going to be far more successful. Now we’ve got just basic cuts going on in the edit. We’ve got a dissolve; we’ve got multiple layers; we’ve got three video layers going at few places.
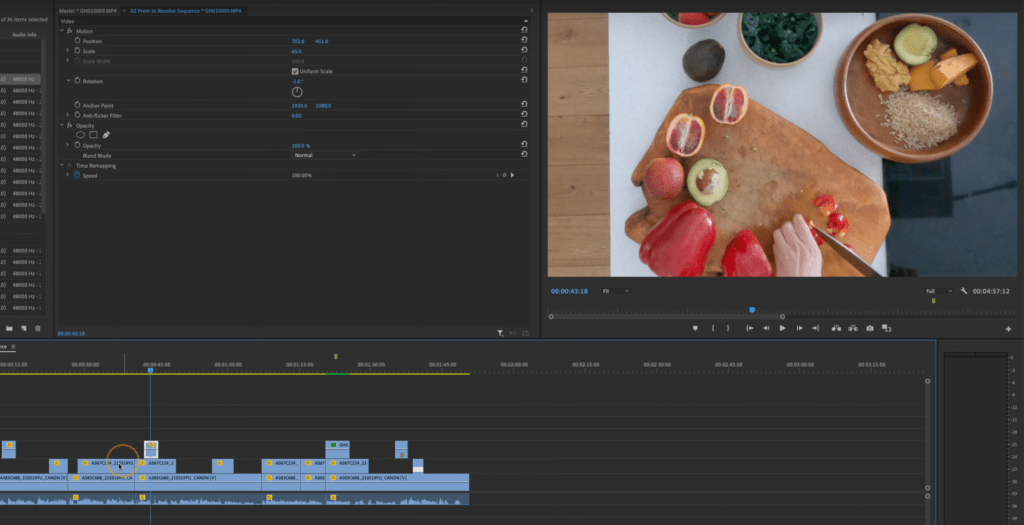
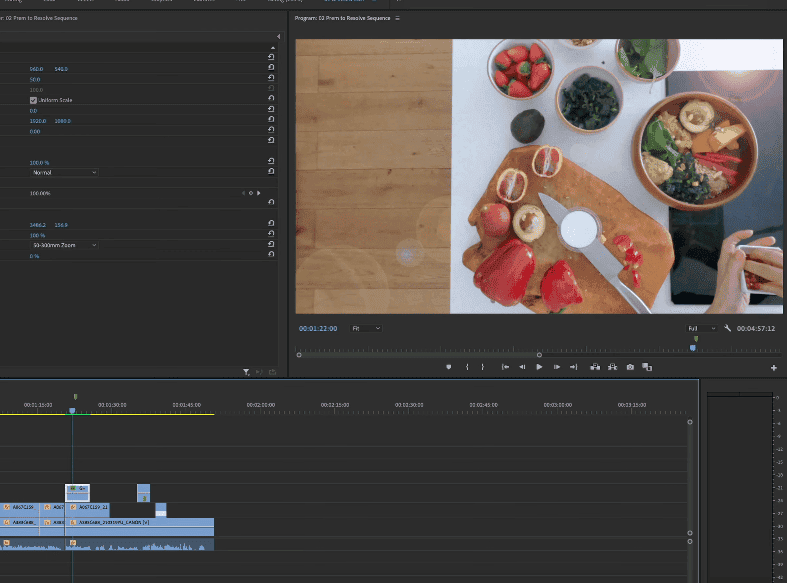
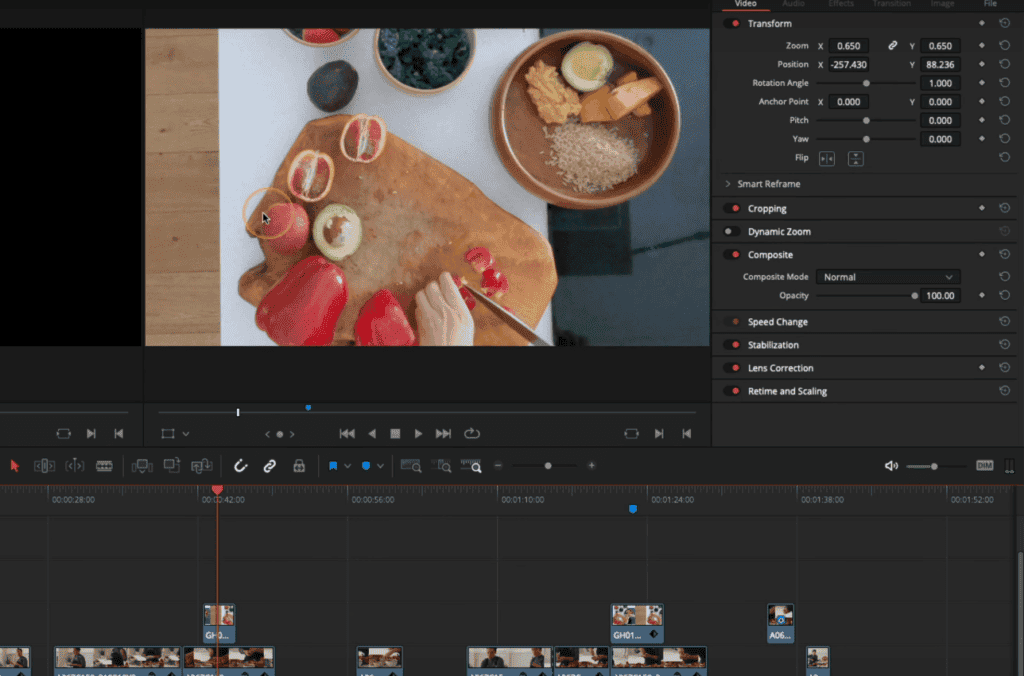
We also have some Go-Pro footage. What we’ve done is we’ve got a scale of 65, but we’ve also got repositioning in the Go-Pro footage. I have also done -1.0 degree in the rotation. All right. It’s just another thing for the XML to have to handle.
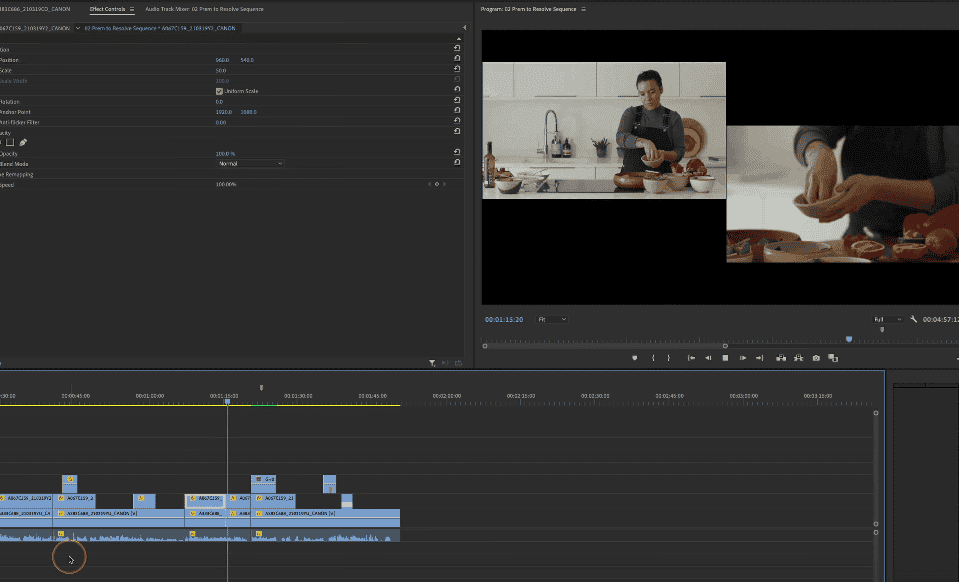
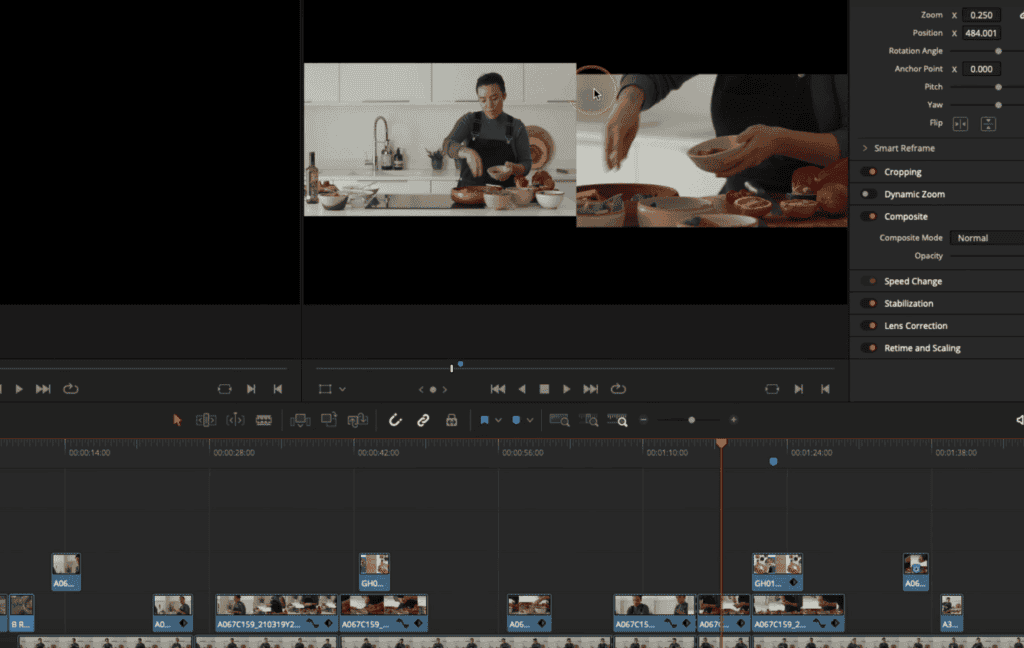
The picture in picture effect is more complex this time. The two shots are keyframed, and they move into the frame from top and bottom. We also have a shot that has got a lens flare on it. We’ve got a bit of an effect going on there. I’m going to show you what happens when you export with a lens flare on there. That’s a Premier lens flare.
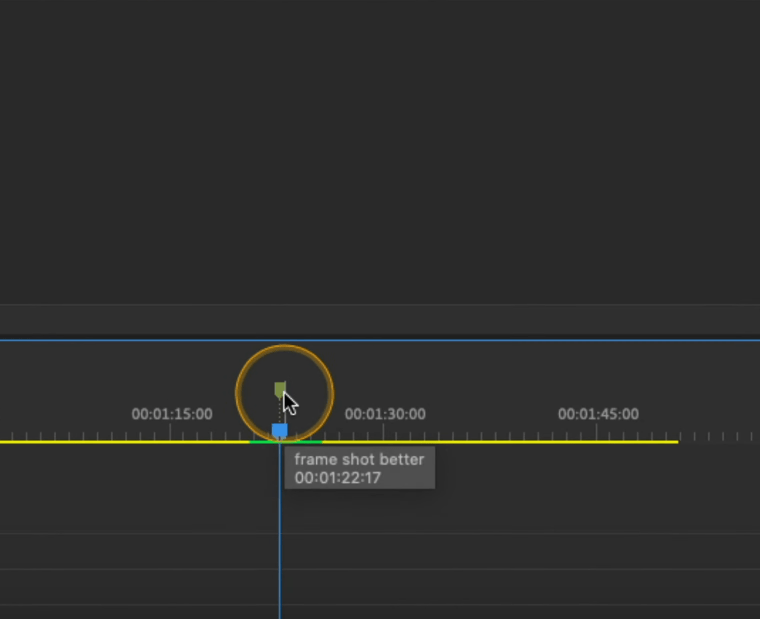
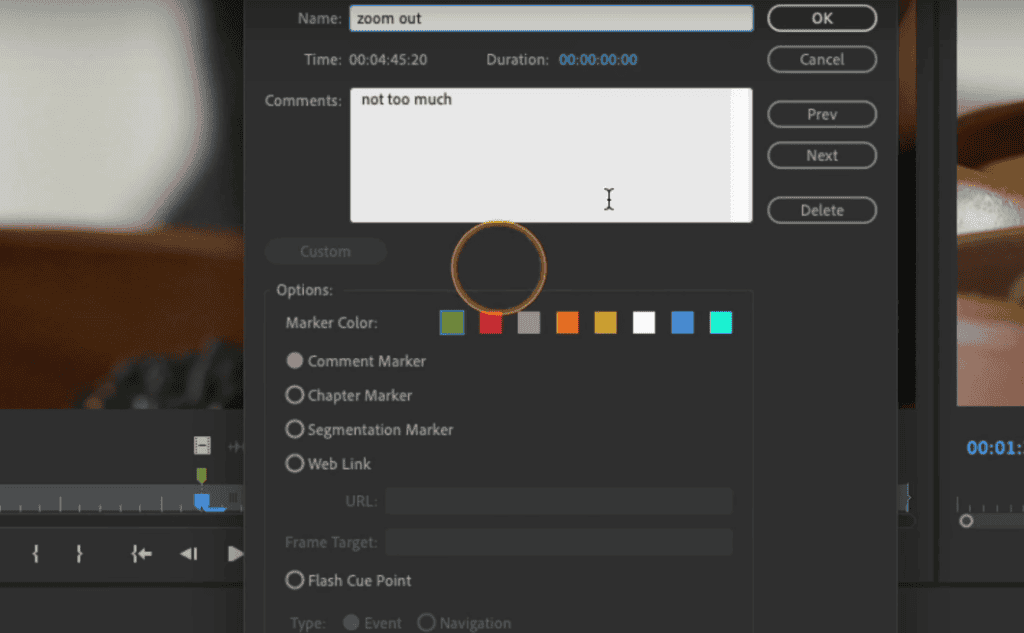
We’ve also got a timeline marker that says, “frame the shot better.” Then we also have got a clip marker that says “Zoom out- Not too much.” We have keyframed a dynamic zoom on one of the clips on it already.
Moving on to another shot, it has a speed ramp on it. To show you, that’s going to come across in the XML.
What we’re going to do is export an XML. That’s the first thing we’re going to do. We go to file>export>final cut pro XML. Then we will save it to the desired location.
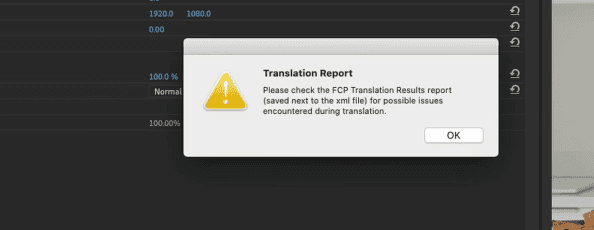
If you get a translation report error, it has all the issues while making the XML. Let’s have a look at what that says. So the XML report is just a simple text file. If I click on it, you can see that it says effect lens flare on the clip, has not translated. That’s fine.
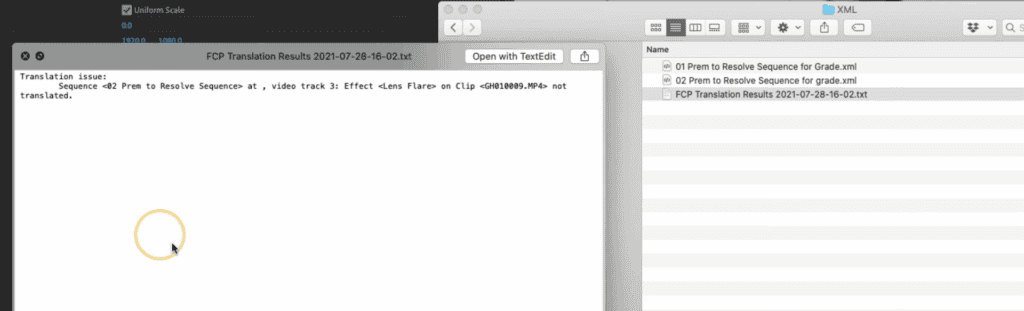
We know that Resolve is not expecting to see that lens flare via the XML. The good thing is any effects you’ve got on there; you will get a report about what’s getting transposed across and what’s not.
Exporting an offline reference clip
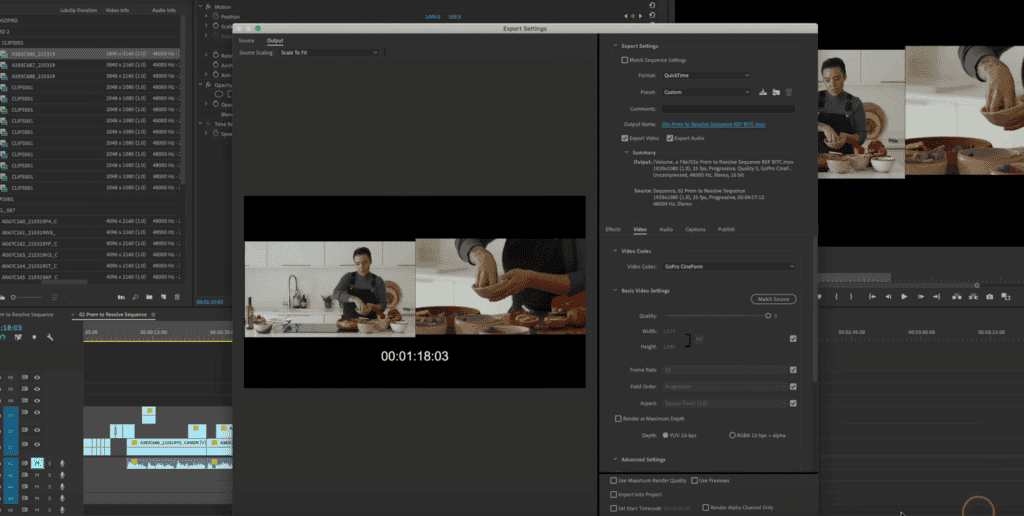
What I’m also going to do is also take an export of the sequence. I’m going to do that because I want to manually check all of the effects and cuts that have got transported or not in Davinci Resolve. I’m just going to do an export of the sequence.
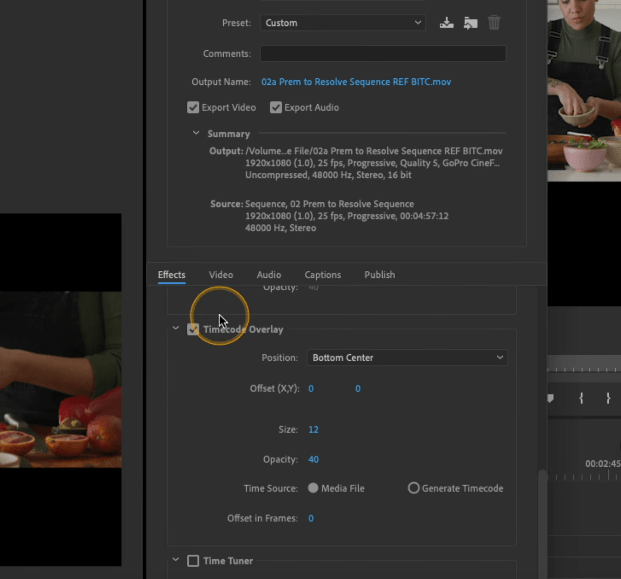
I will export the reference clip with the timecode in it. So in the export window, I will go to Effects>Timecode Overlay and check the box. That’s going to put the timecode of my timeline on there for me. It’s always suitable for a reference file.
Importing XML into Davinci Resolve
We’re back in Resolve. We’re on the edit page, and we will repeat the steps we did earlier, right-click as we did before, Timeline>Import>XML, now open the XML you created.
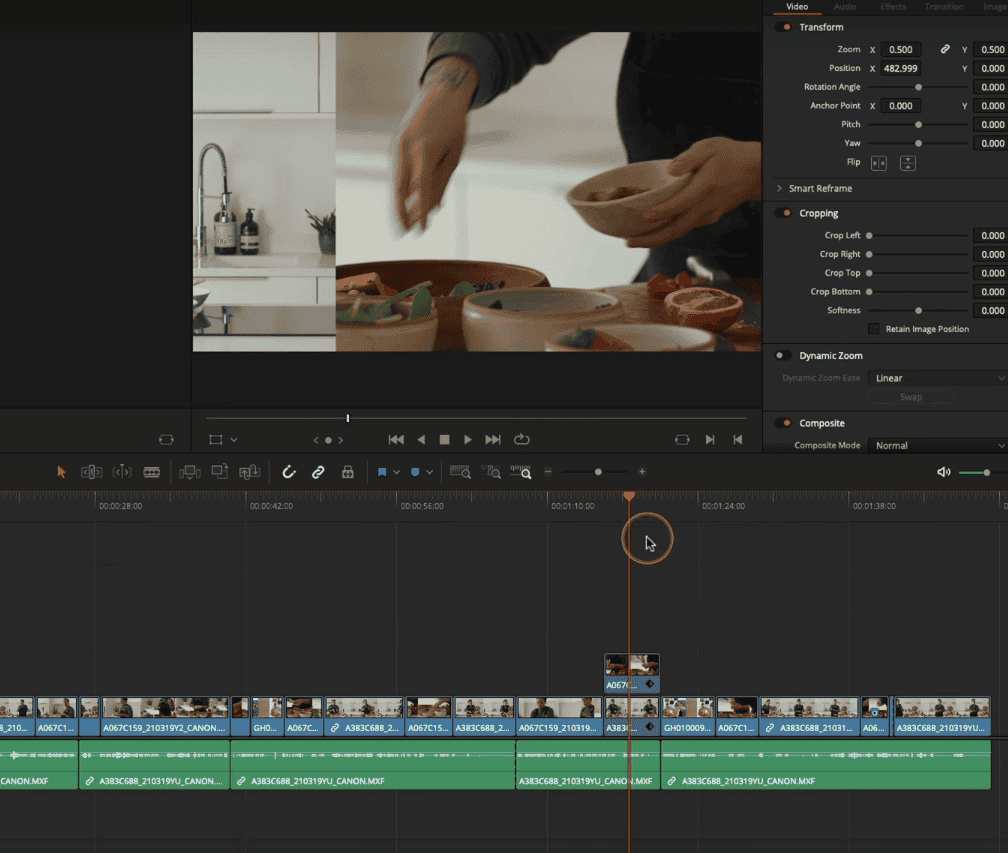
We will keep all the settings the same, mainly use sizing information, and hit Ok. After this, our XML will make us a new timeline. We’re just looking good initially. We’ve got our three layers, three video layers going on. It looks pretty much how I remembered it in Premiere.
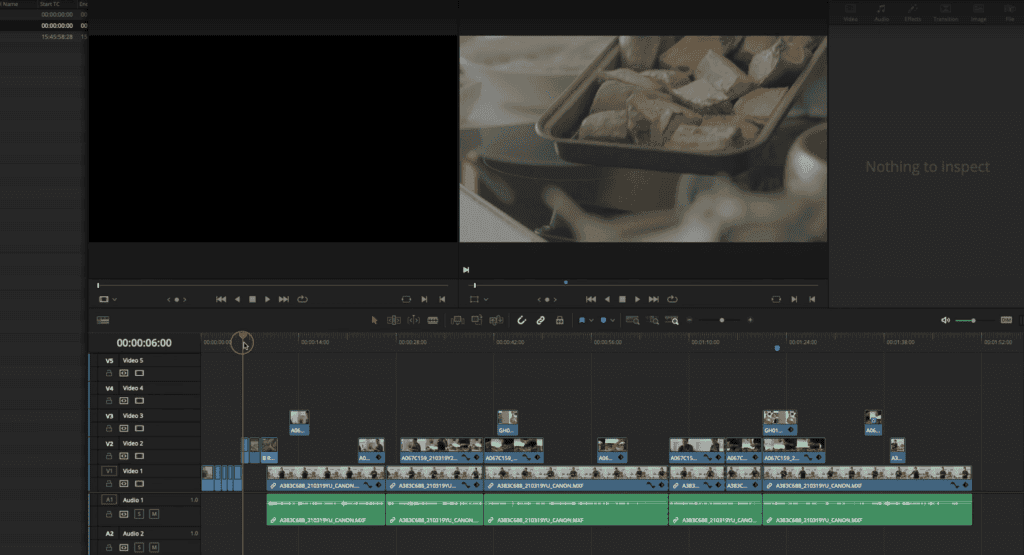
This all looks pretty good until we get to the 4K stuff. Because this is a 1080p timeline, we’ve got quite a big problem going on here. The keyframed movement is correct on our picture in picture effect, but the image scaling is entirely wrong.
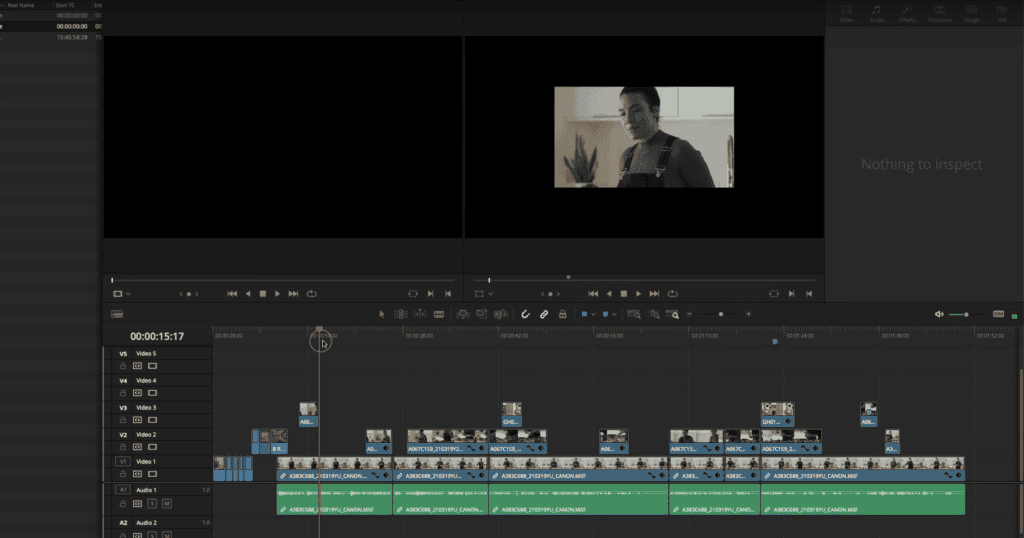
That is because of a preference in Davinci Resolve, which is a default. Go into your Project Settings>Image Scaling>Input Scaling, and We need to change the input scaling to “center crop with no resizing.”
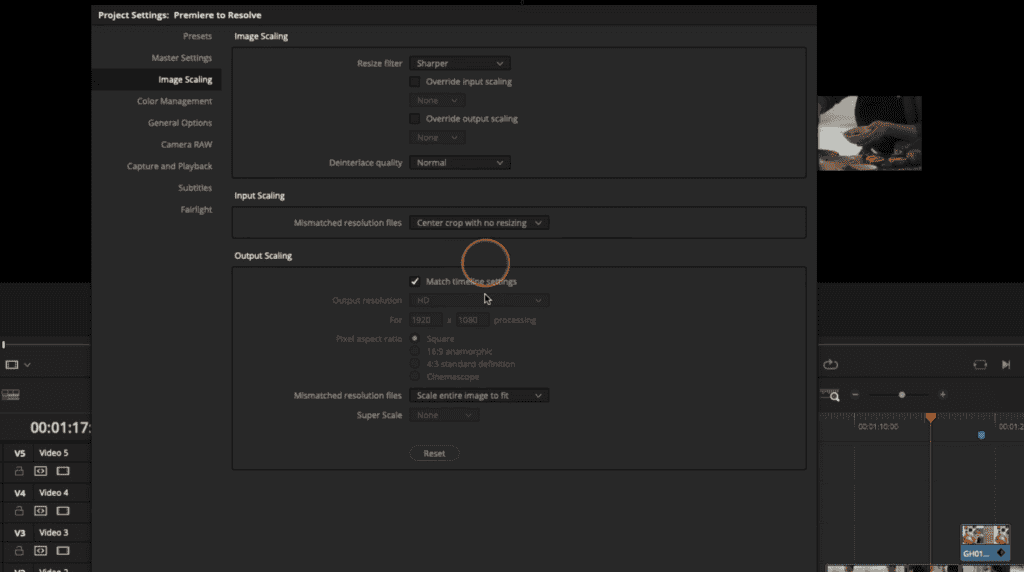
If I press Save now, what will happen is we don’t get an automatic resizing, and the images go to how they were in Premiere. Everything else came to Davinci Resolve accurately.
Importing the offline reference clip into the Davinci Resolve
But how do we check everything accurately? I mean, we’ve got some slow-motion going on with speed ramps. We need to check things like that are good.
We exported a file with timecode burnt in, and we’re going to use that to check our edit has come across correctly with the XML. Now, there are a few ways of doing this, but I’m going to show you the easiest way.
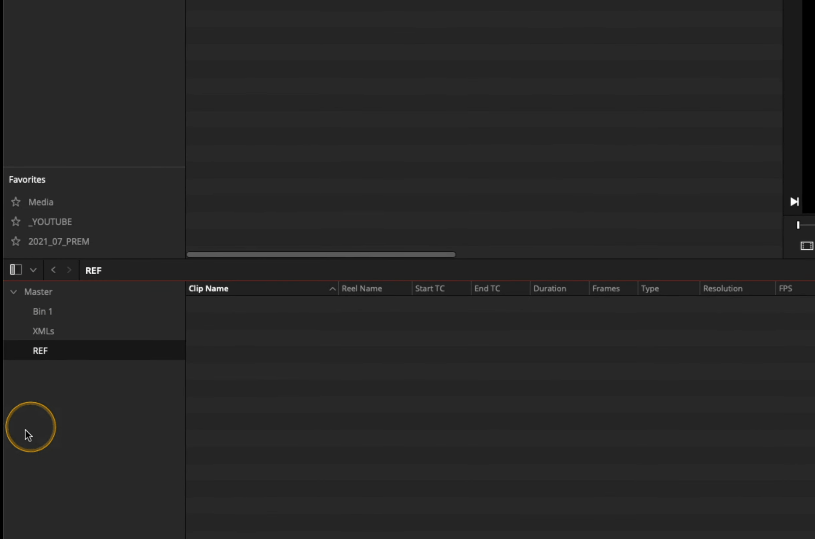
If I go to my media pool, I’m going to right-click and create a new bin, and I’m going to call this reference or ref. Now find the reference file that you created in Premiere Pro and drag it into the ref bin in Davinci Resolve.
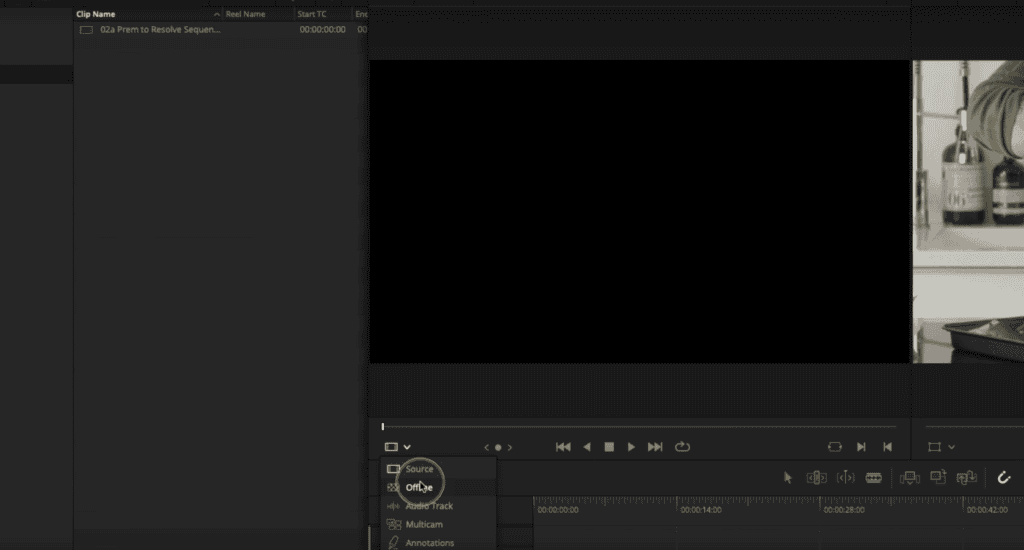
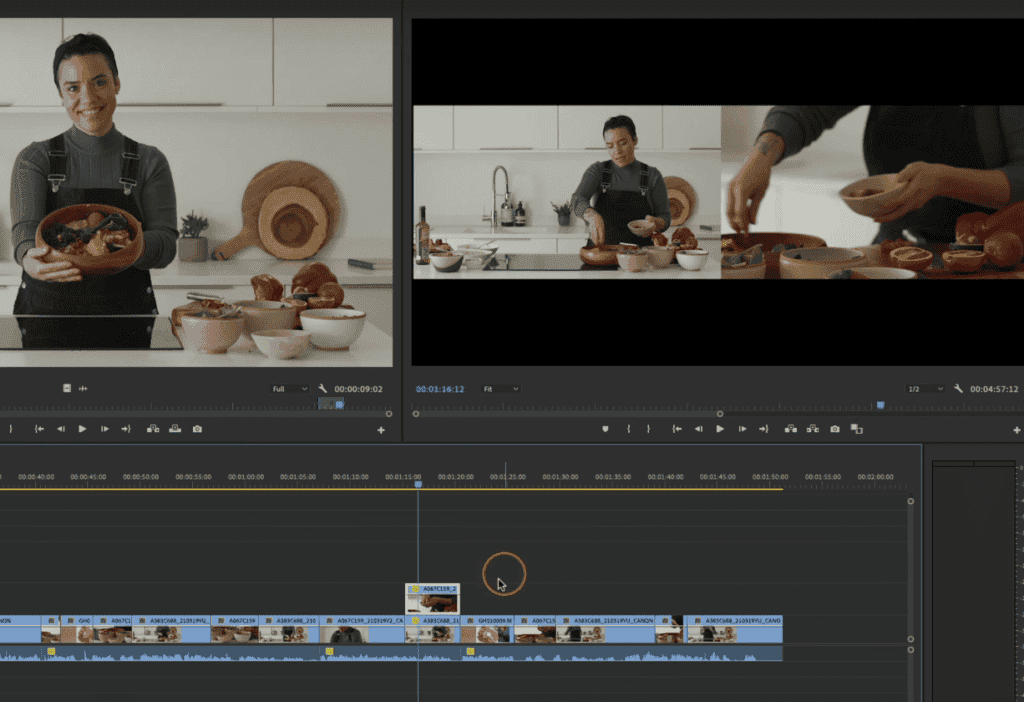
Go to the edit page, and what I’m going to do is on the pull-down menu in the second blank viewer, you’ve got something called “Offline.”
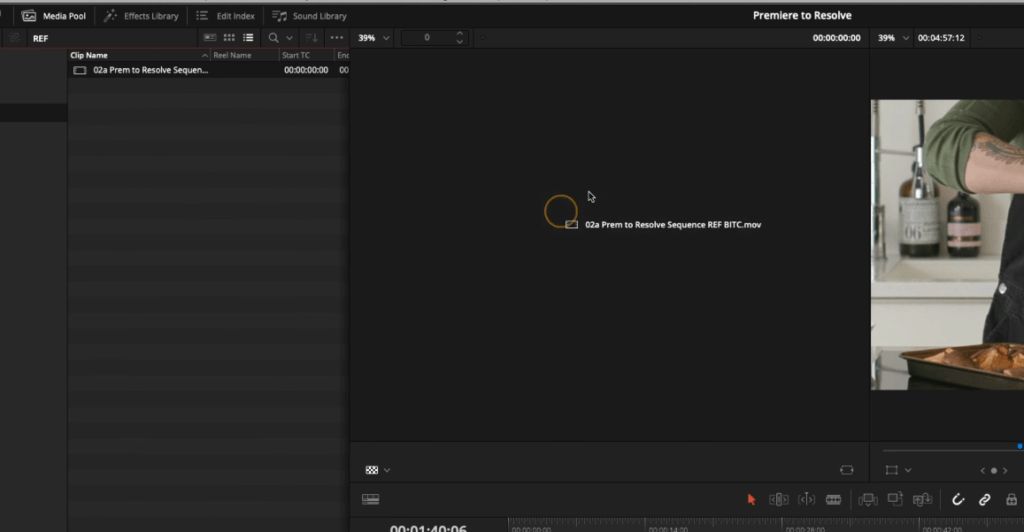
If I press offline, I can drag any clip or sequence into this viewer. Because this was set to offline, what it’s doing is it’s automatically going to line up with the time code that I’m currently at. It matches the timecode on my timeline.
When I move this timeline, the clip moves in sync with whatever I’m doing. We can now go through shot by shot and check if it’s lined up.
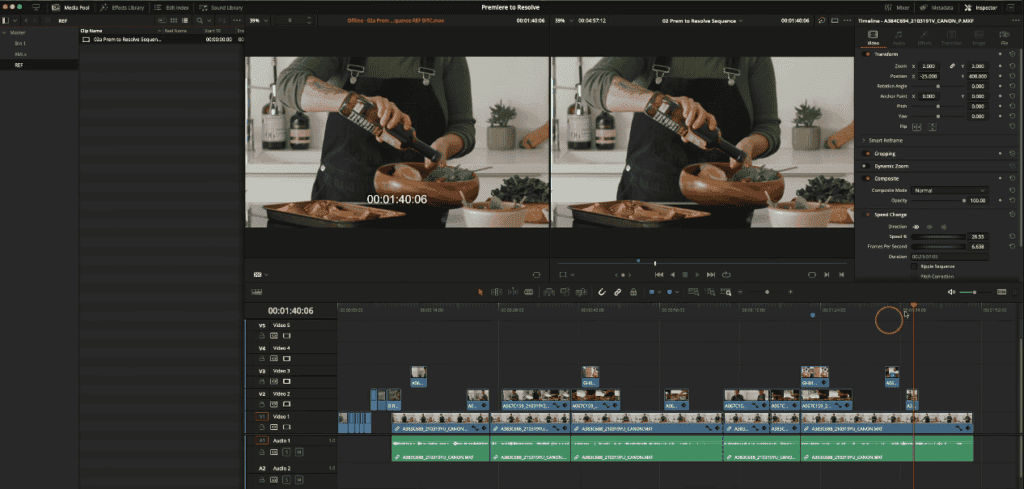
You can use your arrow keys and move shot to shot and match your Davinci Resolve timeline with the reference clip in the second viewer.
So as we saw in the translation report, we were unable to bring our lens flare to the Davinci Resolve. All we’ve got to do now is go into our effects and add our lens flare. We can do that quite easily. Go to our effects library, and choose a good effect.
Everything else, like markers and speed ramps, gets easily transported. If you see any mismatches in the Davinci Resolve timeline and the reference clip in the second viewer, you can always change the timeline.
Generally, it’s all accurate with just a few one or two percent corrections here and there.
So, don’t forget to use “Set to frame size” in Premiere Pro and “Crop with no resizing” in Davinci Resolve.
All that’s left to do now is switch to the color page. There are all the clips ready to grade. I hope this helped when you’re conforming from Premiere into DaVinci resolve.