Hello, fellow filmmakers! Today, we’re going to dive deep into the powerful scene cut detection feature in DaVinci Resolve. This feature simplifies the process of importing and color-correcting videos from other editing software like Final Cut Pro or Adobe Premiere. If you’ve ever struggled with handling single, long video clips with multiple cuts, this tutorial will be a game-changer for you.
Method 1: Using the Scene Cut Detection In Davinci Resolve
In the first method, we will be utilizing the scene cut detection on the edit page of Davinci Resolve. Follow these detailed steps to make the most of DaVinci Resolve’s scene cut detection feature:
- Import your video: Import a full-resolution edited video, preferably in ProRes format for smoother performance. Drag the video into your Media Pool.
- Create a new timeline: Go to the Edit page and drag the video onto a new timeline. Name the timeline “Detect Scene Cuts.”
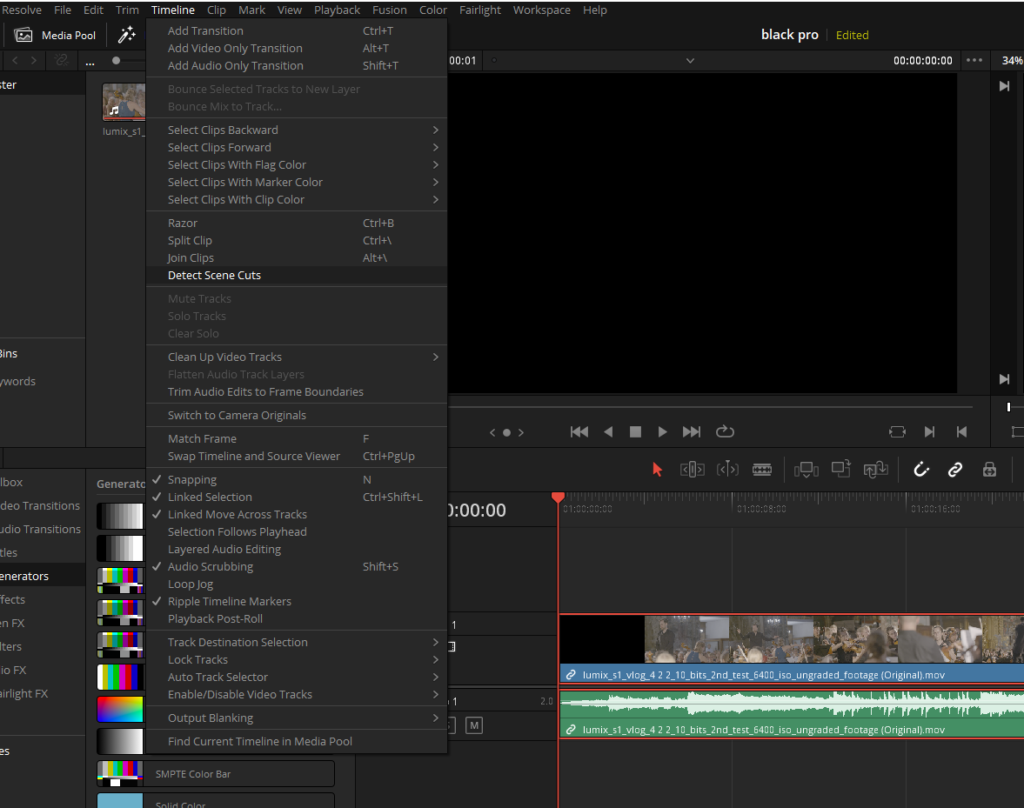
- Observe the video on the Edit page: Navigate to the Edit page, where you’ll see your single, long video clip with multiple cuts.
- Go to the Color page: Visit the Color page to confirm that the video is still treated as a single clip.
- Select the video for scene cut detection: Return to the Edit page and select the video on the timeline.
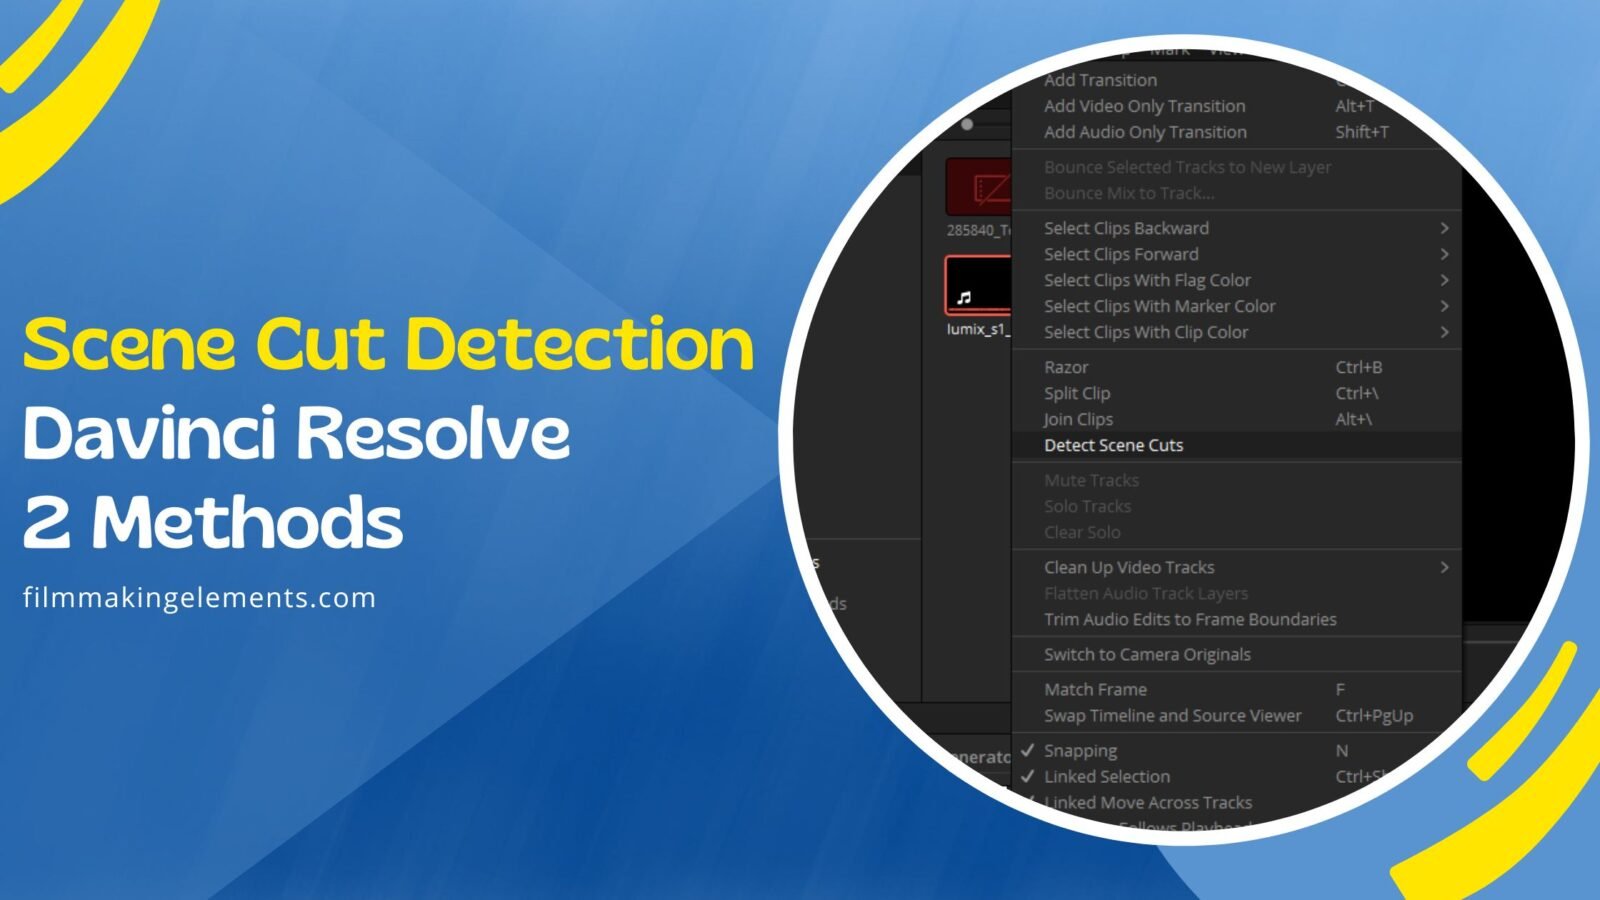
- Detect Scene Cuts: In the Timeline menu at the top, choose the “Detect Scene Cuts” option.
- Let DaVinci Resolve analyze the video: DaVinci Resolve’s neural engine will analyze the entire video, looking for differences in contrast and composition to detect scene cuts. This process is surprisingly fast, taking about half the real time of the video to complete. Note that the feature may not perform as accurately with log footage, which lacks contrast.
- Verify the results: Once the process is complete, go back to the Color page, where you should now see that the video has been divided into separate shots.
- Review the individual clips: The timeline will display individual clips, each representing a different scene. DaVinci Resolve’s scene cut detection has accurately identified and separated these cuts.

In conclusion, DaVinci Resolve’s scene cut detection feature is a valuable tool for filmmakers working with single, long video clips. This detailed guide will help you import and color-correct videos from other editing software, enhancing your workflow and achieving professional results with ease. With the Detect Scene Cut feature in DaVinci Resolve, you can efficiently break down long clips into individual shots, allowing for precise color correction and overall better control of your projects.
Deleting or Adding Extra Cuts
While DaVinci Resolve’s scene cut detection feature is incredibly powerful, it may occasionally fail to detect cuts accurately, particularly in cases with cross dissolves or other transitional effects. In this subtopic, we will cover how to identify and correct these errors to ensure a smooth editing process.
Reviewing the detected cuts after running the scene cut detection feature is essential to spot any inaccuracies or missed cuts. For instance, you might find a cross dissolve between two shots that the feature failed to detect as separate scenes. To correct this issue, follow these steps:
- Identify the problematic cut: Locate the cross dissolve or any other inaccurate cut in the timeline.
- Add a manual cut: Move to the midpoint between the two shots in the cross dissolve and use the keyboard shortcut “Command/Ctrl + B” to create a new cut. This action will separate the two shots, increasing the total shot count.
- Review and fix other inaccuracies: Examine the rest of the timeline for any additional missed or inaccurate cuts, and repeat the manual cut process if necessary.
- Remove extraneous cuts: If the scene cut detection feature mistakenly added a cut between two shots that should be a single shot, go to the Edit page, select the edit point, right-click and select “Delete Through Edit”. This action will merge the two shots back into one.
- Return to the Color page: After making the necessary corrections, return to the Color page to confirm that the shots are now accurate and ready for color correction.

In conclusion, while DaVinci Resolve’s scene cut detection feature is a powerful tool for breaking down long clips into individual shots, it may sometimes require manual intervention to ensure accuracy.
Method 2: Exploring Scene Cut Detection Window in DaVinci Resolve
DaVinci Resolve has long featured a handy tool called Scene Cut Detection Window, which has been used by many editors to effectively break down single long video clips into individual scenes. In this subtopic, we will explore this alternate method and compare it to the newer Detect Scene Cut feature.

To use the Scene Cut Detection feature, follow these steps:
- Navigate to the Media page: The Scene Cut Detection feature is accessed from the Media page before importing the video into the project.
- Right-click on the video: Right-click on the single edited video and select “Scene Cut Detection.”
- Understand the interface: The Scene Cut Detection interface presents three frames: the middle frame is the current frame, while the left and right frames are the frames immediately before and after the current frame.
- Auto Scene Detect: Click the “Auto Scene Detect” button in the lower-left corner to start the automatic scene detection process. Green bars indicate confidence levels for the detected cuts, with taller bars representing higher confidence.
- Adjust the Magenta bar: After running the auto scene detect, you can raise or lower the magenta bar to turn gray bars green, which will count them as cuts. This adjustment can help you catch missed cuts.
- Review and adjust detected cuts: As you go through the cuts list on the right side, check the left and right windows to confirm that the detected cuts are accurate. You may need to add or remove cuts manually to ensure a seamless editing experience.
- Add or remove cuts: If the scene cut detection has missed a cut or added an incorrect one, you can manually add or remove cuts by positioning the playhead at the desired location and clicking “Add” or “Remove.”
It’s essential to note that the traditional method may not be as accurate as the newer Detect Scene Cut feature, which uses the neural engine. The former may miss more cuts, especially in challenging situations like cross dissolves or when dealing with blinking lights in the background. As a result, you might need to spend more time refining the detected cuts manually.

In conclusion, the Scene Cut Detection Window in DaVinci Resolve offers an alternate method to cut up edited videos, providing editors with another tool in their arsenal. While the newer Detect Scene Cut feature is more accurate and efficient in most cases, understanding the traditional process can prove useful for editors looking to expand their knowledge and skills.
Exploring More Features
When working with the Scene Cut Detection Window in DaVinci Resolve, there are additional tools and options you can utilize to enhance your editing experience. This subtopic will discuss the benefits of loading an EDL, saving a scene cut file, and using pruning tools within the Scene Cut Detection Window.

- Load an EDL: When collaborating with an editor who is using a different software, such as Adobe Premiere, you can request an Edit Decision List (EDL) from them. To load the EDL in DaVinci Resolve’s Scene Cut Detection Window, click on the three-dot menu in the upper right corner and select “Load EDL.” This will help improve the accuracy of the auto scene detection and streamline your workflow.
- Save a Scene Cut File: If you are working on a long project, like an hour-long show, you might want to save your scene cut data as a separate file. This file, typically with a .sc extension, stores all the cut information before importing it into the project. This can be particularly useful when delegating color correction work to an assistant or another team member. To save a scene cut file, click on the three-dot menu and select “Save Scene Cut File.”
- Use Pruning Tools: Pruning tools can help you remove unnecessary markers or clean up your timeline. To use pruning, first, mark an in-point and an out-point around the area with extra markers. Then, click the “Prune” button in the upper toolbar, or use the scissor icon to remove the extra green ticks. This helps you maintain a clean and organized timeline for more efficient editing.
Importing Scene Cuts into DaVinci Resolve’s Media Pool
DaVinci Resolve’s Scene Cut Detection Window offers a helpful feature that allows you to add cuts and import them into the Media Pool. This subtopic will guide you through the process of adding cuts, importing them to the Media Pool, and creating a timeline using the scene cut detection method.

- Add Cuts: If you notice any missed cuts during your scene cut detection process, you can manually add them. To do this, park your playhead at the desired location and click the “Add” button. A green bar will appear, indicating a new virtual clip for that section.
- Import to Media Pool: To import the newly added cuts into the Media Pool, click the “Add Cuts to Media Pool” button in the lower right corner of the Scene Cut Detection Window. This will create individual clips in the Media Pool for each detected shot, ready for you to work with.
- Create a Timeline: After importing the clips into the Media Pool, select all the clips from the beginning to the end and drag them onto the timeline. This will create a new timeline with all the detected and manually added cuts.
Importing an Edited Video into DaVinci Resolve: Scene Cut Detection vs. XML and EDL
As filmmakers, we often need to import a video that has been edited and exported from another application for color correction purposes. In this subtopic, we will discuss the differences between using Scene Cut Detection and importing footage using source camera footage with an instruction list such as XML or EDL. We’ll also explore the advantages and disadvantages of each method.
Scene Cut Detection
The traditional method of importing an edited video into DaVinci Resolve involves using the Scene Cut Detection window. This feature allows you to break down your footage into individual clips, making it easier to color correct each shot. However, there are some disadvantages to this method:
- Limited flexibility: Once the clips are imported into the Media Pool, you cannot perform through edits or rolls if the scene cut detection is incorrect. You’ll need to do all your work in the separate window, and if you make a mistake, it can be difficult to fix.
- No roll or delete option: You cannot delete an edit point between two clips, as they are considered different source clips. This limits your ability to fine-tune the edits.
XML and EDL
An alternative way to import footage for color correction in DaVinci Resolve is by using source camera footage and an instruction list called an XML or EDL. While this method is more complex, it has its advantages:
- Better translation: XML files work particularly well when importing footage from Final Cut Pro, as the translations are accurate and seamless.
- Greater flexibility: You can easily modify the imported footage as needed, without the limitations associated with Scene Cut Detection.
- Collaboration: The ability to load an EDL in the Scene Cut Detection window allows for collaboration between editors and colorists, streamlining the post-production process.
While Scene Cut Detection is a useful tool, it has its limitations, especially when it comes to flexibility and fine-tuning edits. In contrast, importing footage using source camera files and an XML or EDL offers greater control and precision, making it an attractive option for many filmmakers. Don’t forget to read- Move Premiere Pro Timeline to Davinci Resolve (XML Workflow)