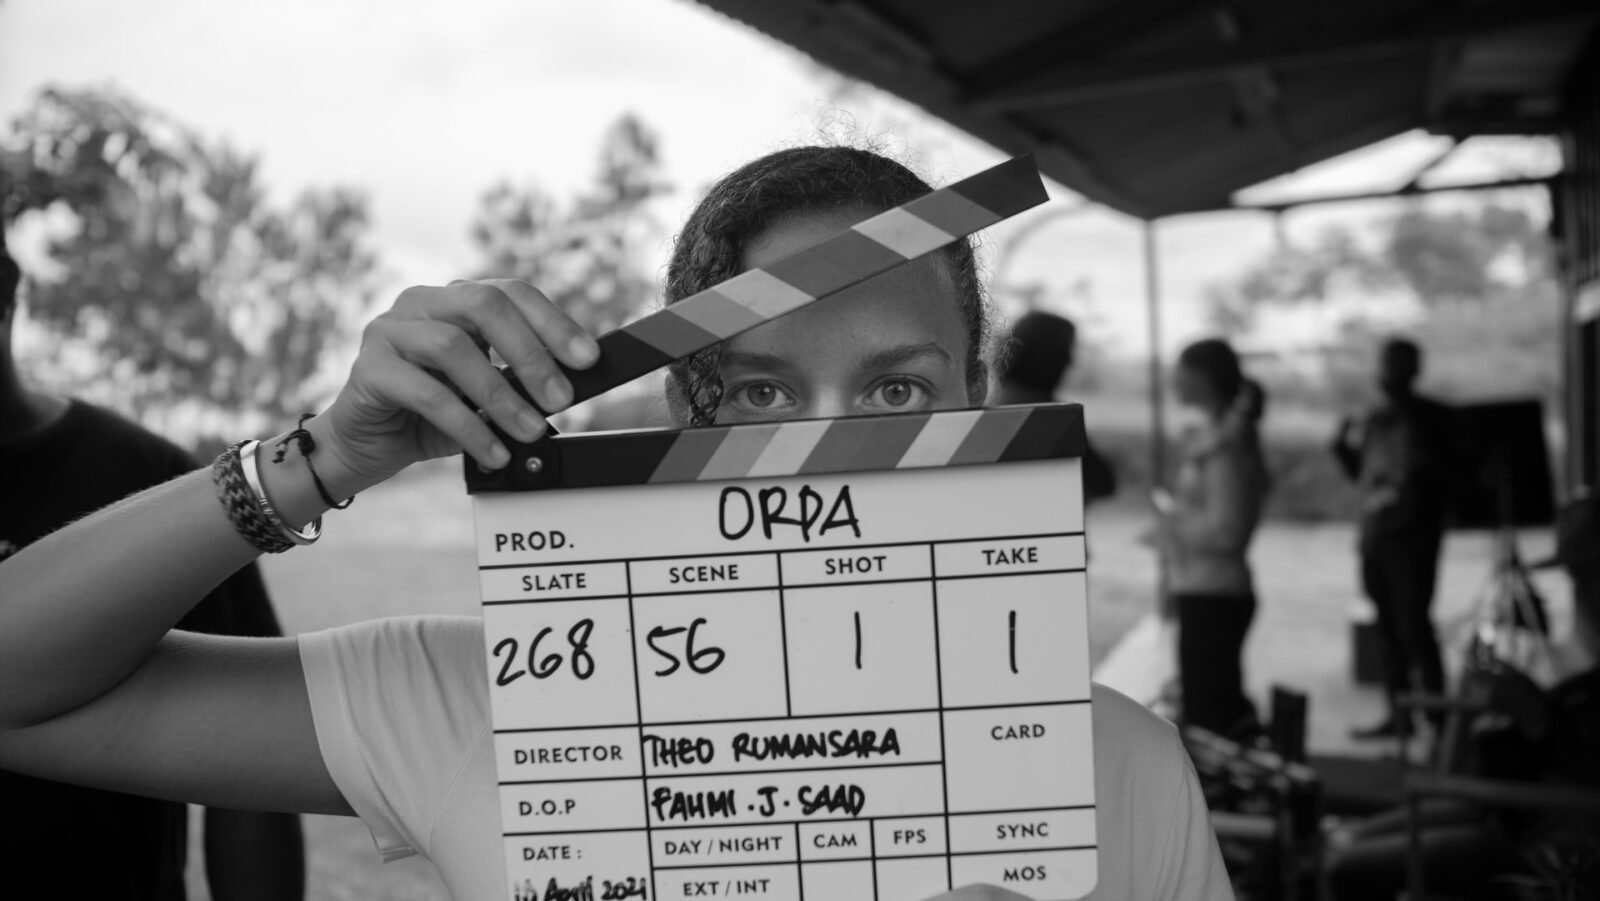
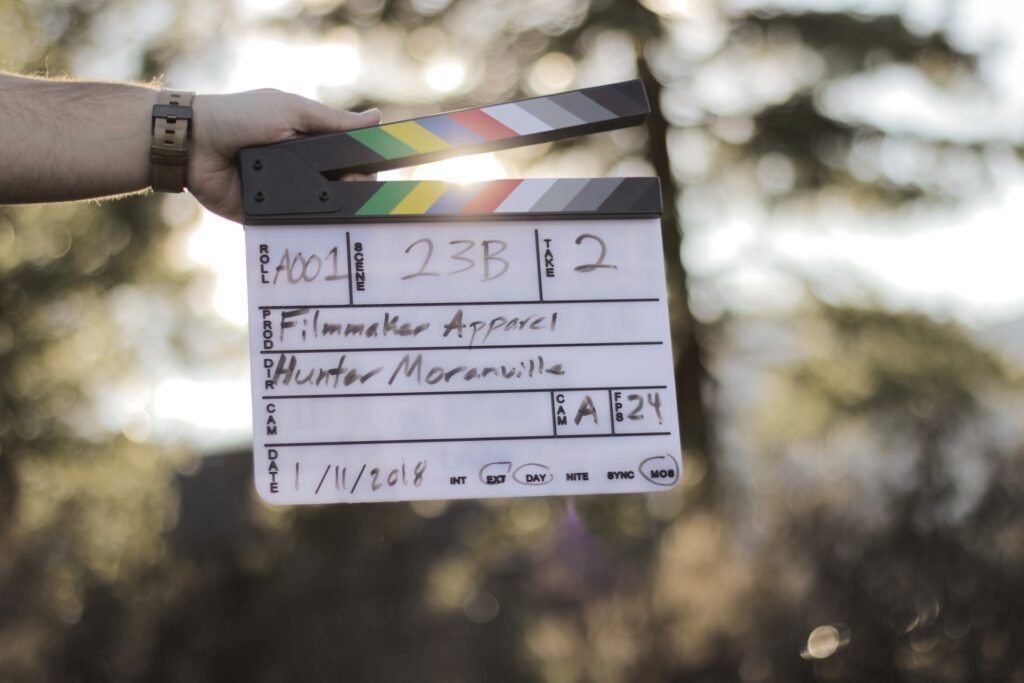
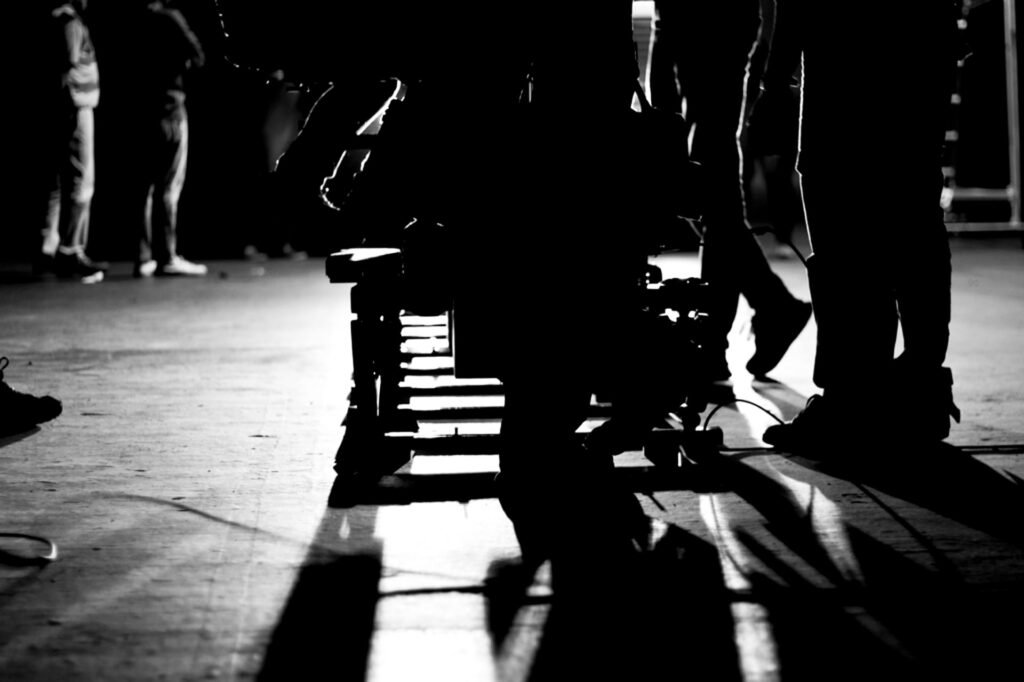
Being an indie filmmaker takes guts of steel! No, I am being honest and we have come to the rescue. Hi! welcome back to Filmmaking Elements and in this article, we share 5 Tips For An Indie Filmmaker. These tips will not only help you make better films but understand the filmmaking process better. Doesn’t matter if you are just a beginner or an experienced these tips are here to help everyone.
5 Tips For An Indie Filmmaker
1. Concentrating on Direction
A film’s director must collaborate creatively with the actors in order to get the best performances from them. The director must also be familiar with the camera and lenses, as well as how to employ them to create an atmosphere in a scene. The director becomes the guardian of the film and imprints it with his or her personal signature by having the ultimate word on the locations, casting, script, and, in many cases, editing.
A director is a parent, a parent, a psychologist, a guide, and the captain of a ship. To be successful in this capacity, you must be able to give forceful instructions without coming across as dictatorial.
A successful director must possess certain characteristics. Some people are born with these characteristics, while others develop them via observation, research, and learning to be more aware of their surroundings. The attributes listed below will assist you in becoming a better indie filmmaker.
- The director needs to be emotionally and mentally strong in the sense that he can control his emotions. By keeping calm, the actors remain calm. If the director is uneasy, the actors pick up on this. It’s very similar to a dog watching his master and sensing that something is wrong. It’s important to be sensitive to the actors’ needs. A director should also never lose his sense of humor (hopefully he has one in the first place!)
- Problem solving is an important element of a director’s job, and it must be done quickly. Because not making a decision is a decision, you must make decisions fast and wisely. Take a deep breath, make a choice, and proceed.
- On set, the director establishes the tone for the cast and staff. A welcoming family environment fosters friendship among the actors and crew, which is reflected in the finished result. Actors frequently imitate their director’s style. The performers’ performances are influenced by the director’s anxious, tense, and worried attitude. The actors feel secure when the director is confident, organized, and resolute. When a director gets an actor’s trust, he or she is more willing to try new things. You must exude confidence as the director of your picture. You will be looked up to by the cast and crew because you are the leader.
- Even before setting foot on the set, a good filmmaker has an eye for detail and can imagine the screenplay as a moving picture. The director can assist the actor in identifying small subtleties and subtle expressions that will distinguish his or her performance. The director looks for elements that lend character and richness to the scene while choosing props and set design.
2. Script to Screen Conversion
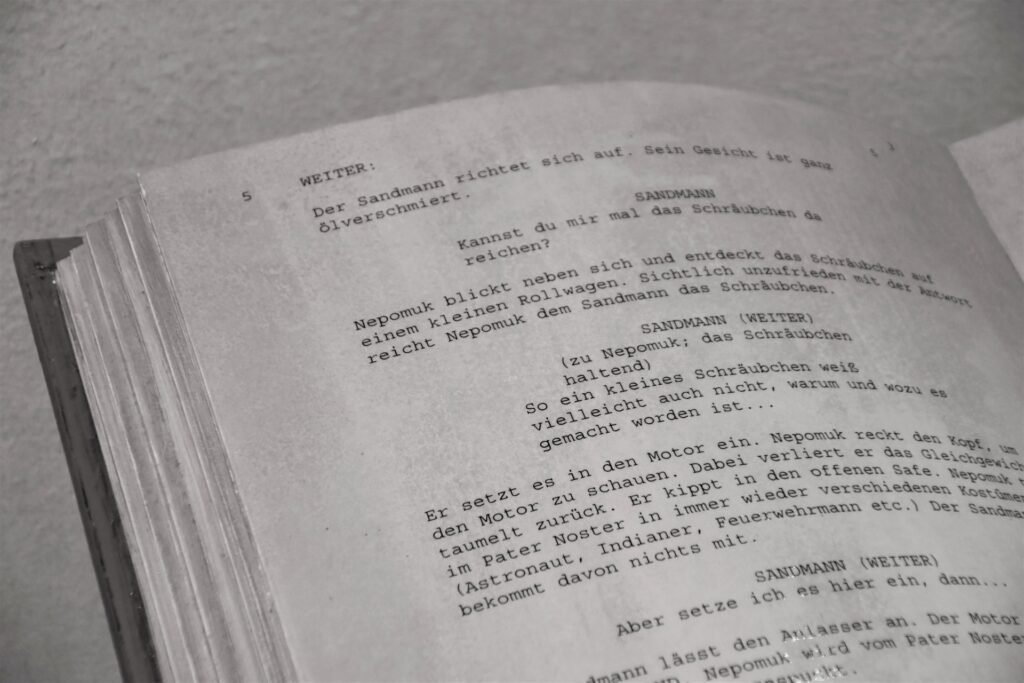
A screenplay is a roadmap for what will eventually become a film. The goal of the director or the indie filmmaker is to convert this roadmap to the screen in order to “construct” the film. Each scene can be taken in a variety of ways, and if the director is not also the author, he or she must comprehend what the writer is attempting to convey.
The director must also know how to transform words into images and add or delete sequences in order to strengthen the narrative.
As a filmmaker, you must comprehend the story’s premise as well as the motivations and ambitions of each character. A director examines each scene and wonders, “What is the goal of this scene?” What is the underlying cause? “How does this scene relate to the overall plot?” Sometimes the filmmaker discovers that the scene adds nothing to the story and decides to cut it.
Other times, the scene may need to be improved, or another scene or two added before or after this one to reinforce it and the narrative.
You are pushed to seek answers when you ask questions. This gives the plot and characters more depth. It assists you in making decisions and taking a step back to see the big picture.
In contrast to the table read, which incorporates the full cast, the director works alone to translate the screenplay into images. Isolate yourself from commerce and escape into the world of the screenplay to get your imagination going and to better comprehend the characters and story. Take a pencil and a ruler and divide the script into discrete scenes.
Following a tougher schedule is what causes you to accompany professionals. Indie filmmaking not only provides a creative expression, but also a supportive cast and crew.
3. Don’t forget about the storyboard.
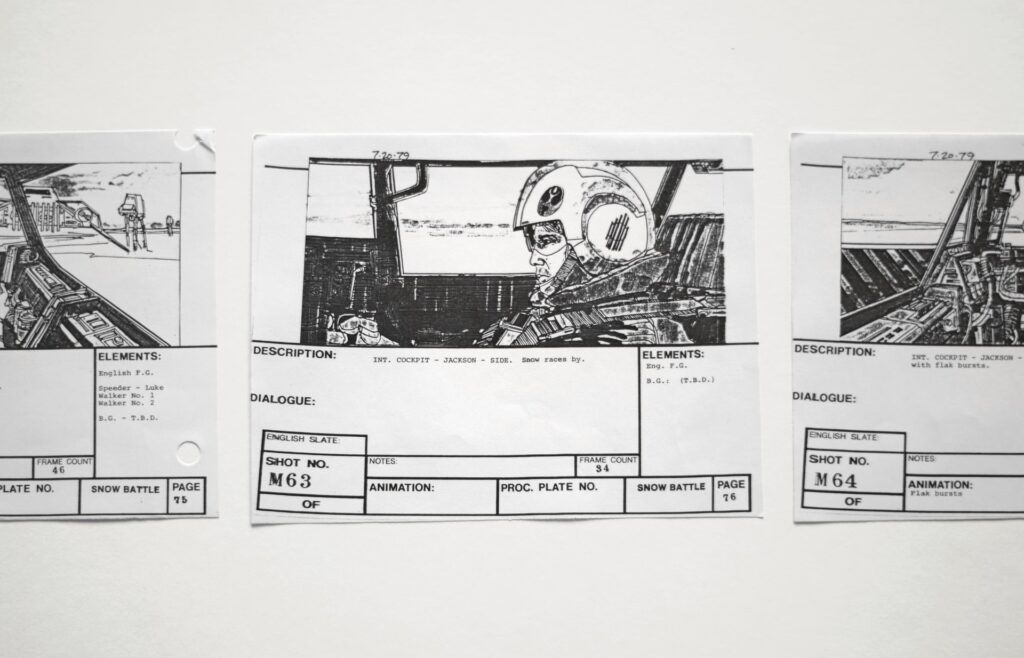
Some indie filmmakers begin directing even before they arrive on set by developing a sketch version of the film with storyboards. Storyboards are visual frames that outline the shot’s composition. Some filmmakers like to construct shots with storyboards, but this takes a long time and the assistance of an artist although you can also draw stick figures or use storyboard software. The better you are expressing it on paper the better will be the execution.
Other directors might rather keep storyboarding just for special-effect shots and action scenes. A storyboard is a very essential step in filmmaking doesn’t matter if you are an indie filmmaker or not.
4. Don’t underestimate framing and composition

The camera does not blink. That’s what cuts, or switching from one shot to another, are for. To cut from one frame to another, however, must vary. Your shots in size and angle should be different so that you don’t wind up with a jump cut, which makes the shot appear to be missing some frames. Shot compositions, sizes, and framing let you communicate your message more effectively. If two actors are talking, you might want a close-up.
If you want to show that the actors are isolated by a ghost town, a wide establishing shot may be ideal.
Knowing the fundamentals of the camera and lenses is advantageous for an indie filmmaker. If you want your production to look professional, you should find someone who is experienced in the shooting. The cinematographer’s duty is to educate you on lenses, exposures, and how the camera works, but you’ll be able to tell your narrative visually if you understand what the camera can accomplish.
Each cinematographer and filmmaker defines framing and shot sizes differently, but the criteria are similar enough to justify the list of standard shots that are as follows:
- Wide Shot
- Establishing Shot
- Close Up
- Two Shot
Often indie filmmakers forget to establish their scene with a wide or an establishing shot.
A wide shot displays the location of the action. A wide shot, also known as a long shot or master shot, aids in orienting the spectator. A wide shot also allows actors to roam around within the frame without the camera following them. For variety, medium shots and close-ups are frequently cut into a wide shot. An establishing shot is a type of broad view that can be used to establish a building before cutting to an interior office.
5. Choosing when and how to move the camera according to the narrative
Trying to keep movement in a shot is similar to camera choreography. Your audience becomes restless if you stand motionless for too long and your camera remains static. Because the camera never blinks, it’s as if you’re locked in a gaze with the image. A moving camera, on the other hand, adds excitement to the scene. So, if there’s a compelling incentive to drive the camera, make it move!
A camera that needs to be moved is mounted on a dolly to ensure that the movement is smooth and does not bump around. You can rent a professional dolly with a hydraulic stand that works as a motion tripod. Of course, being an indie filmmaker chances are you might not be able to afford a dolly, you can create your own by attaching robust wheels to a flat board.
Add a tripod to the board and you’ve got yourself a dolly. Use a lightweight yet strong tripod with a fantastic fluid head for easy camera panning and tilting.
Keep in mind moving the camera unwantedly or without a reason can do the opposite and may distract the viewer into making his own plot other than that of the film in his/her head. You can use the movement of the camera when following a character from one place to another, you can pan and tilt when you are about to reveal something in the film, and you can also rough movements to depict and create a sense of excitement, rush or mess in the scene.