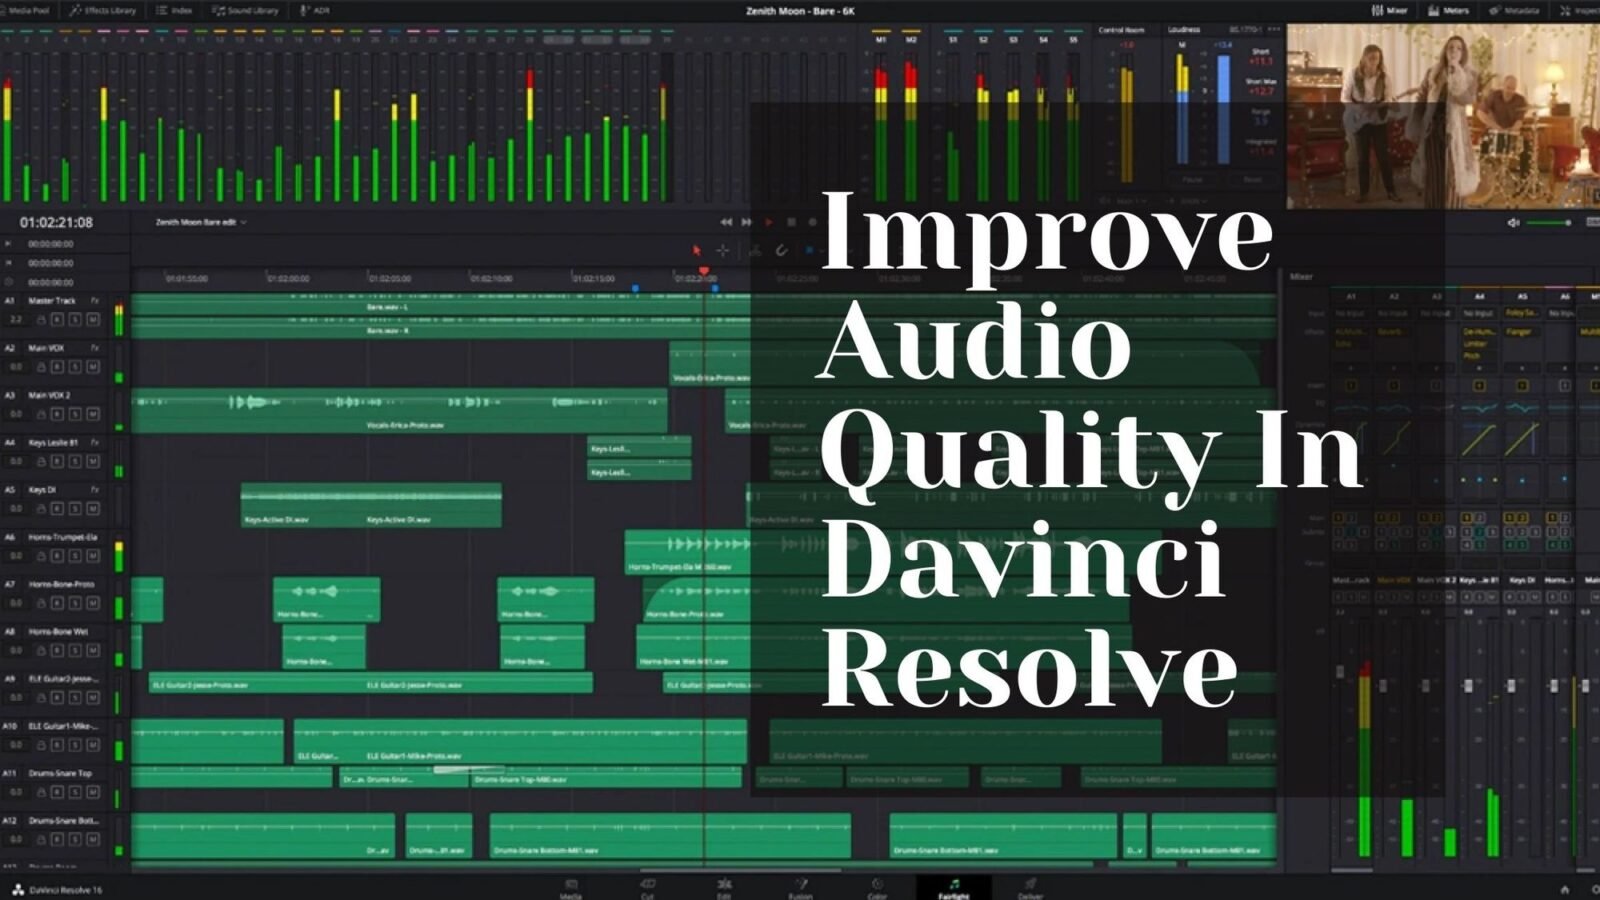
Hi, I’m Salik, the author of FilmmakingElements.com. I have been a filmmaker for over 10 years. I am also a certified DaVinci Resolve Trainer and I have used DaVinci Resolve for many of my projects. Navigating the world of audio editing has been a journey for me, and through my experiences, I’ve come to appreciate the robust capabilities of DaVinci Resolve. Drawing from my personal expertise, I’m excited to share with you how to improve audio quality in DaVinci Resolve. In this article, I’ll walk you through my tried-and-tested techniques to make your audio sound incredibly professional and clear.
Whether it’s refining a voice-over or enhancing the overall sound of a project, I’ve been there and done that. I’ll share specific steps that have transformed my voice-overs and shed light on how to make audio sound better in DaVinci Resolve. So, let’s dive in and elevate our audio together!
Introduction to Improve Audio Quality In Davinci Resolve
Navigating the world of audio editing has its challenges, but with the right tools and techniques, achieving professional-grade audio quality becomes an attainable goal.
Embarking on the DaVinci Resolve Journey
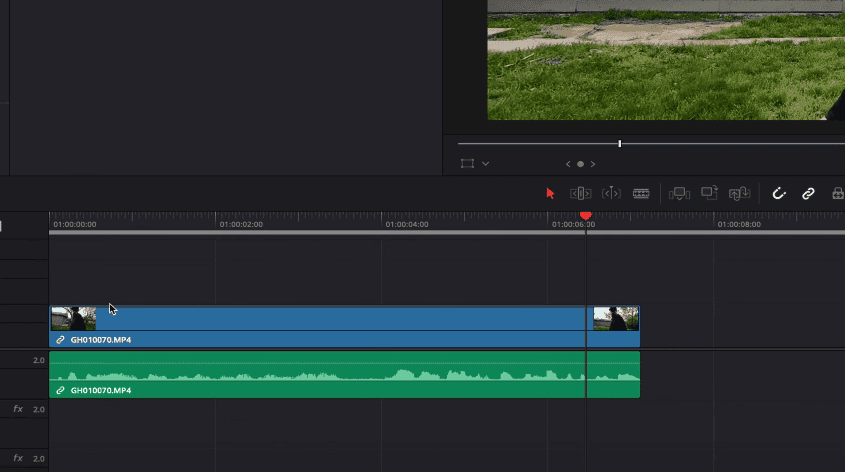
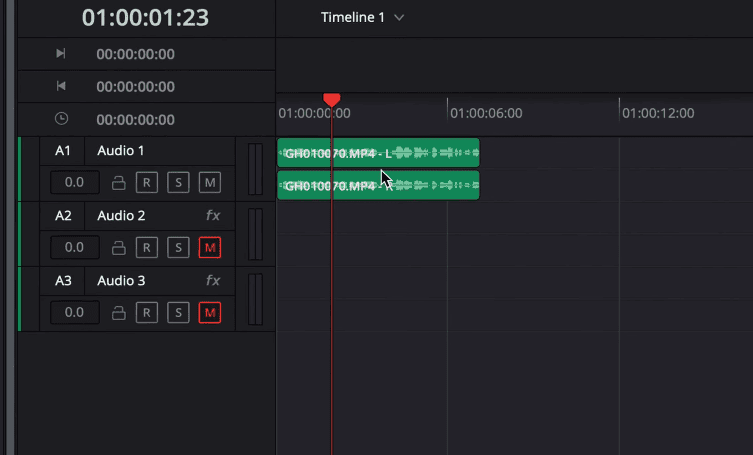
As we delve into DaVinci Resolve, the first step is simple: place your audio clip in which you want to improve the audio quality in the timeline on the edit page of Davinci Resolve. This software, renowned for its video editing capabilities, is also a powerful tool for refining and enhancing audio tracks.
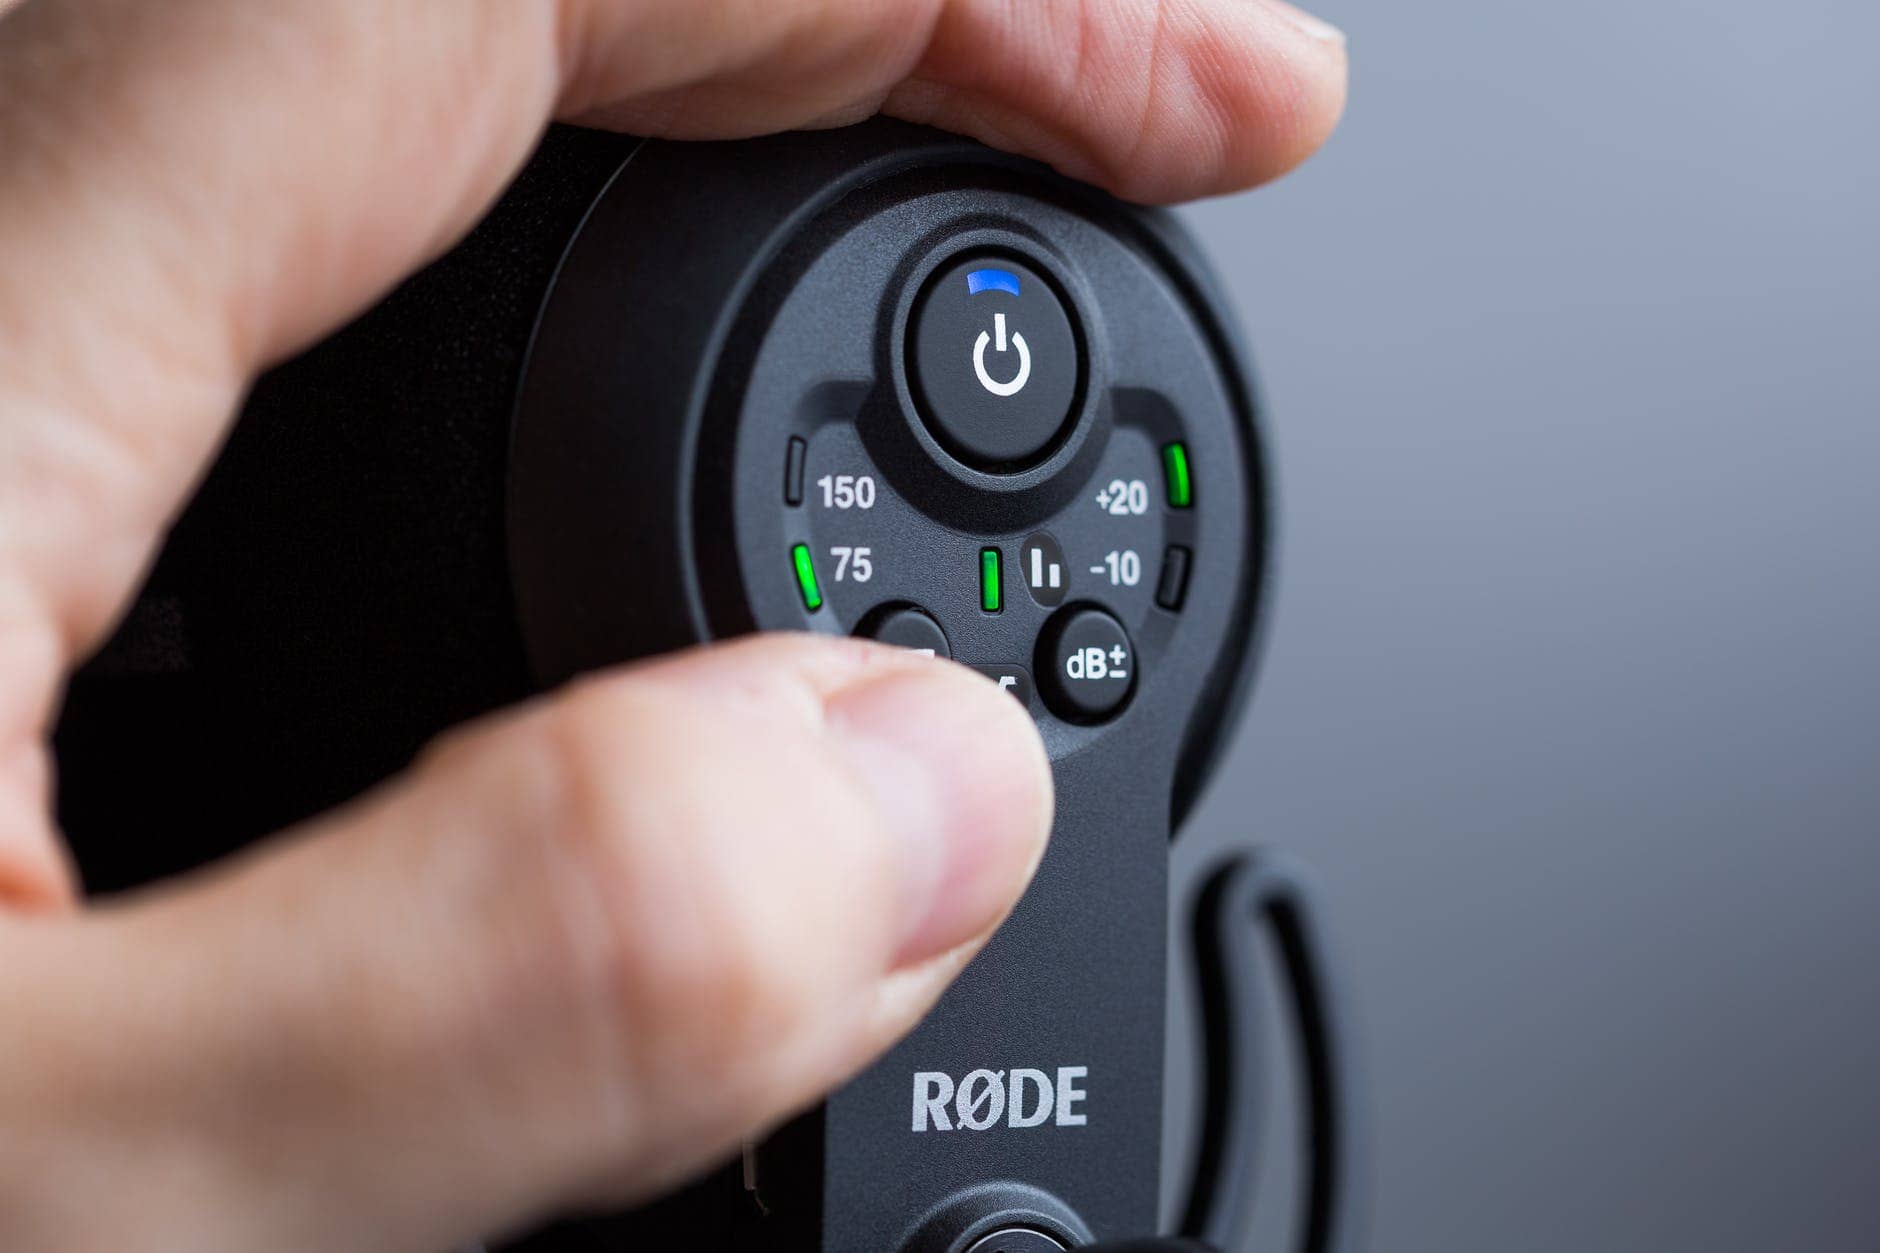
A Word on Equipment
Drawing from my experience, the type of microphone you use can dramatically impact your results. Utilizing an external or third-party microphone can often give you superior audio right off the bat. However, for the sake of this tutorial, we’ll work with audio that hasn’t had the benefit of advanced recording equipment. This way, we’ll truly see the magic of DaVinci Resolve in action.
With our chosen clip and DaVinci Resolve at the ready, let’s embark on this audio-enhancing journey together!
Getting Started With Fairlight

Fairlight within DaVinci Resolve has always been a cornerstone in my audio enhancement journey. With each project, I’ve fine-tuned my approach, and today, I’ll be sharing with you a detailed walkthrough to elevate your audio game.
Navigating to Fairlight:
- Locate the Workspace: Begin by locating the Fairlight page on the bottom menu of DaVinci Resolve. This tab opens a universe of audio editing tools tailored for both beginners and professionals.
- The Importance of Sequence: My editing experiences have continually reinforced the significance of refining audio towards the end of the project. Think of it as crafting a sculpture; chisel the broad strokes first (your video edits) before refining intricate details (your audio adjustments).
- Pro Tip: Always complete the major video edits – trimming, transitions, effects, and color corrections – before heading into audio enhancement.

Prepping Your Video:
- Finalize the Visual: It’s crucial to have your video in its near-final version. Whether it’s a vlog, tutorial, short film, or any other content form, ensure that the visual narrative is locked.
- Transition to Fairlight: Once you’re satisfied with the visual edits, it’s the ideal time to transition to the Fairlight tab. This ensures that audio enhancements align with the final video structure.
Loop & Track Selection:
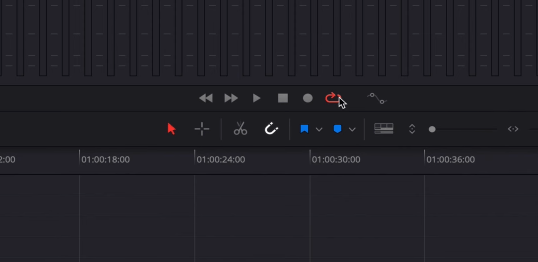
- Harness the Loop: Start by activating the loop feature in Fairlight. This allows you to continuously replay a specific segment, making it easier to focus and refine. It’s especially useful when dealing with intricate audio details. Click on the Ellipse-looking circle with an arrow above the timeline in the Fairlight page of Davinci Resolve to loop.
- Isolate & Focus: If your project involves background tracks or music layers on secondary audio tracks (like track two or three), mute them for now. This approach, which I’ve found invaluable, allows you to concentrate exclusively on the dialogue quality without distractions. Click on the button that says ‘M’ to mute an individual track.
- Focus Strategy: This dedicated focus on dialogue helps you discern subtle background noises, pops, or inconsistencies that might be overshadowed by music or effects.
A Fresh Audio Perspective:
- Replay & Analyze: Even if you’ve replayed your content numerous times, approach the audio with fresh ears. Separate your mind from the visuals and dive deep into just the auditory experience.
- The Golden Technique: Over the years, I’ve found that listening to the audio in isolation, post video-edit, helps uncover nuances or imperfections previously masked amidst visual edits.
Using Fairlight to Improve The Sound Quality
1. By using the Normalize Audio Levels option
Understanding the importance of a balanced audio output is crucial in video production. Fairlight in DaVinci Resolve offers a potent tool – the “Normalize Audio Levels” option. This function provides a methodical way to achieve uniform sound levels across your content. Drawing from my extensive experience, I’ll break down the detailed steps to employ this tool effectively.
Step 1: Dive into Normalization
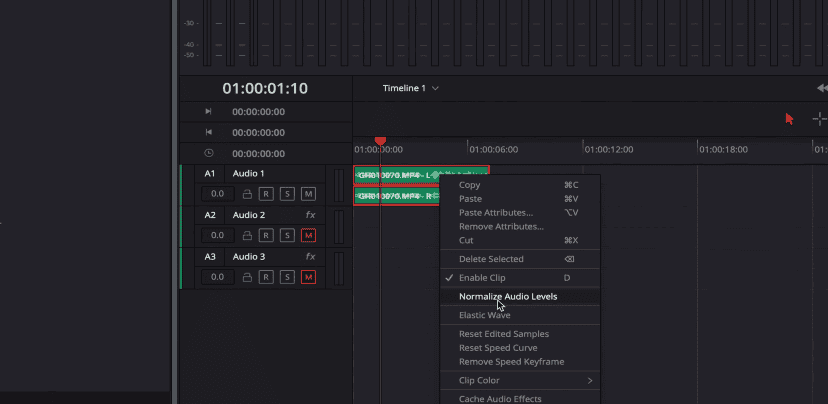
- Initiating the Process: Open Fairlight and locate the track you want to normalize. With a simple right-click on this track, a dropdown menu will appear. From the available options, opt for “Normalize Audio Levels.”
Step 2: Catering to Multiple Audio Segments
- Batch Selection: If your project comprises various sections – say multiple talking head scenes or varying audio levels – it’s crucial to maintain consistency across them. Highlight the segments you intend to normalize. Holding ‘Shift’ and clicking allows you to select multiple audio pieces sequentially.
- Unified Normalization: Post selection, right-click on the highlighted area. Choosing “Normalize Audio Levels” for the entire batch ensures that you don’t have discrepancies between segments. This method also proves efficient, saving you the effort of individually addressing each audio chunk.
Step 3: Timing is Everything
- Strategizing Your Workflow: Delving into the audio normalization realm can be intricate. Therefore, I’ve always found it beneficial to tackle this towards the conclusion of my editing process. This ensures that I have a clear demarcation between normalized and yet-to-be-tackled segments, preventing any overlaps or misses.
Step 4: Deciphering the Ideal Target Level
- Understanding Your Initial Quality: Every audio recording will have intrinsic qualities based on the gear used, environment, and recording settings. Factors like your microphone’s sensitivity, preset levels, or ambient noise play pivotal roles in determining your starting point.
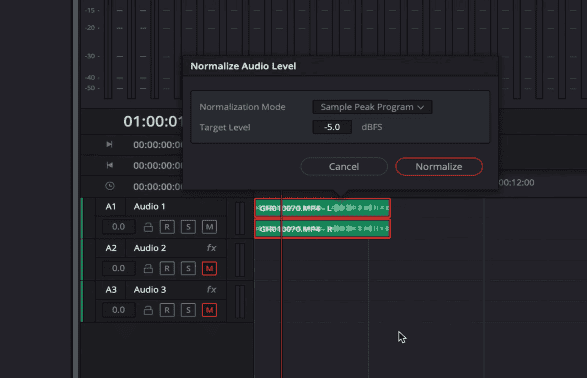
- Customizing Your Target: Through numerous trials, I’ve discerned that my talking-head videos, given the microphone I use, flourish at a Target Level of -1.0 dBFS within the “Normalize Audio Level” parameter. But this isn’t a universal rule. Depending on your audio’s initial quality and desired output, you might need to tweak this. For the purpose of this guide, I’ll exemplify using a Target Level of -5.0 dBFS. Once you’ve inputted your desired level, proceed by clicking on “Normalize.”
Step 5: Revel in the Harmony
- After executing the normalization, you’ll immediately discern the balance it brings to your audio track. Peaks and troughs in the sound levels are efficiently modulated, ensuring that your audience doesn’t endure abrupt loud or soft patches. This uniformity not only provides an aurally pleasant experience but also exudes professionalism in your production.
2. By using Vocal Channel FX
When it comes to audio enhancement in video editing, DaVinci Resolve’s “Vocal Channel FX” is a game-changer. Let me share a step-by-step breakdown of how I utilize this feature to make my audio tracks resonate with clarity and punch:
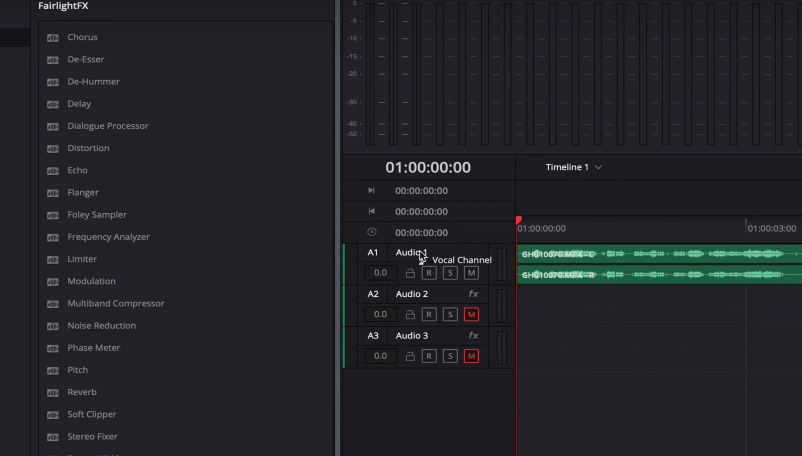
Step 1: Accessing the Vocal Channel FX:
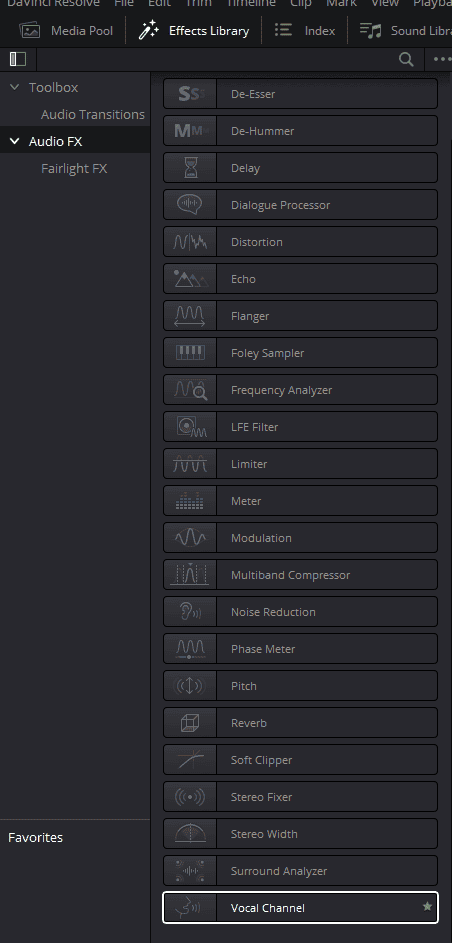
- Navigate to the Effects button on the top-left corner.
- Under the Audio FX section, select Vocal Channel.
Step 2: Applying the Effect:
- Instead of directly dropping it onto a specific clip, drag and drop the effect to the entire Audio Timeline 1. This ensures uniformity in the effects applied.
- Pro Tip: To maintain a streamlined process, keep all your dialogue audio in one timeline. If you do have audio on multiple timelines, remember to replicate the effects accordingly.
Step 3: Tuning with the Vocal Channel FX:
- Play the audio.
- Open the Vocal Channel settings.
- Begin fine-tuning the equalizer graph to your preference. Listen closely to ensure the desired clarity and depth.
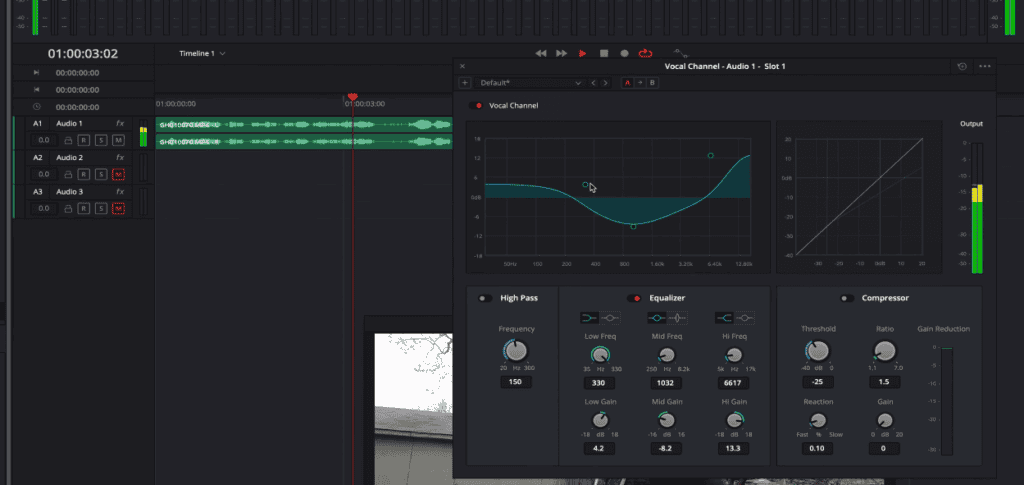
Step 4: Adjusting the Equalizer:
- There isn’t a one-size-fits-all setting here. Adjusting involves an iterative process.
- Play around with the three nodes on the equalizer graph.
- Move each node to its extremities to identify unwanted audio characteristics.
- Gradually tweak and adjust, avoiding over-modulation to prevent distortions.
Step 5: Appreciating the Difference:
- Raw audio, even from top-tier external microphones, can sound flat.
- With the adjustments made in the Vocal Channel FX, the audio will have added depth, giving it that much-needed punch, making it both crisper and fuller.
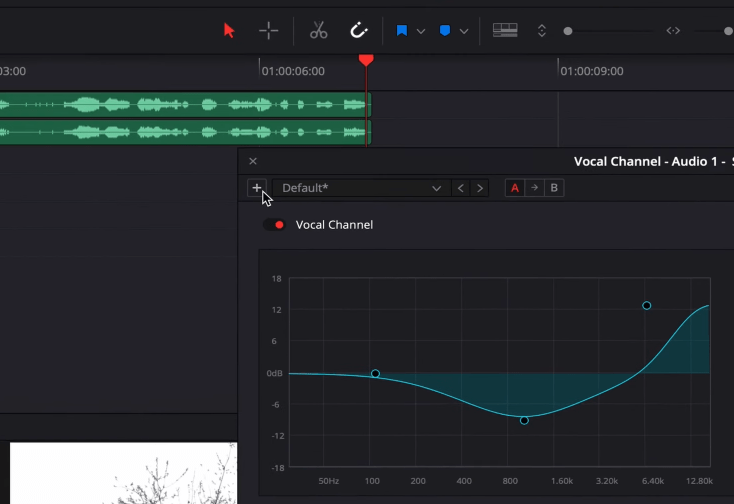
Step 6: Saving & Reusing Your Settings:
- Pleased with your audio enhancement? Save the setting!
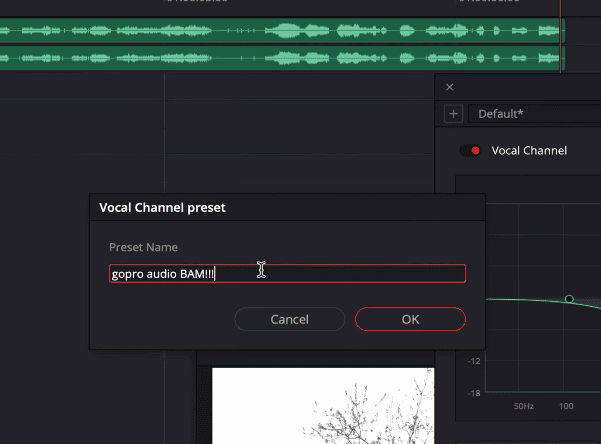
- In the Vocal Channel settings, click on the ‘+’ icon adjacent to the default option.
- Name and save your preset.
- Future projects with similar audio characteristics? Navigate to AudioFX > Vocal Channel, select your saved preset from the dropdown, and apply.
Bonus: Creating a Library of Presets:
- Over time, I’ve created multiple presets for different mics and environments.
- These saved settings remain within DaVinci Resolve, making them accessible across all projects.
Also Read- Where Was Jurassic Park Filmed & 7 Crazy Facts
Also Read- All The Rocky Movies In Order (1976-2022)
Also Read- How To Fake Golden Lighting Effect Without Golden Hour
3. By using the Limiter

Audio quality can make or break a video project. One of the most effective tools in your audio editing arsenal in DaVinci Resolve is the Limiter. By employing the Limiter correctly, you can ensure your audio doesn’t peak unexpectedly, offering a smoother listening experience. Here’s a detailed walkthrough:
Step 1: Accessing the Limiter in DaVinci Resolve
- Locate the Mixer: On the right side of your audio timeline in DaVinci Resolve, you’ll find the mixer, a tool essential for managing multiple audio tracks and their respective effects.
- Access Effects: Within the mixer, there’s a ‘+’ icon located next to Effects. This button will give you a dropdown menu containing a range of audio effects that can be applied.
- Select the Limiter: Navigate through Dynamics > FairlightFX. From there, select Limiter from the list. This tool restricts the audio from exceeding a certain level, preventing distortions and ensuring consistent volume.
Step 2: Fine-tuning the Limiter for Optimal Sound
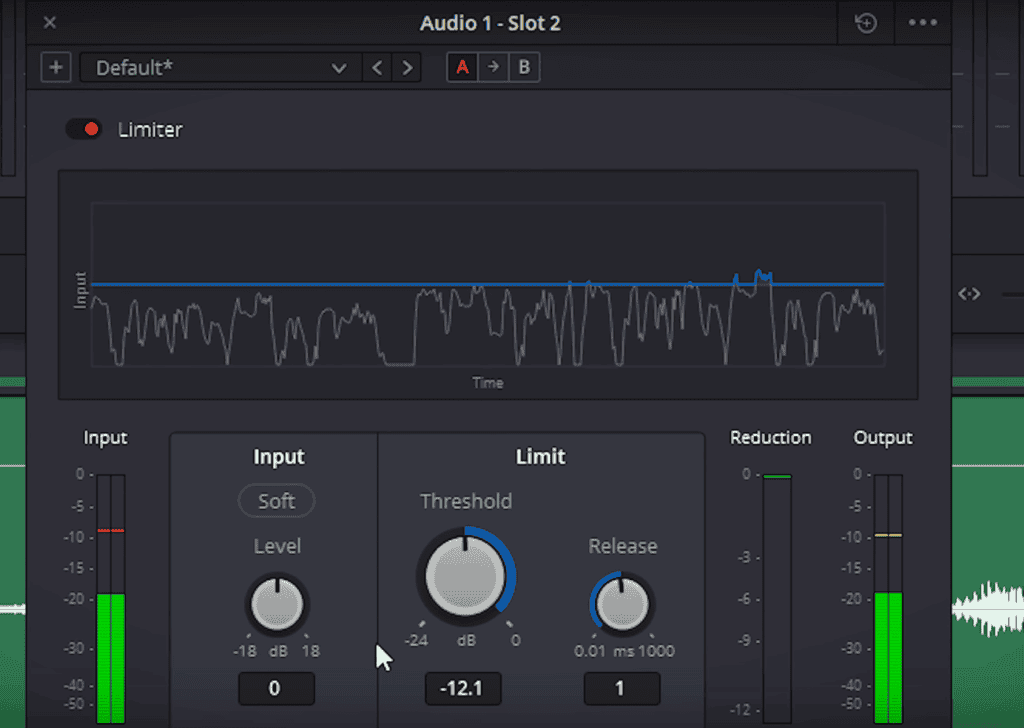
- Understanding the Limiter Interface: Once you’ve opened the Limiter, you’ll be presented with various controls. The most crucial among these for our purpose is the ‘threshold’.
- Adjusting the Threshold: The threshold determines the maximum output level. Any audio signal that exceeds this level will be reduced. Your aim here is to slightly lower the threshold until you notice minor peaks being compressed on the audio meter. These peaks represent the loudest parts of your audio. By managing them, you ensure no part of your audio exceeds the desired volume.
- Cautionary Note: It’s imperative not to overdo it. If you push the threshold down too much, it can result in an unnatural compression of the audio, making it sound squashed or distorted.
Step 3: Final Thoughts: Achieving Professional Sound Quality
- The Power of the Limiter: Using the limiter in DaVinci Resolve is not just about controlling volume but enhancing the overall audio presence. It’s about giving your audio a polished, professional touch, ensuring consistency and clarity.
- Diving Deeper: While the limiter is essential, DaVinci Resolve boasts a rich library of audio effects. For instance, experimenting with effects like “Distortion” can provide unique characteristics to your audio. Additionally, the presets menu houses a variety of predefined settings, each tailored for specific scenarios. Leveraging these can drastically improve your audio quality.
- Preserving Settings: If you’ve adjusted the limiter (or any other effect) and are satisfied with the result, consider saving these settings as a custom preset. This way, you can quickly apply the same adjustments to other projects, ensuring consistent audio quality across your work.