Hello, fellow filmmakers, and welcome back to FilmmakingElements.com! We are thrilled by the support and love we’ve received from our online community, and we couldn’t be more excited about our journey in the world of filmmaking. As a token of our appreciation, we’re offering you something special: Free LOG to Rec.709 Conversion LUTs for DaVinci Resolve that cater to all camera models.
These LUTs are in the “.cube” format, ensuring compatibility with DaVinci Resolve and providing you with an easy and efficient way to transform your LOG footage into a more natural and visually appealing Rec.709 color space.
Our 33x33x33 LUTs are 3D LUTs that provide exceptional precision with 32-bit floating-point processing. While DaVinci Resolve can export LUTs as 17x17x17, 33x33x33, or 65x65x65 cubes, we recommend our 33x33x33 LUTs for the perfect balance of processing speed and accuracy.
Key Features of Our Free LUTs:
- Color Science Precision: Our LUTs are specifically engineered with color science accuracy in mind, delivering exceptional quality and consistency.
- Calibrated for Rec.709 Gamma 2.4: Designed in a controlled environment, our LUTs are crested for Rec.709 color space and a Gamma 2.4, ensuring compatibility with a wide range of devices and displays.
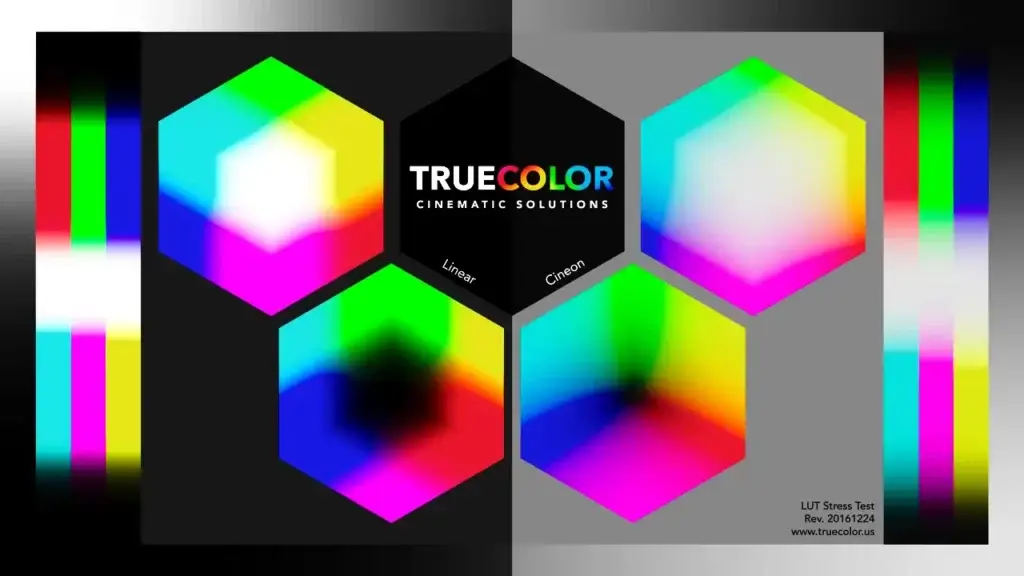
- Stress Tested: We have stress tested our LUTs so that we can make sure they don’t produce any weird color banding.

List of all the LOG to Rec.709 LUTs for Davinci Resolve were giving for free.
- Arri Wide Gamut/Arri LogC To Rec.709/Gamma 2.4
- RED Wide Gamut/RED Log3G10 To Rec.709/ Gamma 2.4
- Sony S-Gamut3/S-Log3 To Rec.709/Gamma 2.4
- Sony S-Gamut3.Cine/S-Log3 To Rec.709/Gamma 2.4
- Sony S-Gamut/S-Log2 To Rec.709/Gamma 2.4
- DJI D-Gamut/DJI D-Log To Rec.709/Gamma 2.4
- Panasonic V-Gamut/V-Log To Rec.709/Gamma 2.4
- Canon Cinema Gamut/C-Log To Rec.709/Gamma 2.4
- Canon Cinema Gamut/C-Log2 To Rec.709/Gamma 2.4
- Canon Cinema Gamut/C-Log3 To Rec.709/Gamma 2.4
- FujiFilm F-Log To Rec.709/Gamma 2.4
- Nikon N-Log To Rec.709/Gamma 2.4
- BMPCC 4k Film Gen 4 To Rec.709/Gamma 2.4
- BMPCC 4k Film Gen 5 To Rec.709/Gamma 2.4
- BMPCC 6k Film Gen 4 To Rec.709/Gamma 2.4
- BMPCC 6k Film Gen 5 To Rec.709/Gamma 2.4
What is a LUT?
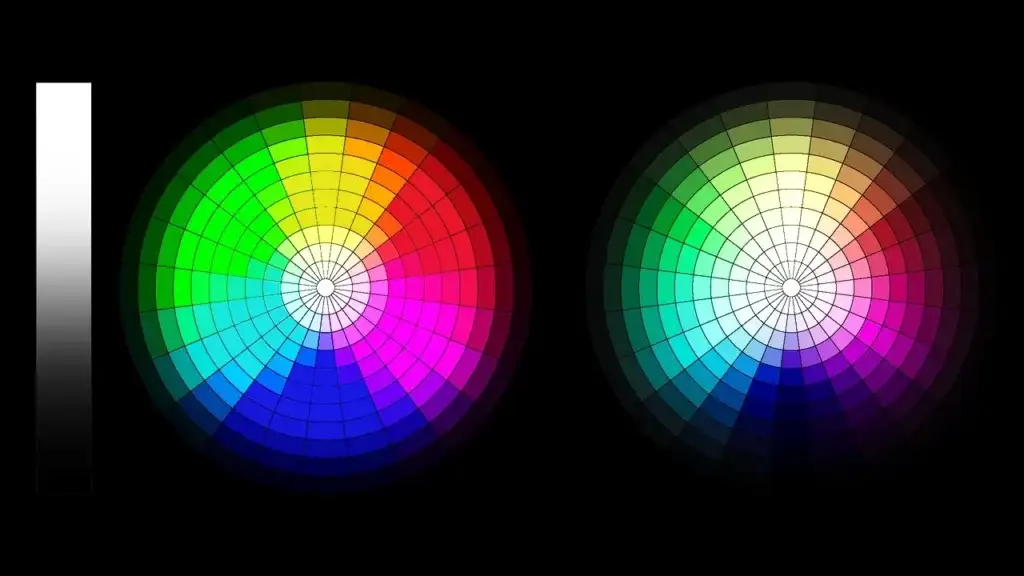
LUTs, or Lookup Tables, are powerful and versatile files that specify image processing operations without the need for a user interface. They are commonly used in a variety of ways, from color transforms to creative grading adjustments, making them an essential tool in any post-production workflow.
Common Applications of LUTs
While LUTs can serve many functions, there are a few particularly common applications:
- Normalization of Log-Encoded Media: LUTs can be utilized to create a starting point adjustment for media with logarithmic encoding, such as DPX log film scans, ARRI ALEXA’s Log-C encoding, Sony’s S-Log exposure setting, or RED R3D media using REDFilmLog. Log-encoded media retains a significant amount of image data but initially appears flat and requires grading. LUTs enable you to quickly “normalize” the media, making it look more natural and ready for grading.
- On-Set Dailies and Baseline Looks: LUTs are frequently employed in on-set workflows, where dailies for different scenes are managed using corresponding LUTs. These LUTs serve as a baseline reference for monitoring the media during recording. In more advanced workflows, LUTs can define a creative starting point for various scenes, informing the grading process after the shoot.
- Stylistic Grading Components: LUTs are popular for their ability to quickly apply a specific “look” or creative adjustment to a scene. Companies and individuals have developed an extensive ecosystem of LUTs available in various formats supported by DaVinci Resolve. These LUTs can be applied to alter the color and contrast of a clip, much like the contrast or color controls available in the Color page.
Why Use LOG to Rec.709 Conversion LUTs?
LOG footage is designed to preserve maximum detail in highlights and shadows by using a logarithmic encoding curve. However, this results in a flat, desaturated image that requires color grading. Rec.709 is a standard color space that delivers a more natural and visually appealing look, suitable for various viewing devices.
Our Free LOG to Rec.709 Conversion LUTs make this process simple and efficient, saving you time and effort during the grading process.
Also Read- Everything About Using LUTs In Davinci Resolve
How To Import LUTs in Davinci Resolve?
- Locate your LUT files: Before importing LUTs, ensure that you have our LUT pack downloaded and ready to go.
- Open DaVinci Resolve and access the Color page: Launch DaVinci Resolve and open the project you want to work on. Switch to the Color page by clicking the “Color” tab at the bottom of the interface.
- Open the LUTs panel: On the Color page, locate the LUTs panel on the left-hand side.
- Import LUTs into DaVinci Resolve: To import LUTs, right-click on the empty space within the LUTs panel and select “Open File Location.” Navigate to the folder where your LUT files are stored, select the desired LUT files, and click “Open” to import them.
- Refreshing the LUT browse: Right Click again on the LUTs folden empty space and select “Refresh” this will bring up our new luts.
- Organize LUTs using folders (optional): You can create folders within the LUTs panel to better organize your LUTs. To create a folder, right-click on the empty space within the LUTs panel and select “Add Folder.” Name the folder appropriately and drag and drop your LUTs into it.
How to use LUTs In Davinci Resolve?
DaVinci Resolve allows you to apply LUTs within a grade by connecting a LUT to a specific node in the Node Editor. This grants you more control over where the LUT is applied in your image processing pipeline and enables you to make image adjustments before and after applying the LUT as needed.
Steps to Apply a LUT within a Node
- Select a node: In the Node Editor, right-click any node and hover over LUT.
- Submenus: The LUT submenus display the LUTs installed on your workstation.
- Our Free LUTs: Chose any LUT from our LUT pack.
- Use the LUT Panel: Alternatively, Find a LUT you want to use with the LUT Panel on the left, and drag and drop that LUT onto the node you want to apply it to.