
Hi, I’m Salik, the author of FilmmakingElements.com. I have been a filmmaker for over 10 years. I am also a certified DaVinci Resolve Trainer and I have used DaVinci Resolve for many of my projects. In this article, I will teach you how to Add Transitions in DaVinci Resolve on iPad.
Adding Transitions in DaVinci Resolve on iPad
1. Introduction
What are Transitions?
- Transitions help in moving smoothly from one clip to another. Whether starting or ending a clip or bridging two clips, transitions keep the flow intact.
2. Accessing Transitions in DaVinci Resolve on iPad
Steps:
- Open your project in DaVinci Resolve.
- Navigate to the cut page.
- Locate the ‘transitions’ option at the top-left corner.
3. Categories of Transitions
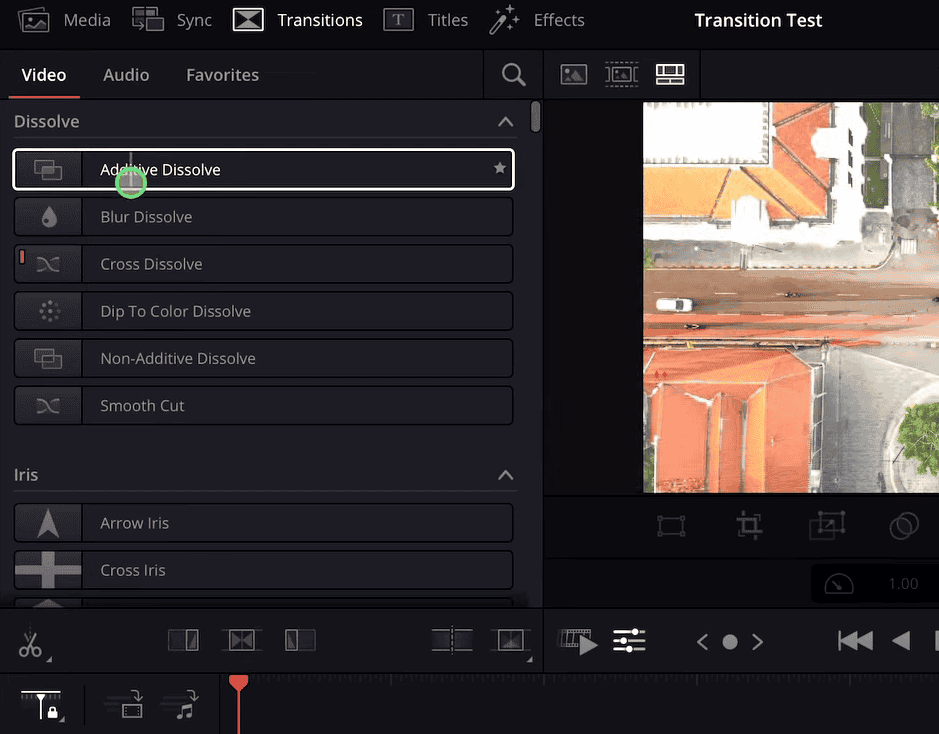
Once you’re in the transitions section, you’ll encounter three main categories:
- Video: Visual aids for scene changes.
- Audio: Audio cues to complement or signify scene changes.
- Favorites: Your personal transition library.
4. Creating a Personalized Transition Library
How to Add Transitions to Favorites:
- Browse the available transitions.
- Right-click on your preferred transition (for instance, ‘adaptive dissolve’).
- Select ‘add to favorites’.
- Access these saved transitions from the ‘Favorites’ category for quicker edits in the future.
How to Remove Transitions from Favorites:
- Navigate to ‘Favorites’.
- Find the transition you want to remove.
- Click the star icon next to it.
Mastering Transitions in DaVinci Resolve on iPad: A Step-by-Step Guide
Transitions hold a vital place in video editing. They ensure smooth progression from one clip to another, providing a cohesive viewing experience. In this segment, let’s walk through the process of adding transitions in DaVinci Resolve iPad version using real-world examples.
1. Setting the Stage:
Imagine having two drone clips lined up in your timeline, ready for transition. Now, the challenge is to seamlessly blend these clips.
2. Recognizing the Default Transition:
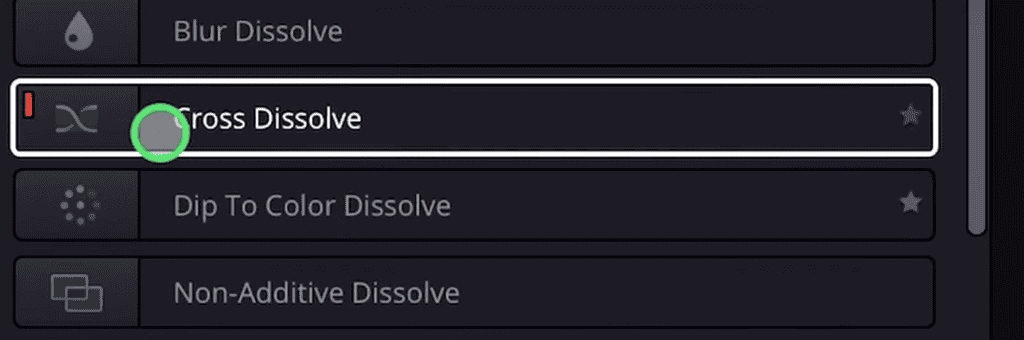
When you open the transition tab, you’ll notice a transition marked in red. This is the default transition, generally set as the ‘cross dissolve’, which simply fades one clip into the next.
3. Multiple Ways to Add Transitions:
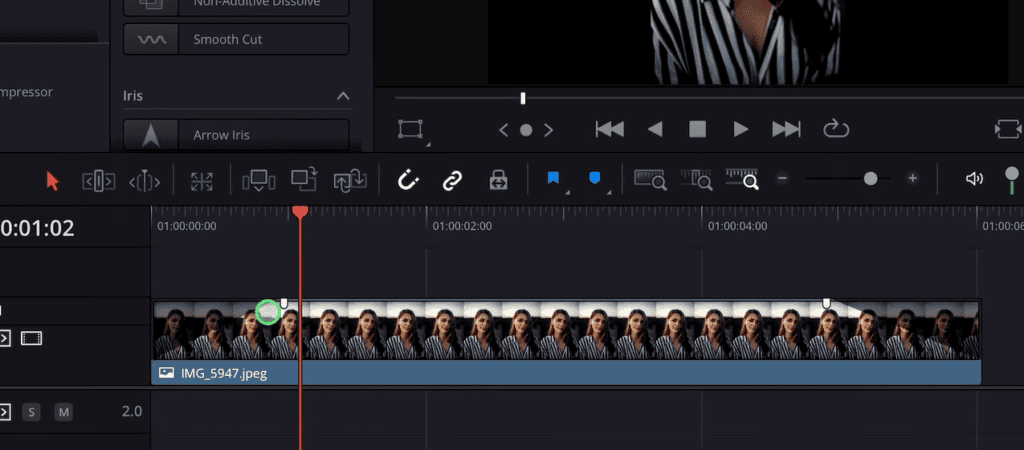
- Direct Dragging: Besides placing it between two clips, you can drag transitions to the beginning or end of a single clip.
- Utilizing the Playhead: With the playhead on a specific spot in the timeline, a white arrow will appear. Double-tapping a transition will apply it right where this white arrow is.
4. Customizing the Default Transition:
While ‘cross dissolve’ is the standard choice, you might prefer another. Simply right-click on your desired transition and select ‘make as standard transition’. This sets it as your new default.
Quickest Method: Adding Transitions in DaVinci Resolve for iPad
DaVinci Resolve for iPad offers a plethora of advanced video editing tools. In this guide, we’ll discuss a quick method to add transitions to your clips, specifically focusing on the edit page.
1. Accessing the Edit Page:
The technique we’re about to explore is exclusive to the edit page.
2. Adding Fade Out Effect:
To quickly introduce a fade-out effect:
- Navigate to the end of the desired clip.
- Look for the white dot (or handle) that appears.
- Click and drag this white handle towards the center of the clip.
- As you drag, you’ll notice the fade-out effect being applied.
3. Incorporating Fade In Effect:
Just as effortlessly, you can add a fade-in effect at the start of a clip:
- Approach the beginning of your clip.
- Identify the white dot.
- Click and drag it into the clip to apply the fade-in effect.
4. Audio Transitions:
The same method is applicable to audio clips. When applied:
- Instead of fading the visuals, it seamlessly crossfades the audio, ensuring smooth transitions between audio segments.
Understanding Transitions in Video Editing: Tips and Pitfalls
In the world of video editing, transitions can enhance storytelling or distract from it. But how do you strike the right balance? Let’s discuss the ins and outs of transitions and the mistakes beginners often make.
1. Previewing Transitions Before Applying:
A good editing software offers the capability to preview transitions without committing them to the timeline.
Quick Tip:
- Navigate to the transitions menu.
- Hover over a transition using a mouse or apple pencil.
- Watch a real-time preview before deciding if it fits your project.
2. Utilizing Fancy Transitions:
There’s an array of advanced transitions available.
How To Access:
- In the Transitions menu, scroll down to ‘fusion transitions.’
- Scroll to explore the different transitions.
3. The Peril of Overusing Transitions:
One of the most common rookie mistakes is over-relying on transitions. Remember:
- Too many transitions can distract from the narrative.
- The ‘jump cut’—a simple cut from one clip to another—is often the most effective and widely used method.
- It’s essential to prioritize the story over flashy transitions.
4. The Art of Using Zoom-in Transitions:
Zoom-in transitions can be powerful when used correctly. However, misusing them can disrupt the storytelling flow.
For Effective Use:
- Ensure a logical flow. If the first clip showcases a vast mountain landscape, the zoom-in transition should ideally lead to a closer view of the same scene.
- Avoid random usage. A zoom-in from a drone shot to a person’s face may not provide a coherent narrative.