Hello, everybody. In this article, I want to show you guys the 4 Best Davinci Resolve Effects that you can use to alter your videos.
4 Best Davinci Resolve Effects
1. Different types of blurs
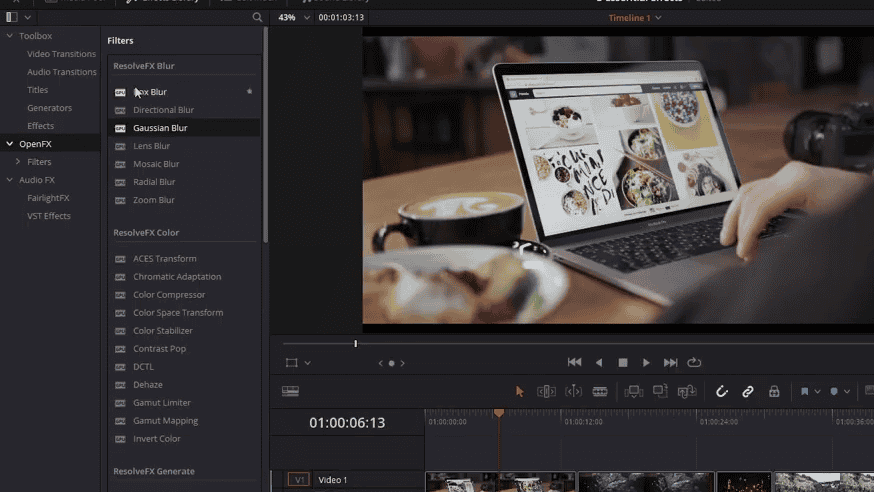
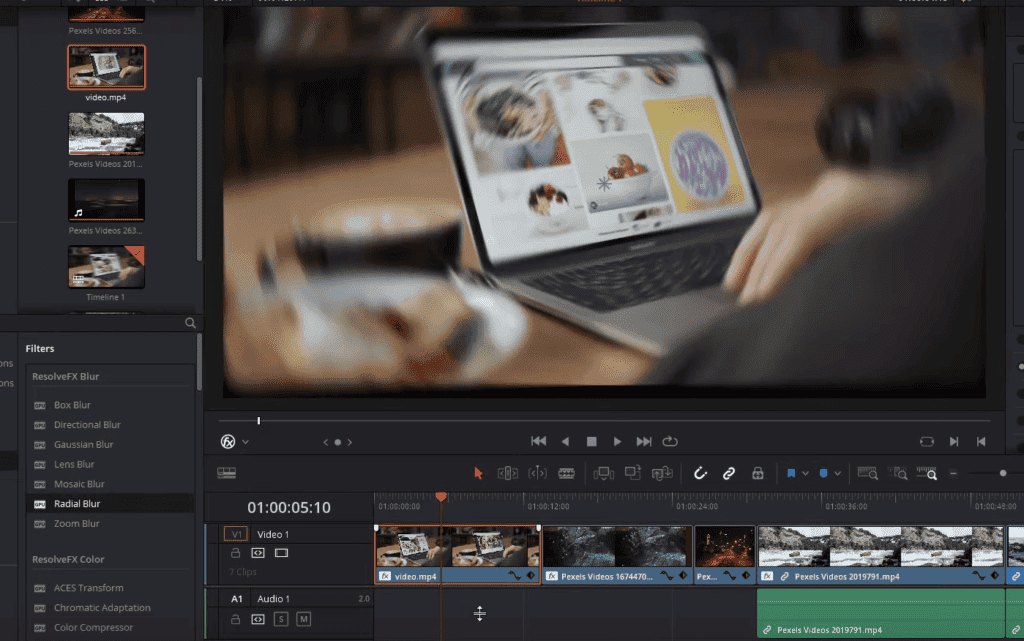
The first effect I want to show you guys is over in the effects library under openFX> ResolveFX blur effects. And there are many different options for doing blurs. We’ll talk about three in this article.
Gaussian blur
The first and probably the most basic blur is a Gaussian blur. To play with one of these effects with a clip, you left-click, hold and drag your effect onto the clip.
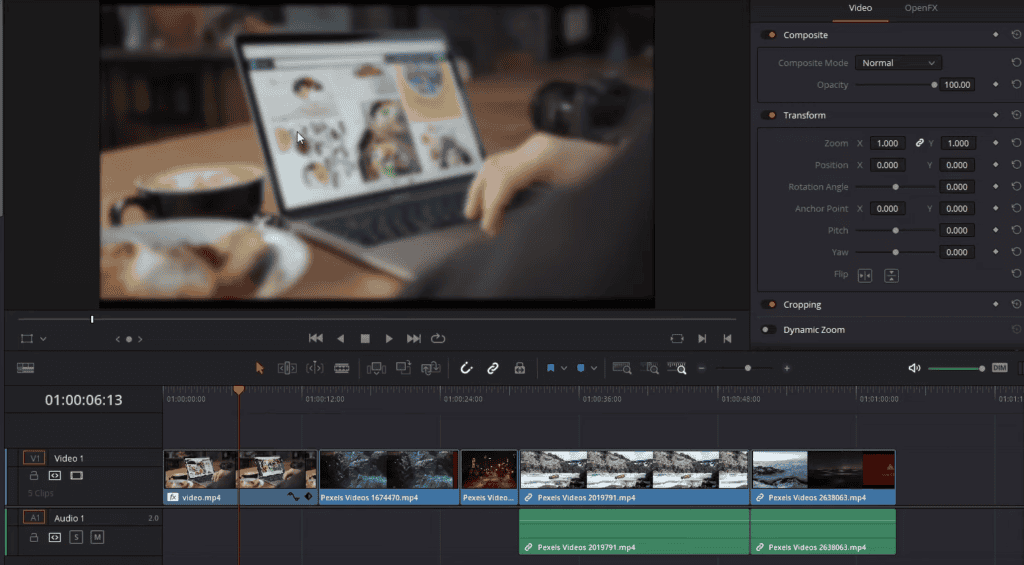
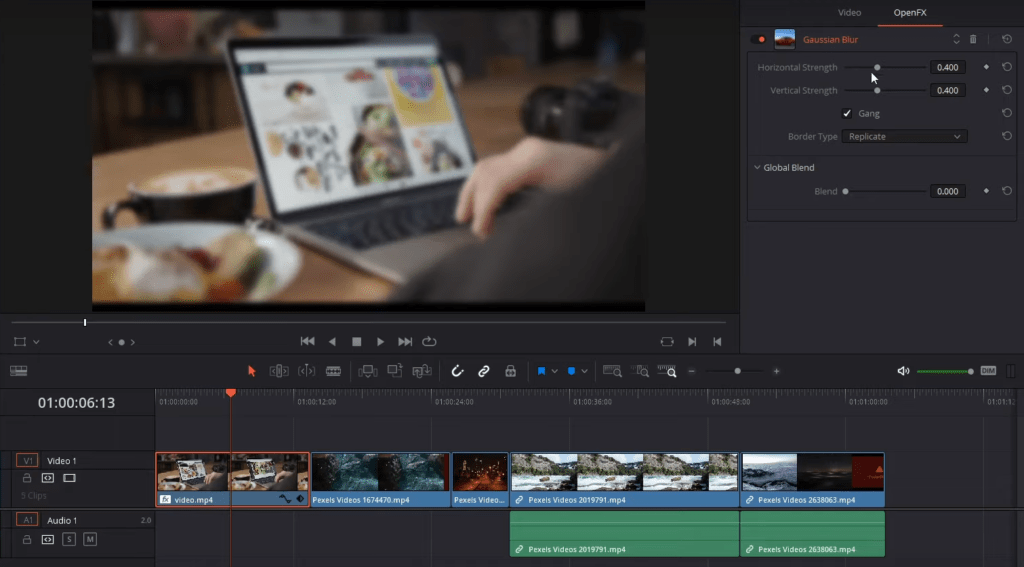
That’s in the timeline; as you can see with the Gaussian blur, what happens is that the entire clip is blurred out in an evenly distributed manner. There’s no direction for this blur. It simply takes everything on the clip, decreases its sharpness, and makes it harder to see exactly what is in the shot.
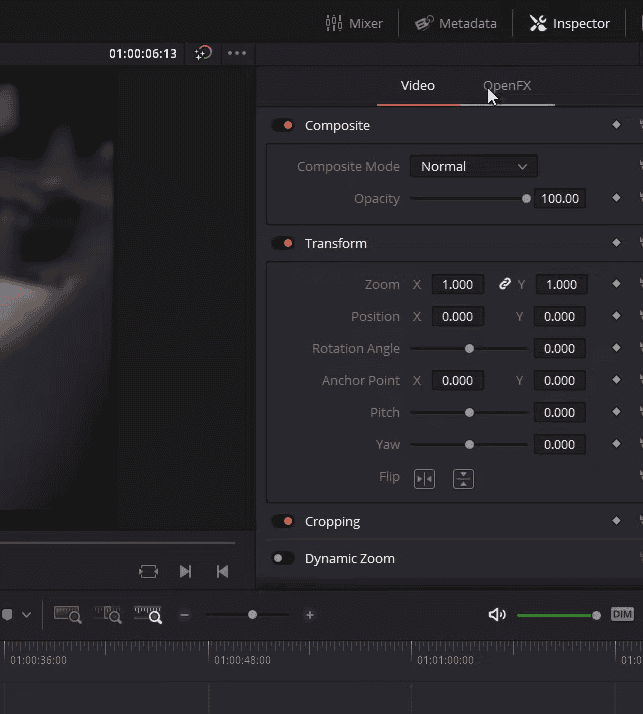
With all open effects, you can click on the video clip and go to the Inspector, and then a new tab will be created if the clip has an Open FX attached, and that’s, of course, called Open FX.

When you add Gaussian blur, you might see this black line on the sides. There is extra black space at the top and bottom because this clip didn’t conform to the sizing of the other clips. And that’s why there’s this black space. But if you want to remove this black border, you could change the border type to replicate, which will fill in that black space on the sides and maybe a more preferred look.
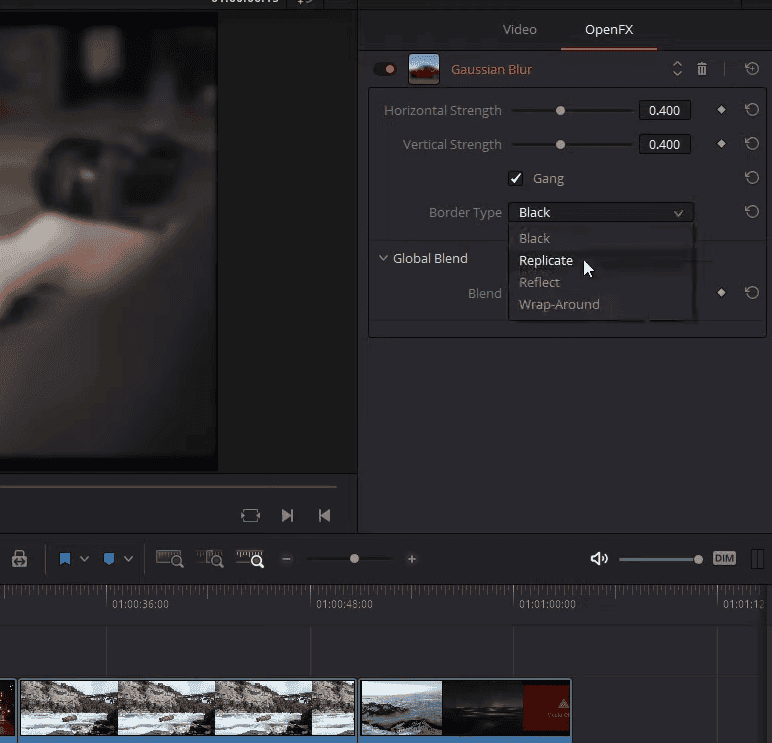
Also, if you want to increase the strength of your blur, you can increase the horizontal strength and the vertical strength. And of course, if you want to make the blur stronger so that it’s even harder to see what is in the shot, you can increase the horizontal and vertical strength.
Now, while Gang is checked, these two will be locked in place together. If you want to change the strength separately, you can Uncheck Gang, and you can lower the vertical strength, which will give you a different look to the blur.
Note that, like most properties in DaVinci resolve, you can add keyframes to your OpenFX to animate their values over time. If you wanted to have a slow, gradual blur as the shot enters or leaves, you could use keyframing there.
Radial Blur
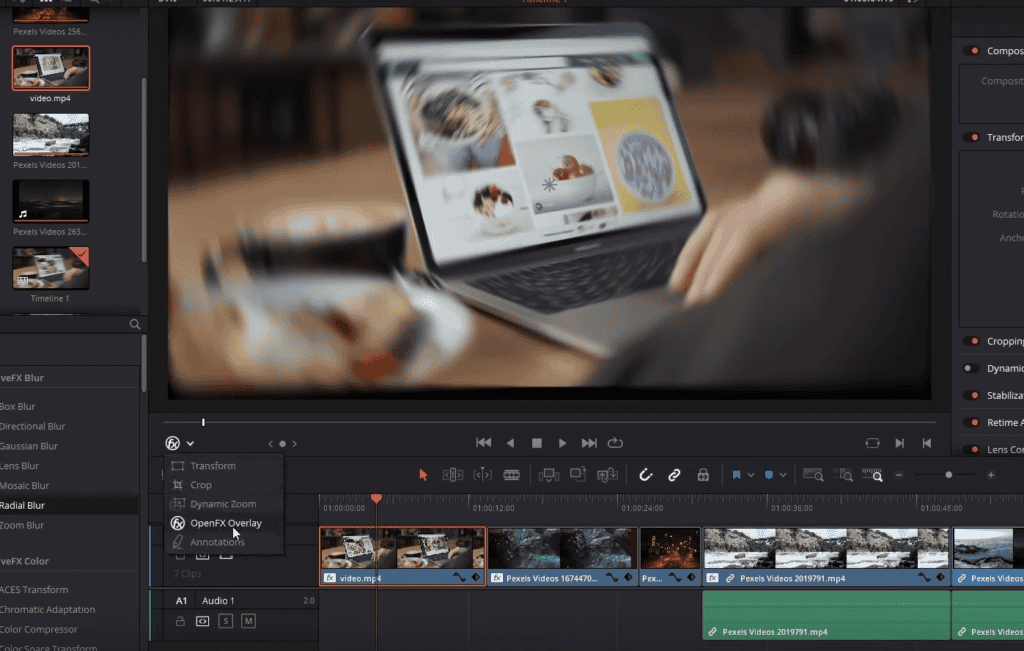
The basic idea is the same. We’re making things a lot harder to view visually. Still, you’ll notice that with the radial blur, it has a center point, and you can see that if you have the openFX overlay toggled on which you can also adjust around the screen wherever you want that center point to be.
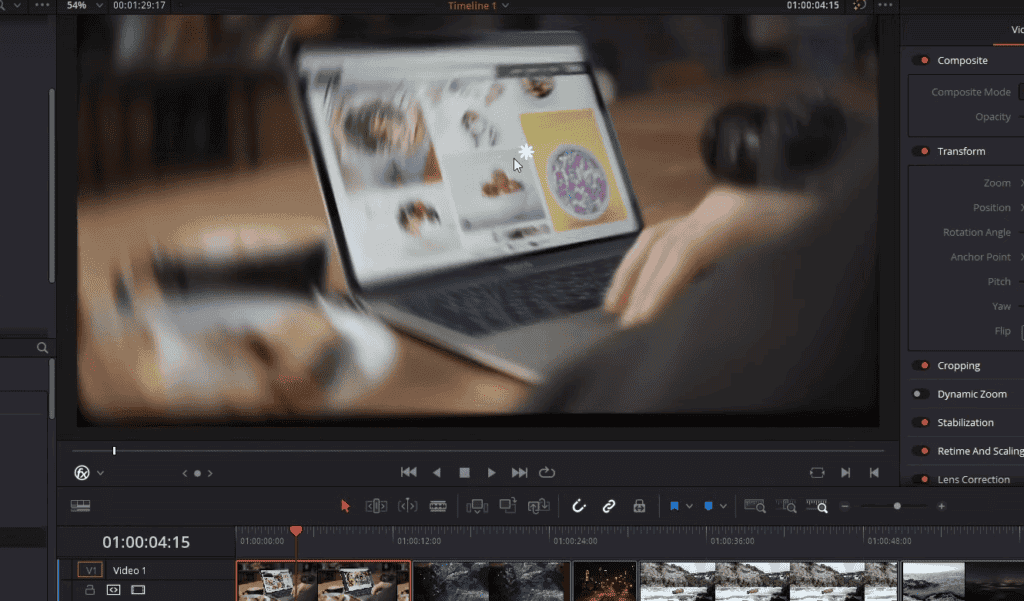
Around that center point, everything that gets further and further out becomes progressively more blurry. And also, the blur goes around in a circular fashion, like a CD or DVD. And you can see how that blur ends up looking different as a result because it’s no longer spreading evenly and plainly across the entire clip. But rather, it has a focus point.
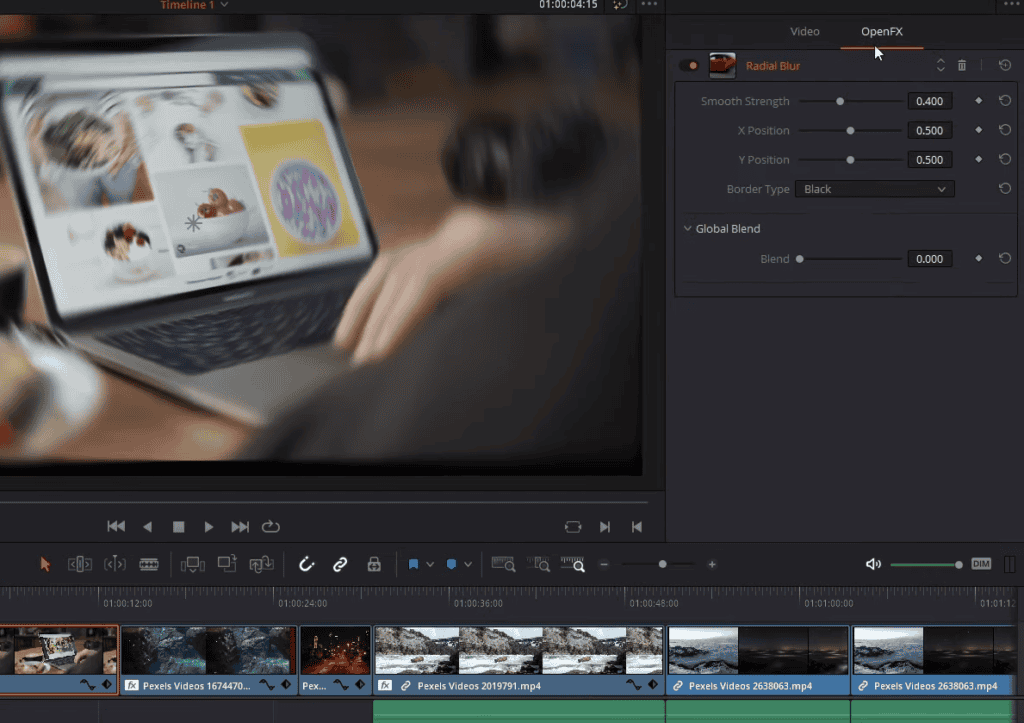
In openFX, we can adjust the position of that center point, which gives the same results as just dragging it around manually. And we can also increase the smoothing strength if we want there to be more blur, and for what’s visible to be harder to see, we can also change the border type to replicate if we don’t want to have any of these black zones.
- Also Read- All The Rocky Movies In Order (1976-2022)
- Also Read- Where Was Jurassic Park Filmed & 7 Crazy Facts
- Also Read- How Purple Color Palette Is Used In Films- 5 Good Examples
Zoom blur
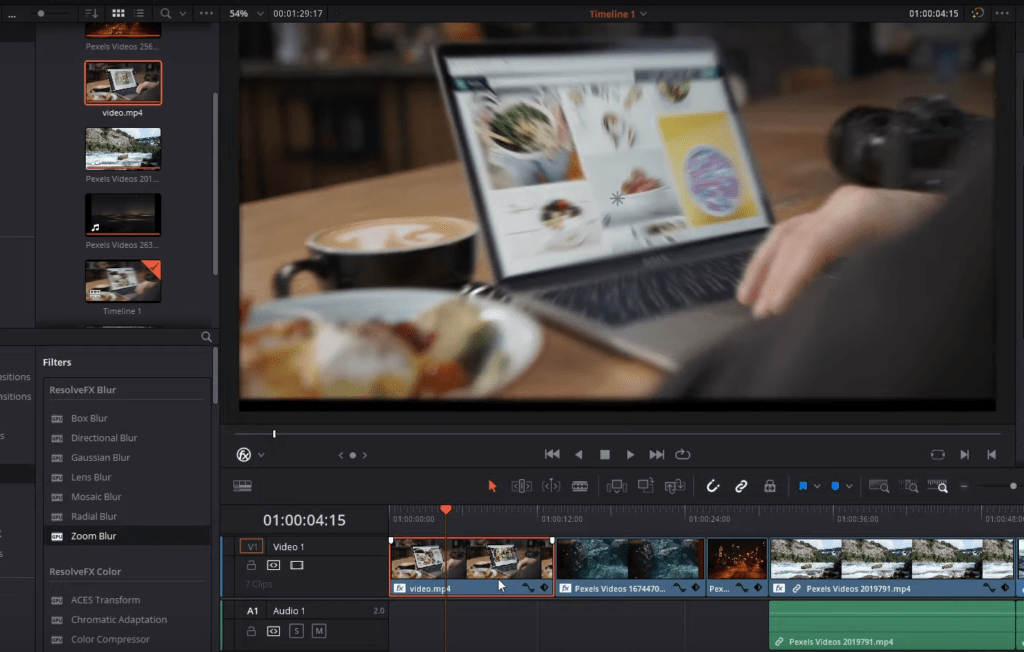
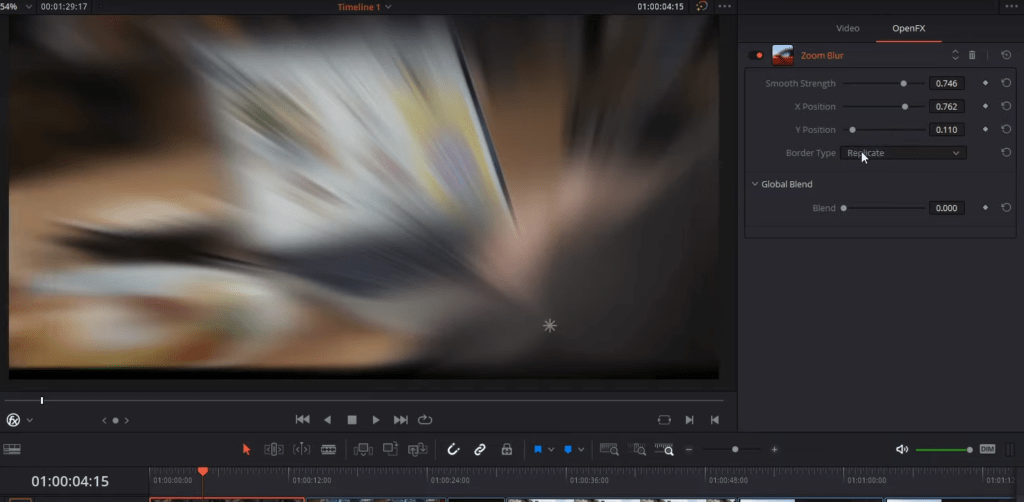
Okay, so one last type of blur very similar is Zoom blur. The Zoom blur also has a focus point, but the blur doesn’t go around in a circle. Rather, the blur goes straight out like a Ray of light from the center point. And just like before, we can drag the center point around the screen. You can see where the rays of blurriness are shooting out from as we do.
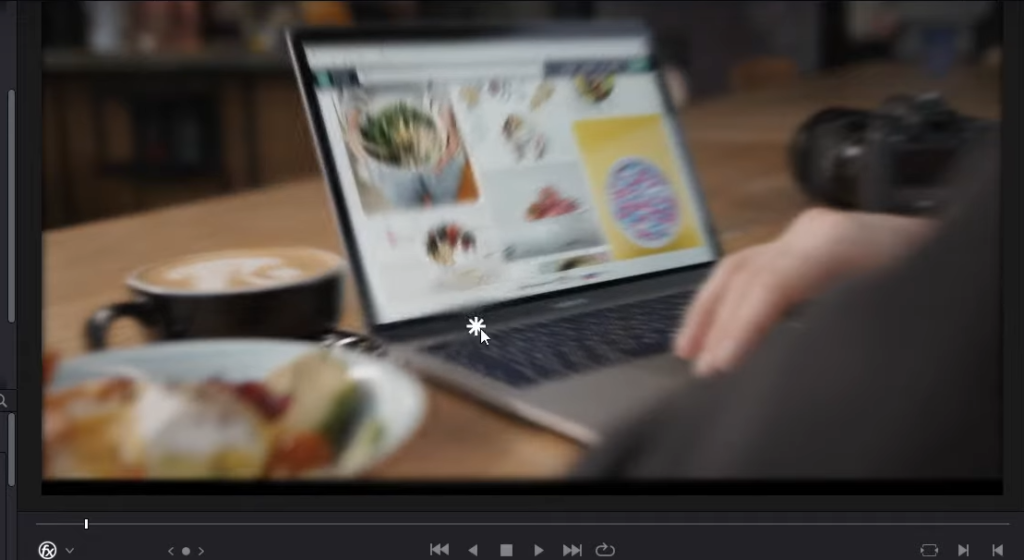
On openFX, We can adjust the smoothing strength if we want things to be more blurry, change the border type to replicate if you want to fill in those side spaces and move the Y position if we choose.
Those are three of the types of blurs you can use and resolve. Of course, you have others, like box blur and directional blur. But these are the three I find myself using the most, so go ahead and play around with all of them. It’s the same idea. It is just blurring with a different pattern to achieve that blur effect.
2. Using vignette from the FX library
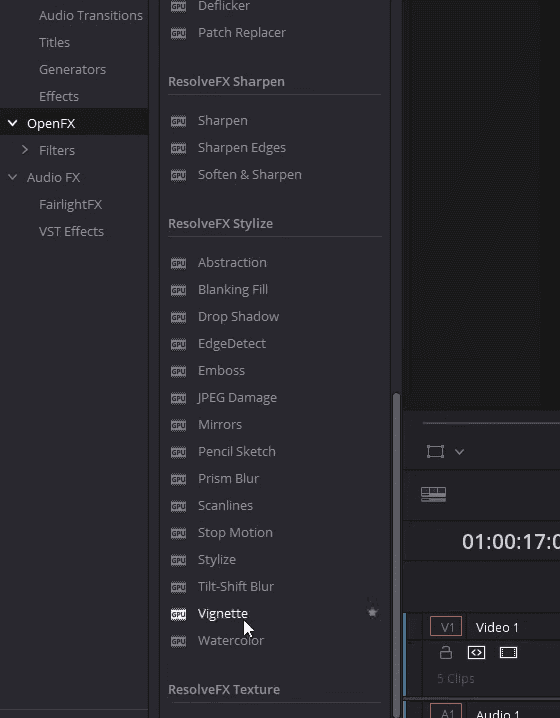
The second effect I want to demonstrate in this video is the vignette. We can also find a vignette in openFX if we scroll down towards the bottom under stylize.
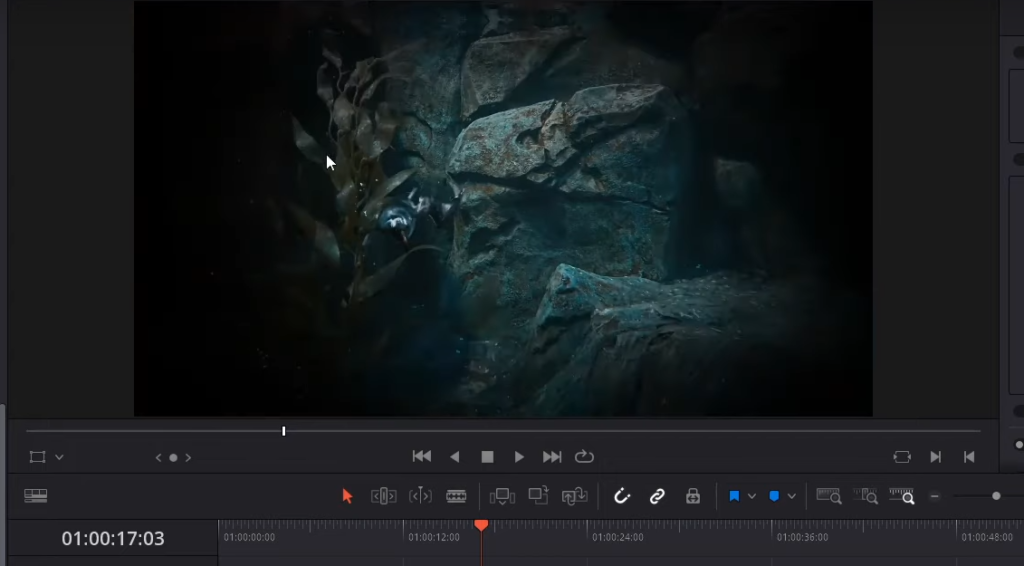
It’s next to watercolor so that we can drag the vignette onto our clip. And what you’re going to notice is that by default, the center of the area is still going to be most visible. Still, everything around that will be hidden by the ring; whereas it approaches the outer edges, it’s going to become darker and darker.
The vignette can be used for various things. One is to emphasize the visual information in an area of the shot, the center by default. But another option could be to create a spotlight effect where you can only see part of a stage or possibly look through a lens, such as a telescope or binoculars.
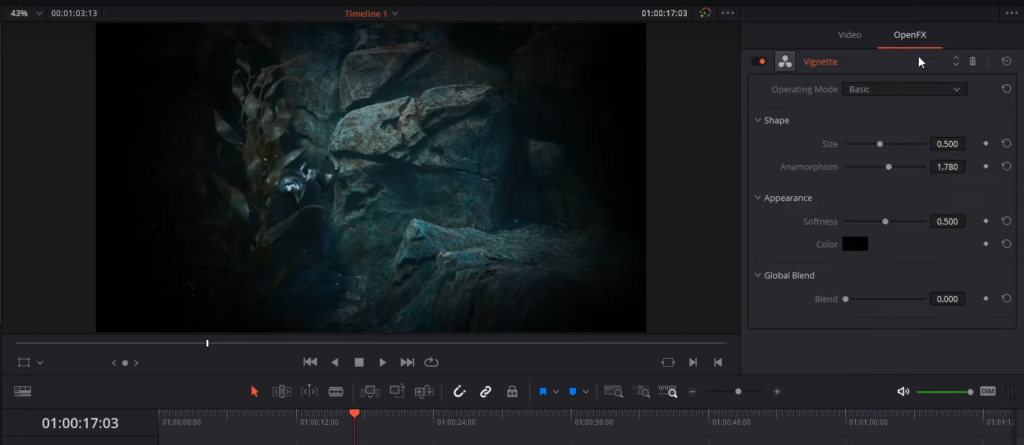
In openFX, we can modify the settings here. For instance, if you do not like this blurring and you’d rather have a sharper edge between the black space and the visible space, you can decrease the softness, which will dramatically decrease the distance where there is a blur. And instead of just transitioning to the darkness very fast.
You can also adjust the Anamorphism if you want to change the shape of your vignette, and you can increase or decrease the size of your vignette to be as big or small as you want it to be.
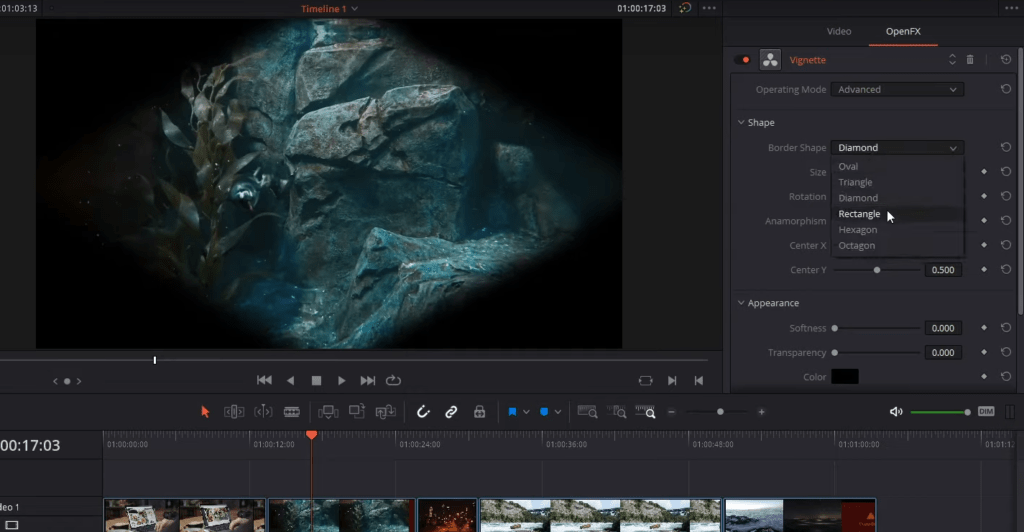
If we put operating mode on Advanced, we also get access to change the shape of the vignette, so it does not have to be an Oval. It can be many different shapes, such as a rectangle or a Hexagon. You can also adjust the position of the vignette.
If you want it to be on the left or at the top of your screen, you can do that if you check my channel.
3. Creating beautiful light rays in Davinci Resolve
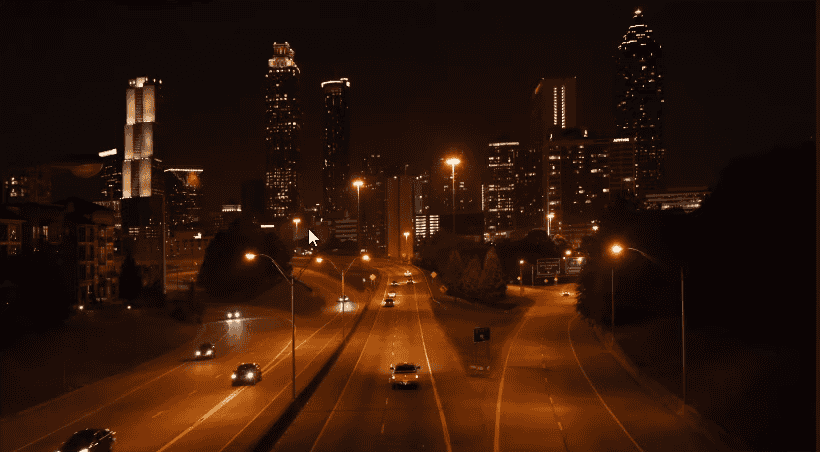
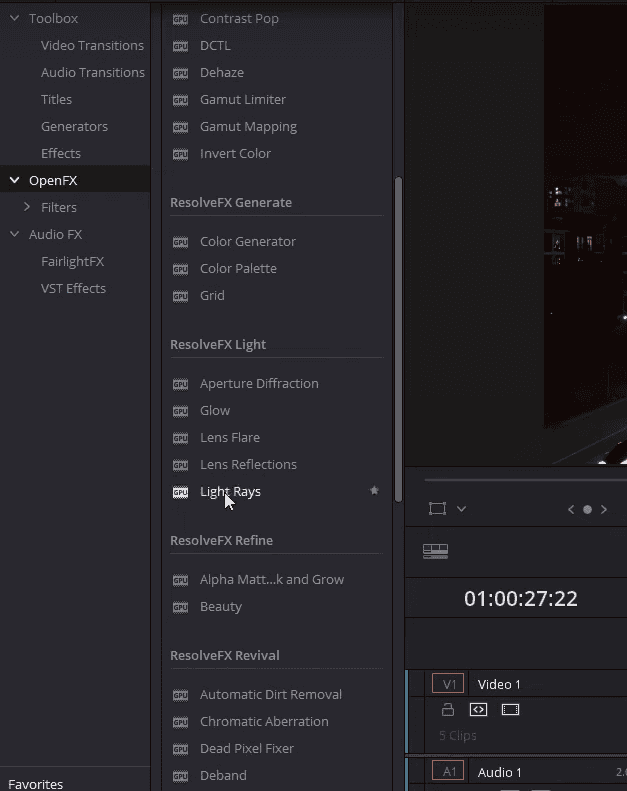
The third effect I want to demonstrate here is light rays. In the scene, you can see many different potential sources of light. And if you want to exaggerate that, you can add light rays onto your clip. Light rays will take any bright spots of your video clip and add, as the name would imply, a ray of light coming out of that location.
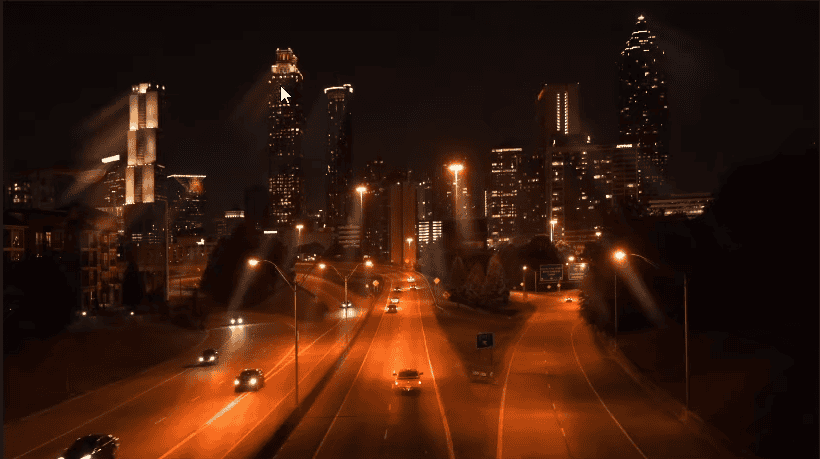
You might notice that these light rays are being created from a center point. The ones over on the right are pointing towards the right way, and then on the left, they go the opposite way, which would imply the center point is above in the center of the clip.
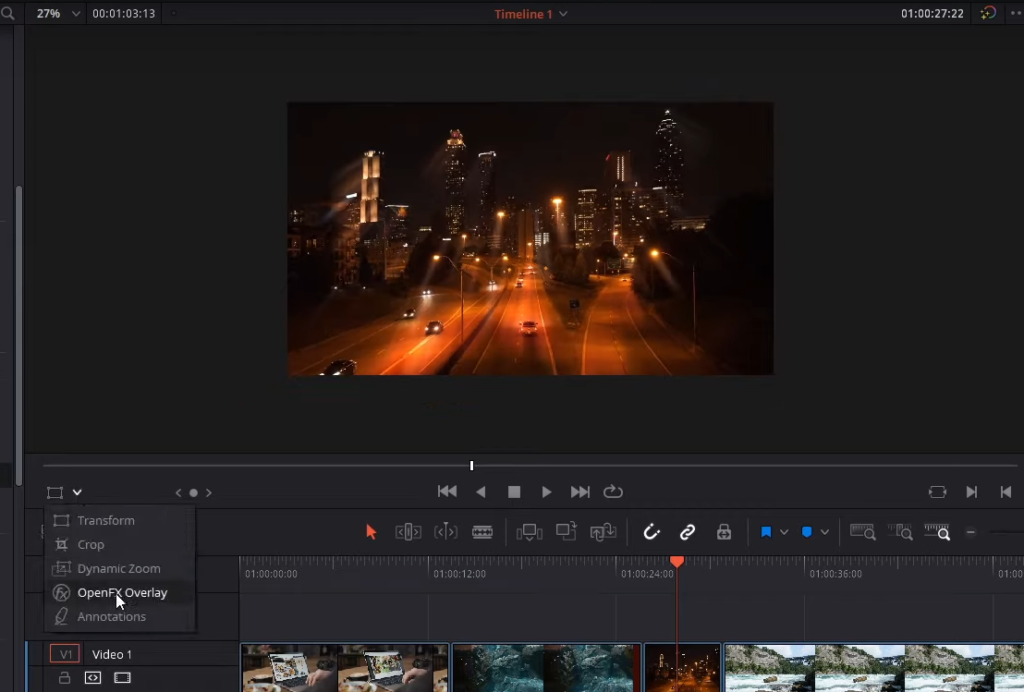
If we Zoom out and I were to switch the viewer overlay mode to OpenFX overlay to see where that light is, you can see this little icon indicating light for the openFX. With this icon, we can drag this around and change the location where the light rays will originate from, which is very handy.
Now, of course, you can adjust the position setting for this and other settings and openFX as well. You can have redirections from a location, which is the default. This light’s location, but you can also choose at an angle. If you want them all to be going in the same direction, you can change the angle, and then all of the light rays will go in the same direction.
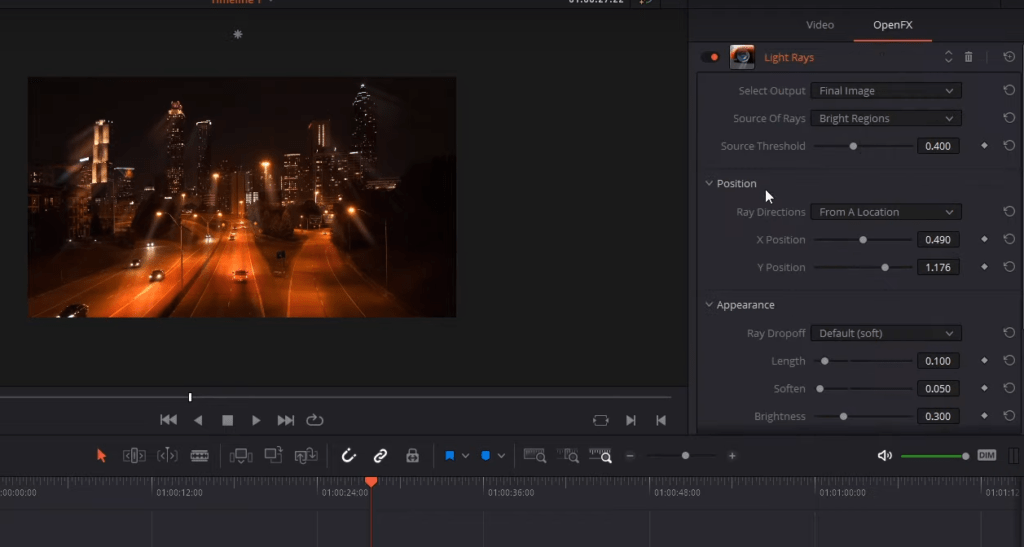
Of course, you can also adjust how the light rays will look, such as the length of those light rays how sharp or blurry they should be. If you decrease the softness, they’re going to be much more obvious, and you can increase the brightness if you want them to stand out on the screen.
There are also other modes for your rate drop-off, such as changing it to CCD Bloom or CCD Bloom Harsh, which will have a very different look to it.
There’s also one more mode for the source of rays up here. By default, the rays come out of your bright regions, which is probably the way you want in most cases, but you can also have them come from edges on your video screen.
4. Cool mirror effects in Davinci Resolve
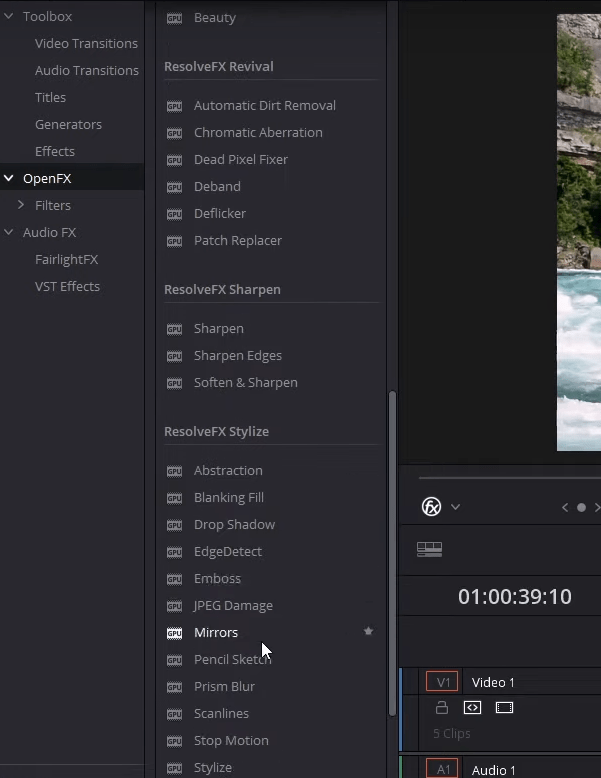
We can find mirror effects in the open FX as well. It is stylized; we can drag this onto our clip. And as you might imagine, the mirror is going to reflect part of your clip across an axis to the other side.
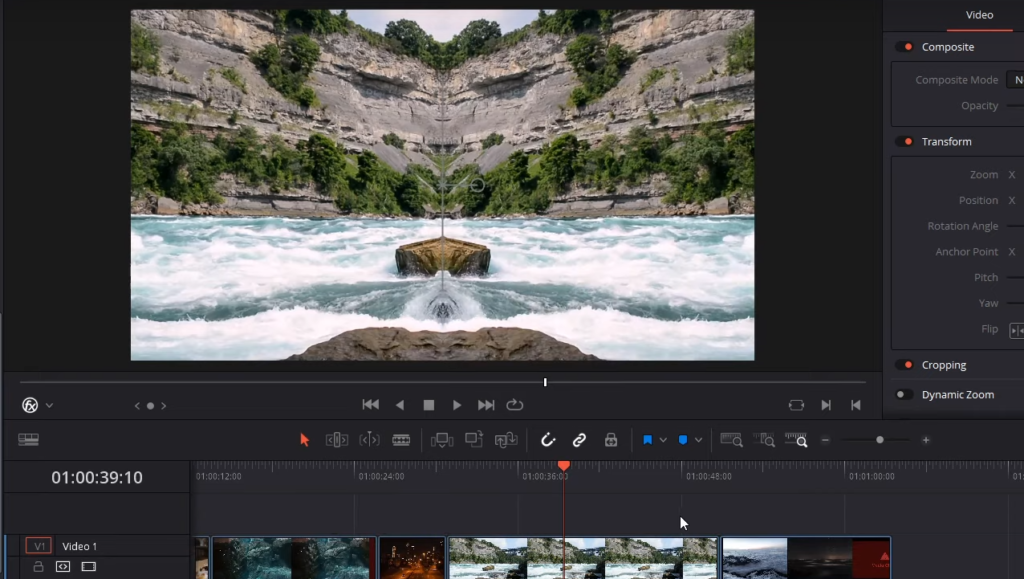
Some gizmos appear on the screen when the openFX overlay is added to your mirror’s effect. For instance, we can left-click on the center point, which will anchor the mirror.
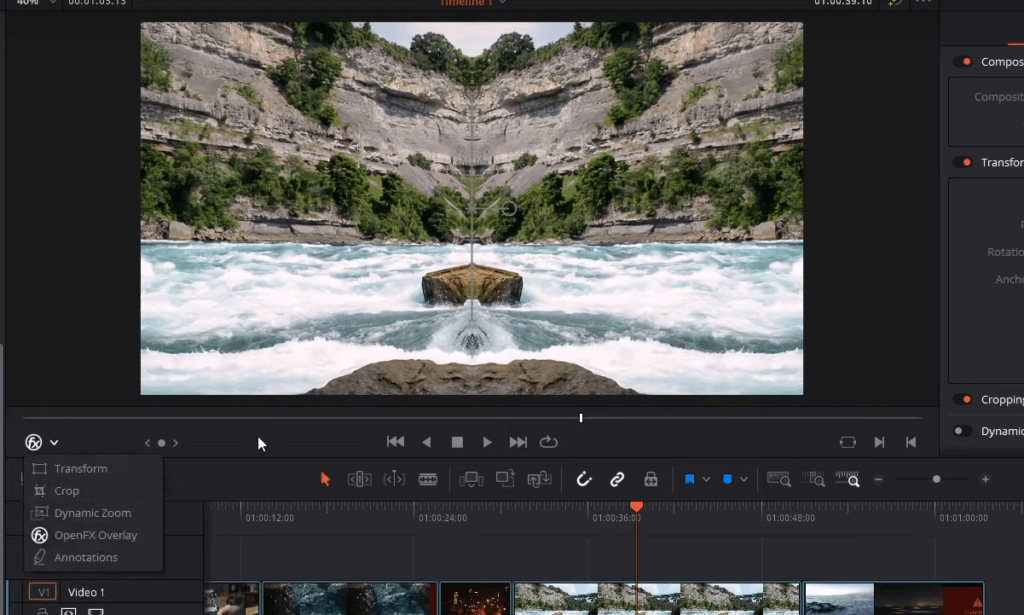
We can left-click on the mirror and drag the position away from the center of the clip. We can click on this handle to rotate it around the screen if we choose. If you want your mirror to be possibly top to bottom instead of left to right, you can do that as well.

We are likewise flipping it again to the top of the screen to mirror the ocean across the water. And we can also add a mirror. If we go to openFX, you’ll see mirror two, mirror three, so on and so forth up to mirror six, so we can enable a mirror, and this will once again appear at the center of the screen like the first one did, and we can continue to rotate it if we so choose.

You’ll notice that whenever we change these properties with the gizmos, it’s also reflected over here in the Inspector. We can adjust the properties and the Inspector if we choose to do that. But generally, using these openFX overlays, it’s going to make it a little bit more visual. I think it is easier to understand from a visual perspective.
one possible thing you could do with this is if you have a drone shot of a landscape with many skyspaces, you can mirror the bottom to the top of the sky just for a cool fantasy effect, having mirrored worlds.
So these were the 4 Best Davinci Resolve Effects. That’s pretty much going to be it for this article. I hope you guys learned a lot. Thanks for reading!