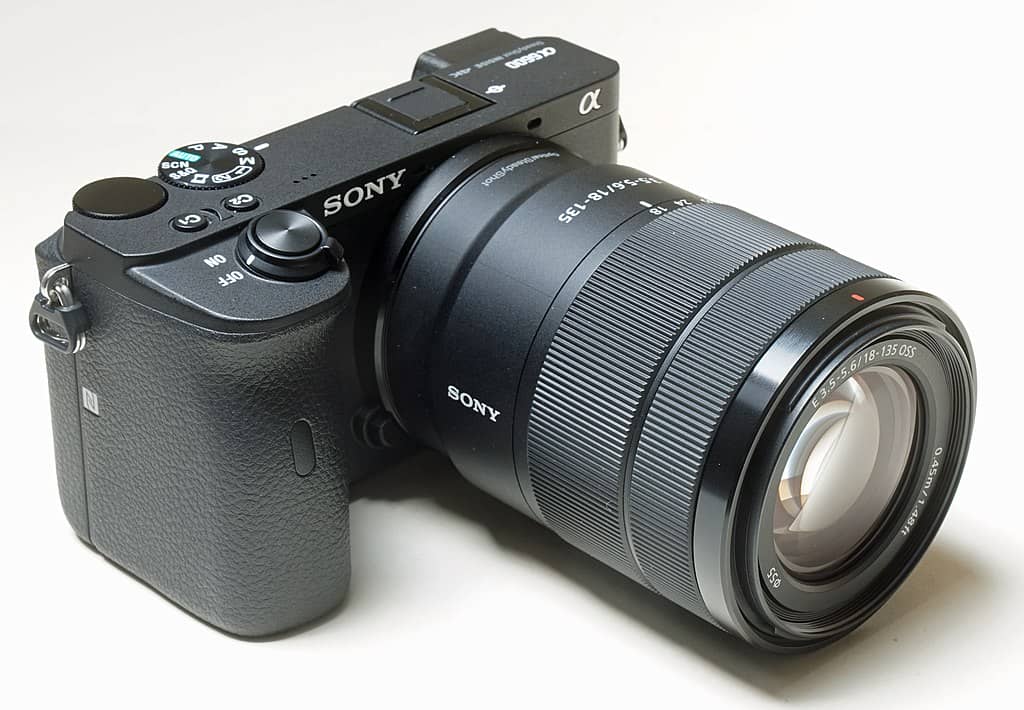
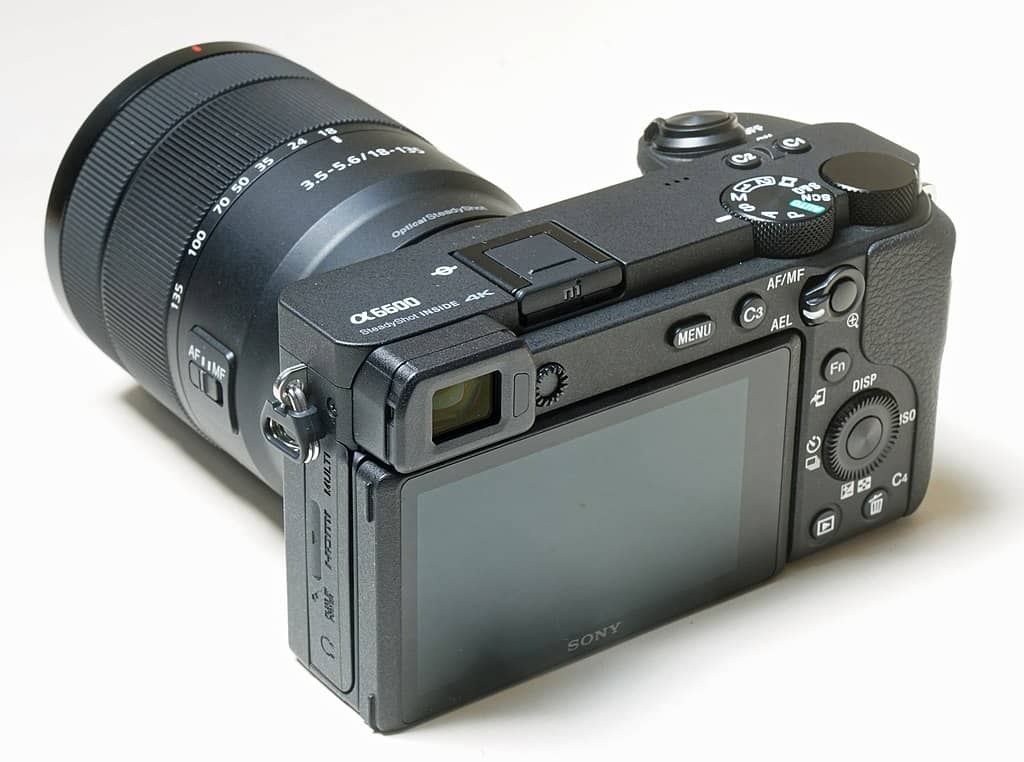
The Sony a6600 is a remarkable APS-C-format mirrorless camera renowned for its speed, versatility, and impressive feature set, making it a preferred choice for both photography and videography enthusiasts. Boasting a revised 24.2MP CMOS sensor, the a6600 captures stunning high-resolution photos and delivers exceptional UHD 4K videos with no recording time limit. With its advanced in-body image stabilization and fast hybrid autofocus system, this camera ensures steady shooting even in challenging lighting conditions.
However, as with any electronic device, there may be instances when the Sony a6600 encounters issues, such as not turning on. In this article, we will explore the potential causes behind this problem and provide effective solutions to get your camera up and running again. Whether you’re a professional photographer or an aspiring videographer, understanding how to troubleshoot this issue will help you make the most of your Sony a6600’s capabilities and avoid any unnecessary frustration.
So, let’s dive into the world of the Sony a6600 and uncover the reasons why your camera might not be powering on, and more importantly, how to rectify the situation and continue capturing stunning images and videos with this exceptional mirrorless camera.
Battery Related Issues
If the Sony a6600 camera is not turning on, it could be due to one of several battery-related issues. In this case, it is essential to identify the specific problem and apply the appropriate solution.
One potential issue could be an exhausted battery. When the battery is completely drained, the camera will not turn on. To resolve this, charge the battery using the recommended charging method for the Sony a6600. Connect the supplied USB cable to the camera and a computer or use the battery charger to charge the battery from a household AC power outlet. It takes approximately 5 hours to charge the battery with a charging input of 5 V/500 mA. Alternatively, insert a fully-charged spare battery to power the camera.

Make sure you are using a genuine Rechargeable battery pack NP-FZ100. It can also be the primary reason for your camera not turning on.
Another possible problem is the incorrect insertion of the battery. If the battery is inserted in the wrong orientation, the camera will not turn on. To fix this issue, open the battery-chamber cover and remove the battery. Reinsert the battery in the correct orientation, ensuring the battery terminals match the camera terminals. The battery will slide in easily in the correct orientation. Confirm that the battery is securely latched.
It is also important to check the battery chamber cover. If the cover is not latched properly, the camera may not turn on. To address this, open the battery-chamber cover, check the battery’s position, and close the cover, ensuring it is latched securely. If the cover does not close, double-check that the battery is inserted in the correct orientation, and do not attempt to force the cover shut.
Defective charger or charging cable
In some cases, the Sony a6600 camera might not turn on due to a defective charger or charging cable, which prevents the battery from charging efficiently. To troubleshoot and resolve this issue, follow the steps below:
- Inspect the charging cable: Check the USB cable for any signs of damage, such as fraying or bent connectors. If the cable appears damaged, replace it with a new, compatible cable to ensure proper charging.
- Check the charger: If you’re using the AC Adaptor while connected to a power source to charge the battery, ensure that it is correctly plugged into a household AC power outlet. Make sure the plug adapter is securely connected to the charger. If you suspect that the charger is faulty, try using another compatible charger to charge the battery.
- Test the charging process: The battery will not charge while the camera is on, so turn the camera off during charging. Keep the computer on while charging and avoid using USB hubs or keyboards for charging. If the computer enters sleep mode, activate the computer and disconnect and reconnect the USB cable to resume charging. Note that charging may not be supported depending on the model of the computer, its settings, and its current state.
- Monitor the charging status: Observe the indicator lamp on the camera or charger, which displays the battery’s charge status as follows:
- On: Battery charging
- Off: Charging complete
- Blinks: Battery fault
- If the indicator lamp blinks and the battery does not charge, there might be dirt on the battery terminals. Clean the terminals with a soft, dry cloth. If the battery still fails to charge, it could have reached the end of its charging life, and you may need to purchase a new battery. If none of these solutions work, contact your Sony dealer for assistance.
- Use only genuine Sony batteries and chargers: It is crucial to use only genuine Sony rechargeable batteries and chargers designated for use with the a6600 camera. Using local or counterfeit batteries and chargers may not only result in poor charging performance but could also cause damage to your camera or pose safety risks.

Faulty power button
If you have checked the battery, its orientation, and the battery-chamber cover, but the camera still does not turn on, the power button might be faulty. In this case, you should:
- Inspect the power button for any visible damage or obstruction that may be preventing it from functioning properly.
- Gently press the power button multiple times to see if it responds at any point.
- If the power button remains unresponsive, contact your nearest Sony dealer or authorized service center for assistance. The power button may need to be repaired or replaced.
Remember, always handle your camera with care and avoid applying excessive force to any of its components.
Loose or damaged internal components
Loose or damaged internal components may prevent the Sony a6600 from turning on. This issue can arise from falls, impacts, or even regular wear and tear. In such cases, checking for any loose screws or parts within the camera body is crucial.
Potentially damaged components might include the camera’s circuit board, wiring, power input/output ports, lens mount, and memory card slot. Additionally, the camera’s focus mechanism, autofocus points, and exposure compensation dial could be affected. To address this problem, it’s recommended to seek professional repair services from Sony or an authorized repair center. Attempting to disassemble and fix the camera by yourself could worsen the damage to internal components and may void the warranty.
Corroded or damaged ports
Corroded or damaged ports can prevent the Sony a6600 from turning on, which can hinder the camera’s functionality and lead to frustration for the user. To address this issue, it is essential to identify the causes and possible solutions for corroded or damaged ports.
Causes of Corroded or Damaged Ports:
- Exposure to moisture or water: Using the camera near water sources or in humid environments can cause moisture to enter the ports, leading to corrosion over time.
- Dust and debris: Dirt, dust, and debris can accumulate in the ports and cause damage, affecting the electrical connections.
- Physical damage: Accidental drops, impacts, or rough handling can lead to damaged ports.
- Prolonged use: Over time, the wear and tear of inserting and removing cables can cause damage to the ports.
Possible Solutions:
- Clean the ports: Use a soft brush or compressed air to remove any dust, dirt, or debris from the ports. Be gentle to avoid causing further damage.
- Dry the ports: If moisture is the cause of corrosion, allow the ports to dry completely before attempting to use the camera. You can use silica gel packets to help absorb moisture.
- Inspect cables: Check the cables and connectors for signs of damage or corrosion. Replace any damaged cables to prevent further damage to the ports.
- Use protective covers: Consider using protective covers or caps for the ports when not in use to prevent dust, debris, and moisture from entering.
- Professional repair: If cleaning and drying do not resolve the issue, consult a professional technician or contact Sony for repair options. Attempting to fix damaged ports on your own could void the warranty or lead to further damage.
Preventive Measures:
- Store the camera in a dry, cool place away from moisture and humidity.
- Keep the camera away from water sources or use a protective case when using it near water.
- Use protective covers
- Handle the camera gently and avoid dropping or subjecting it to strong physical impacts.
By addressing the causes and following the preventive measures mentioned above, you can prolong the life of your Sony a6600 camera and prevent issues related to corroded or damaged ports.

Firmware issues
Firmware issues can sometimes prevent the Sony a6600 from turning on, as the camera’s internal software is responsible for controlling its various functions. If there is a bug or conflict within the firmware, it can hinder the camera’s ability to power up and operate correctly.
It’s essential to check the firmware version and ensure that you are using the latest version for your camera and lens. Using an outdated version may prevent you from enjoying the camera’s full performance. You can check the latest firmware version on Sony’s website.
To update the firmware correctly, it’s essential to follow the instructions carefully. If updating the firmware to a revised version, be sure to update it using the steps provided. Firmware updating requires approximately 5 minutes, and it’s crucial to use a fully charged battery during the process.
Overheating
Overheating can lead to the camera not turning on. This section will discuss the potential causes of overheating in the a6600 and provide solutions to help you get your camera back up and running.
Causes of Overheating:
- Ambient Temperature: Charging the battery at temperatures below +10 °C (+50 °F) or above +35 °C (+95 °F) can result in increased charging times and potentially overheating. It is crucial not to charge the battery at temperatures above +40 °C (+104 °F), as this can cause damage to the battery and the camera.
- Continuous Use: Using the camera continuously at high temperatures can result in overheating. This is particularly important when shooting video or taking a series of photos in quick succession.
- Battery Issues: A worn-out battery can cause overheating and reduce the overall performance of the camera. Batteries generally have a lifespan of about 300 charge cycles before their performance begins to degrade.
Solutions for Overheating Issues:
- Charge the Battery at Room Temperature: To avoid overheating, charge the battery at room temperature. Avoid charging in areas exposed to extreme temperatures.
- Turn off the Camera and Let it Cool Down: If you notice your camera is getting hot, turn it off and allow it to cool down before using it again. This will help prevent any damage due to overheating.
- Clean the Battery Terminals: Dirt on the battery terminals can cause poor electrical conductivity, leading to overheating. Clean the terminals with a soft, dry cloth to ensure proper contact.
- Replace the Battery: If you notice a significant decrease in battery life or experience overheating issues, it may be time to replace the battery with a new one.
- Monitor the Camera’s Temperature: Keep an eye on the camera’s temperature warning. If it appears, turn off the camera and let it cool down before continuing to use it.
- Proper Storage: If you plan on storing your camera for an extended period, remove the battery and store it in a dry place with an ambient temperature between +15 °C to +25 °C (+59 °F to +77 °F). This will help maintain the battery’s performance and prevent potential overheating issues.
Faulty or damaged motherboard
Symptoms of a Faulty Motherboard:
- Camera Fails to Power On: The most obvious sign of a faulty motherboard is that the camera simply does not turn on, even when the battery is fully charged and properly inserted.
- Erratic Behavior: A malfunctioning motherboard can cause various issues, such as random shutdowns, unresponsiveness, or difficulty accessing menus and settings.
- Inability to Charge the Battery: If the camera does not charge the battery or fails to recognize a fully-charged battery, it could indicate a problem with the motherboard.
- Corrupted Images or Files: A faulty motherboard may cause issues with image processing or file storage, leading to corrupted or unreadable images.
What to Do If You Suspect a Faulty Motherboard:
- Double-Check the Battery: Before jumping to the conclusion that your camera’s motherboard is faulty, make sure that the battery is fully charged and inserted correctly. Also, ensure that the battery-chamber cover is properly latched.
- Update Firmware: Occasionally, firmware updates can resolve issues related to the camera’s motherboard. Visit the Sony website to check for any available firmware updates for the a6600 and follow the instructions to update your camera.
- Contact Sony Support: If the problem persists after trying the steps above, contact Sony’s customer support for further assistance. They may be able to provide additional troubleshooting tips or arrange for repairs if necessary.
- Consider Repair or Replacement: If Sony support confirms that the issue is due to a faulty motherboard, you may need to consider having the camera repaired or replaced. Depending on the age of your camera and the terms of your warranty, the repair may be covered by Sony.
Extreme weather conditions
Effects of Extreme Weather Conditions on the Sony a6600:
- Extreme Cold: When exposed to temperatures below 0°C (32°F), the camera’s battery may lose its charge more quickly, and the camera may fail to power on. Additionally, the LCD screen and other components may become slow or unresponsive in cold conditions.
- Extreme Heat: High temperatures (above 40°C / 104°F) can cause the camera’s internal components to overheat, potentially leading to permanent damage or failure to power on. The battery may also experience a decreased capacity in hot conditions.
- High Humidity: Excessive humidity (above 80%) can cause condensation to form inside the camera, potentially damaging the internal components and leading to power issues or other malfunctions.
Tips for Protecting Your Sony a6600 in Extreme Weather Conditions:
- Gradually Acclimate Your Camera: When moving between extreme temperatures, allow your camera to gradually adjust to the new environment. For example, place the camera in a camera bag or insulated case to help it acclimate slowly.
- Keep the Battery Warm: In cold conditions, keep the camera battery warm by storing it in an inside pocket or another warm location when not in use. This will help maintain the battery’s charge and allow the camera to power on more reliably.
- Use a Weather-Resistant Case: Protect your camera from extreme weather conditions by using a weather-resistant case designed for the a6600. This can help shield the camera from moisture, dust, and temperature fluctuations.
Conclusion
In conclusion, the Sony a6600 is a premium compact camera that delivers exceptional quality and features for travel and street photographers. However, like any electronic device, it can encounter issues that prevent it from turning on. This guide has provided possible causes and solutions for battery-related issues, defective chargers or cables, faulty power buttons, loose or damaged internal components, corroded or damaged ports, firmware issues, and extreme weather conditions.
By following the tips and preventive measures outlined in this guide, users can prolong the life of their camera and maintain its performance. However, if the issue persists, it’s recommended to seek professional repair services from Sony or an authorized repair center. Overall, with proper care and maintenance, the Sony a6600 can continue to deliver excellent results and capture unforgettable moments.


