Hi, welcome back to FilmmakingElements.com! This is Salik, the author, eager to address a concern many Davinci Resolve users have grappled with.
For those of us who have worked extensively with Davinci Resolve, it’s no secret that it’s an incredibly powerful tool for video editing, color grading, and post-production. However, like any software, it’s not without its shortcomings. One of the often-overlooked challenges is the inability to estimate the file size of exports on the deliver page.
Why is this significant? Well, for starters, filmmakers, content creators, and editors often need to have a clear idea of their export file sizes for various reasons:
- Storage Concerns: Knowing the file size in advance helps in managing storage, especially when dealing with limited disk space or when archiving footage.
- Distribution Needs: If you’re sending your video to a client, streaming platform, or any distribution channel, there might be size limits or optimal sizes to adhere to.
- Download/Upload Times: Ever tried to upload a massive file on a deadline? It can be nerve-wracking. Predicting file size can help in estimating upload or download durations, which is crucial for time-sensitive projects.
Without an inbuilt feature to provide this estimation, users are left to either guesstimate or export a snippet of their project as a test – both methods being far from efficient or accurate.
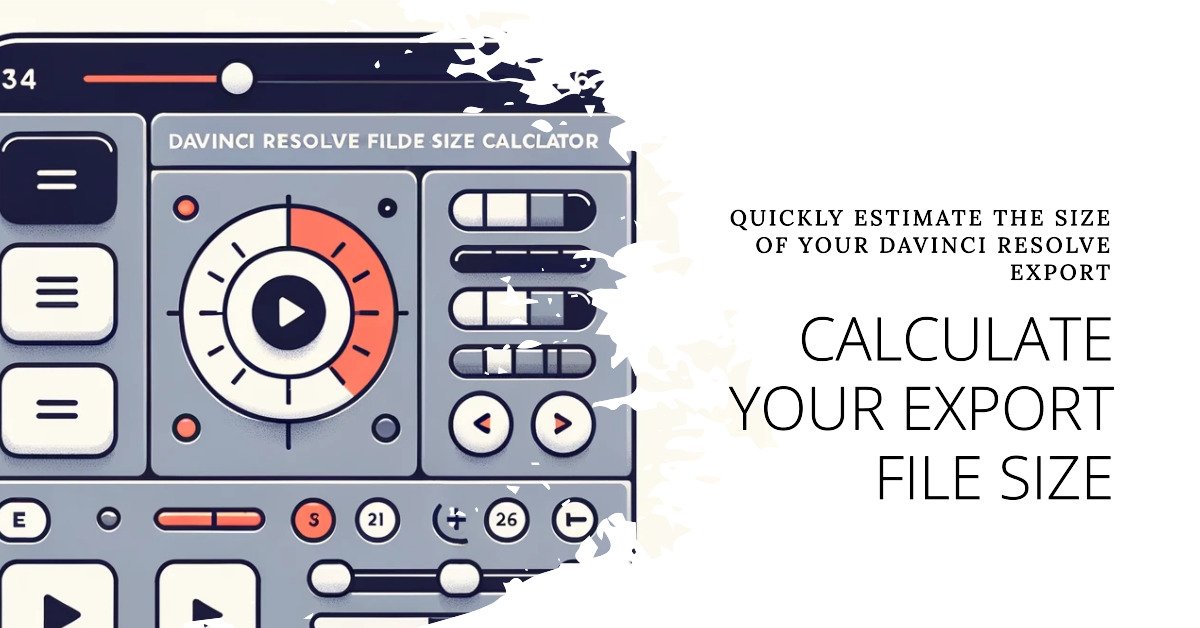
Introducing the Davinci Resolve Export File Size Calculator: Features and Benefits
Welcome to a game-changing solution for Davinci Resolve users – the Estimated Export File Size Calculator. This tool is built upon the simple yet crucial principle of easing post-production workflows. Now, let’s dive deep into its features and the advantages it offers:

User-friendly Interface
The calculator’s design is minimalist and intuitive. It prominently features two main input fields:
- Bitrate (kbps): This is where you can enter the bitrate of your export setting in Davinci Resolve. Bitrate is a primary factor influencing the file size of video exports.
- Duration (seconds): Simply input the total duration of your video in seconds. This ensures that both short clips and longer films can be accommodated without the hassle of converting time units.
With just these two inputs, the calculator is primed to provide you with an accurate estimation.
Instantaneous Results
Upon entering the bitrate and duration, just hit the “Calculate” button. The tool instantly computes the estimated file size and displays it in MB (Megabytes), rounding off to two decimal places for precision. This quick turnaround means you spend less time waiting and more time creating.
Davinci Resolve Export File Size Calculator
Davinci Resolve Estimated Export File Size Calculator
How to Set Bitrate in Davinci Resolve for Optimal Calculator Use
For users new to Davinci Resolve or those who have not delved deep into the export settings, setting the bitrate might be a tad confusing. However, knowing your export’s bitrate is crucial to harness the full potential of our Estimated Export File Size Calculator. Let’s walk through the steps to effectively set the bitrate in Davinci Resolve:
1. Choosing the Right Codec
Davinci Resolve supports a multitude of codecs, but not all of them allow users to manually set the bitrate. For our purpose, we need to focus on H.264 or H.265, as these are the primary codecs that provide such flexibility.
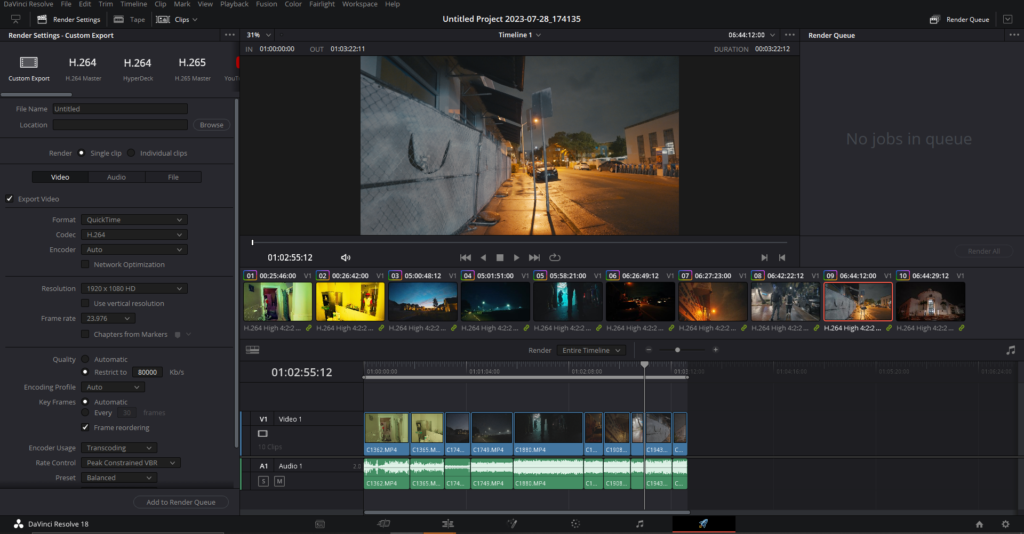
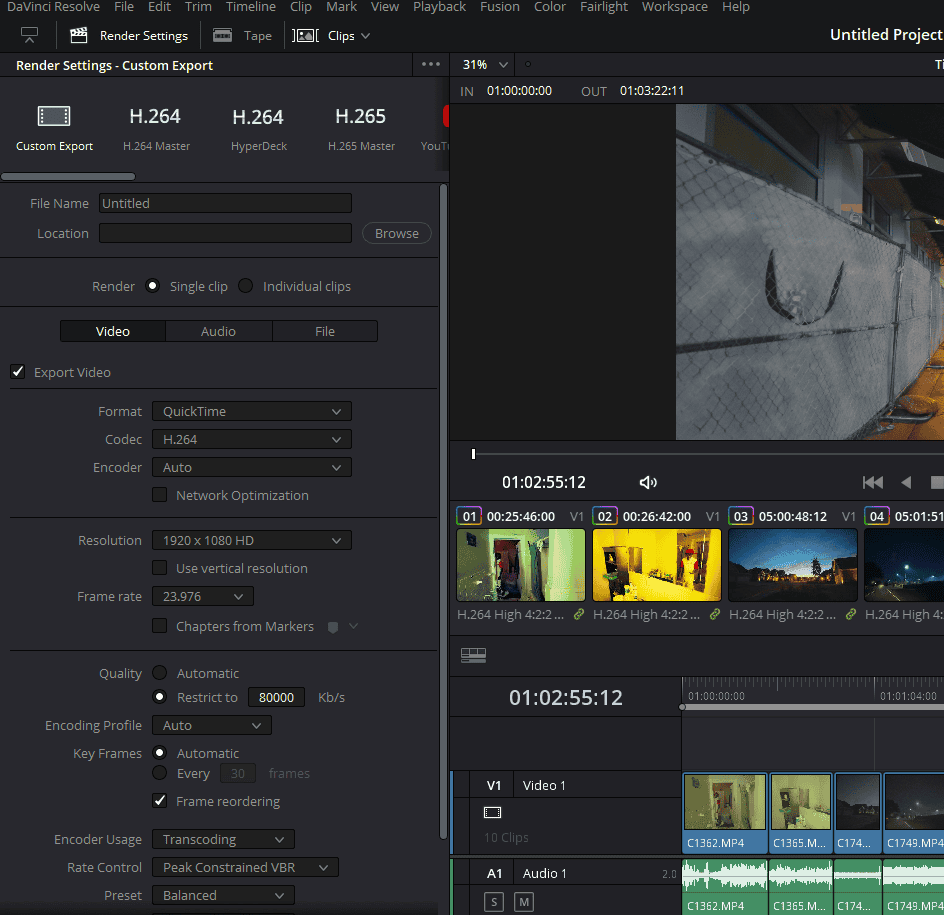
2. Navigating to the Deliver Page
Open your project in Davinci Resolve and head to the Deliver page. This is where you’ll find all the export settings tailored to produce the final output of your video.
3. Selecting the Format
Under the Format dropdown, choose either Quicktime or MP4. Both these formats are compatible with the H.264 and H.265 codecs.
4. Setting the Codec
In the Codec dropdown, now select either H.264 or H.265. While you might see a variety of other codecs, remember that for the purpose of manually setting the bitrate, we need to stick to one of these two.
5. Finalizing the Bitrate
Scroll further down until you come across the Quality settings. Here, you’ll see an option labeled Restrict to. This is the golden ticket! This field allows you to input your desired bitrate. Simply type in the bitrate value you aim to achieve with your export.
- Also Read: How To Invert Colors In Davinci Resolve (3 Methods)
- Also Read: How To Transcode In Davinci Resolve
- Also Read: 3 Cheapest 10-Bit Cameras You Can Buy