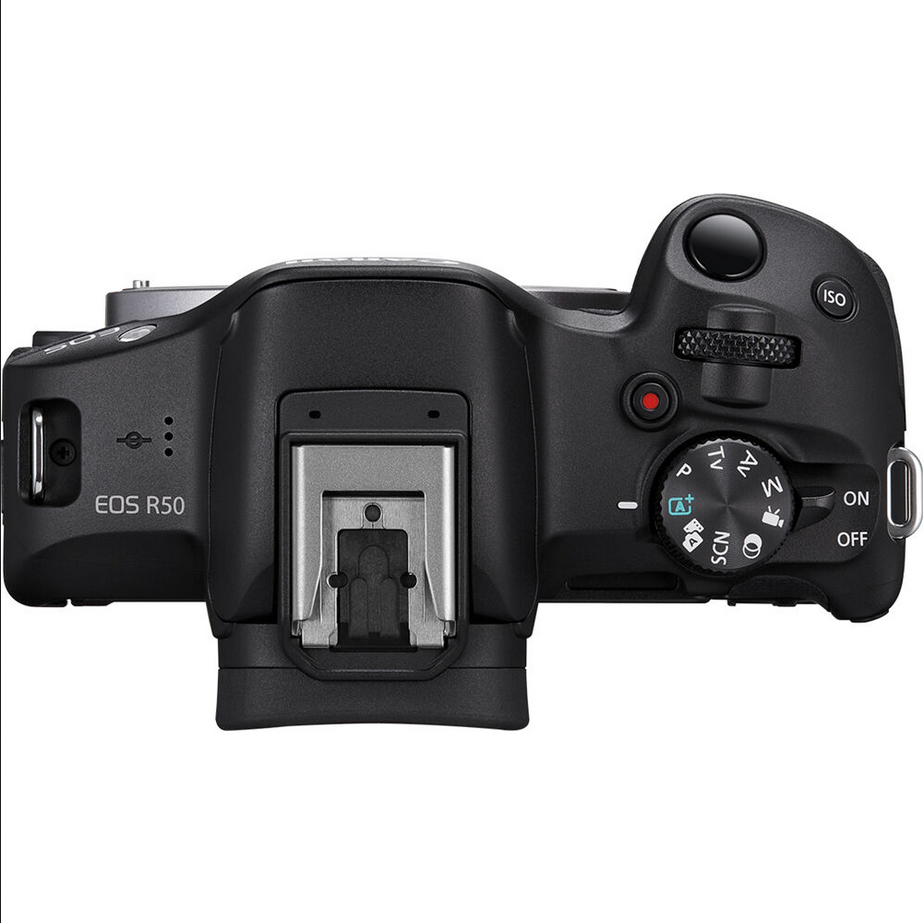
The Canon EOS R50 is a highly regarded mirrorless camera, celebrated for its superior image quality, rapid autofocus system, and user-friendly operation. It’s an ideal choice for capturing everyday moments and is equally adept at both photography and videography. However, even with its impressive performance, users might occasionally face challenges, such as autofocus not working properly. This article is here to assist if you’re experiencing this issue with your Canon EOS R50.
We will explore the various reasons why the autofocus might malfunction and offer practical solutions to resolve these problems. By identifying the root causes and applying the recommended fixes, you can restore the full functionality of your Canon EOS R50’s autofocus system and continue enjoying a smooth photography or videography experience. Let’s delve into troubleshooting the autofocus issues of the Canon EOS R50.
Canon EOS R50 Autofocus Not Working: Causes and How to Fix It
1. Incorrect Focus Mode
One of the possible causes of autofocus not working on the Canon EOS R50 is using an incorrect focus mode. The camera has three different focus modes: One-Shot AF, Servo AF, and AI Focus AF. Each mode has its own characteristics and is suited for different shooting conditions or subjects. For example, One-Shot AF is good for still subjects, Servo AF is good for moving subjects, and AI Focus AF is good for automatic AF mode switching. If you use the wrong focus mode for your scene, the camera may fail to focus properly or lose focus easily. To select the correct focus mode, you need to set the focus mode to AF on the camera or the lens, and then select the AF operation option from the menu or the quick control screen. You can also customize the AF area to suit your needs. By choosing the right focus mode and AF area, you can improve the autofocus performance and accuracy of the Canon EOS R50.
2. Manual Focus Mode Activated
Another possible cause of autofocus not working on the Canon EOS R50 is having the manual focus mode activated. This mode allows you to focus manually by turning the lens focusing ring, without using the camera’s autofocus system. Manual focus mode can be activated in two ways: by setting the focus mode to MF on the camera or the lens, or by pressing the AF-ON button while the focus mode is set to One-Shot AF. To check if the manual focus mode is activated, look at the focus mode indicator on the viewfinder or the screen. If it shows MF, then the manual focus mode is on. To deactivate the manual focus mode, you need to do the opposite of what you did to activate it. For example, if you set the focus mode to MF on the camera or the lens, you need to set it back to AF. If you pressed the AF-ON button, you need to press it again. By deactivating the manual focus mode, you can enable the autofocus system and let the camera focus automatically.
3. Autofocus Lock Engaged
A third possible cause of autofocus not working on the Canon EOS R50 is having the autofocus lock engaged. This feature allows you to lock the focus on a subject and keep it locked even if the subject or the camera moves. Autofocus lock can be activated in two ways: by pressing the AE Lock button (marked with a star icon) or the AF-ON button on the back of the camera, depending on your settings. To check if the autofocus lock is engaged, look at the focus mode indicator on the viewfinder or the screen. If it shows AEL or AF-ON, then the autofocus lock is on. To disengage the autofocus lock, you need to do the opposite of what you did to activate it. For example, if you pressed the AE Lock button, you need to press it again. If you pressed the AF-ON button, you need to release it. By disengaging the autofocus lock, you can allow the camera to focus continuously or focus again when you press the shutter button halfway.
4. Low Light or Low Contrast Scenes
Another common cause of autofocus not working on the Canon EOS R50 is shooting in low light or low contrast scenes. The camera’s autofocus system relies on detecting contrast differences between the subject and the background to achieve focus. However, when the light is too dim or the scene is too uniform, the camera may struggle to find enough contrast to focus on. This can result in slow, inaccurate, or failed autofocus. To overcome this problem, you can try the following solutions:
- Use a lens with a larger maximum aperture, such as F2.8 or F4, to let more light into the camera and increase the contrast.
- Use a flash or an external light source to illuminate the subject and create more contrast.
- Use the AF assist beam on the camera or the flash to project a pattern of light onto the subject and help the camera focus.
- Increase the ISO sensitivity to boost the camera’s exposure and contrast, but be aware of the increased noise and reduced dynamic range.
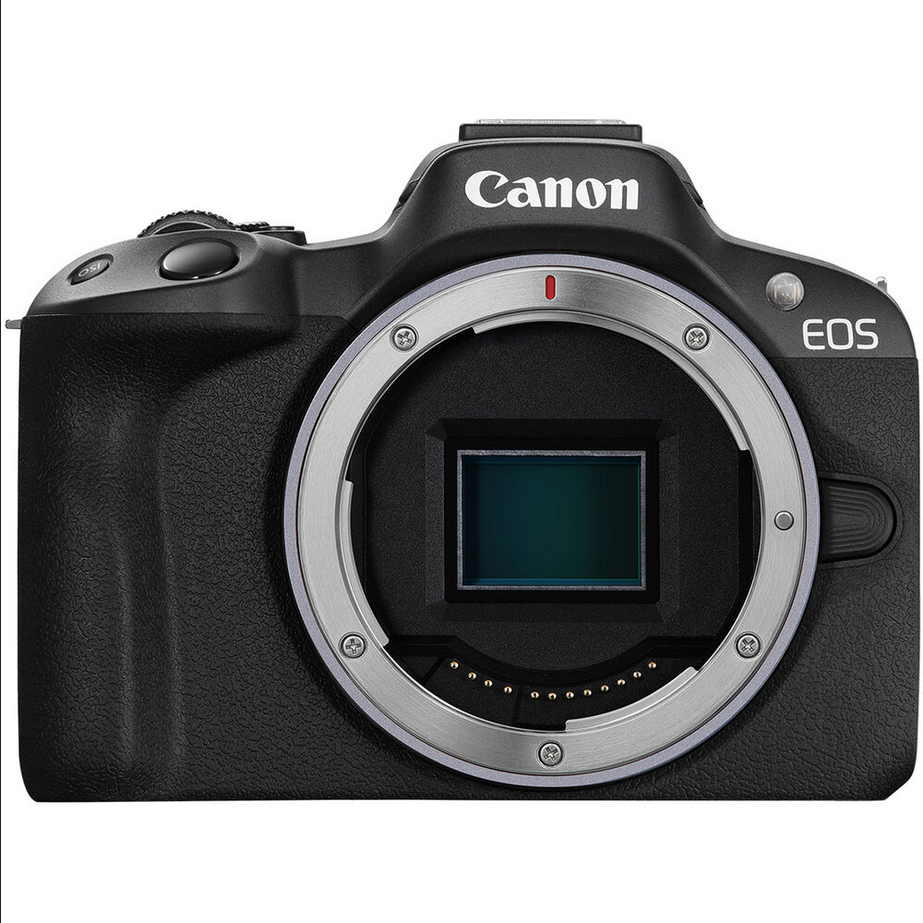
5. Lens Compatibility Issues
I can help you write a paragraph on the fifth subheading of your article. Here is a possible draft:
Another potential cause of autofocus not working on the Canon EOS R50 is using lenses that are not compatible with the camera. The Canon EOS R50 has an APS-C sensor and uses the RF-Mount, which means it can work with both Canon RF-S (APS-C) lenses and Canon RF (Full-Frame) lenses. However, the camera cannot work with EF-M lenses, which are designed for Canon’s mirrorless M-series cameras. If you try to use an EF-M lens on the EOS R50, the camera will not recognize it and the autofocus will not function. To check if your lens is compatible with the EOS R50, you can look at the lens mount and see if it has the RF or RF-S logo. Alternatively, you can visit the Canon website and search for the lens model to see its compatibility information. If you want to use EF or EF-S lenses, which are designed for Canon’s DSLR cameras, you will need to use the optional Mount Adapter EF-EOS R, which allows you to attach these lenses to the RF-Mount. By using compatible lenses or the mount adapter, you can ensure the autofocus works properly on the Canon EOS R50.
6. Dirty or Damaged Lens Contacts
Another possible cause of autofocus not working on the Canon EOS R50 is having dirty or damaged lens contacts. The lens contacts are the metal pins on the back of the lens that connect to the camera body and allow communication between the lens and the camera. If the lens contacts are dirty, dusty, corroded, or bent, they may prevent the lens from sending or receiving the correct signals to the camera, resulting in autofocus failure or error messages. To fix this problem, you can try the following solutions:
- Turn off the camera and remove the lens from the camera body.
- Use a soft, dry, and lint-free cloth to gently wipe the lens contacts and the camera contacts. Do not use any liquids or abrasive materials that may damage the contacts.
- Reattach the lens to the camera and turn on the camera. Check if the autofocus works properly.
- If the problem persists, try using a different lens on the camera or the same lens on a different camera to isolate the source of the problem. If the problem is with the lens, you may need to contact a Canon service center for repair.
7. Camera Firmware Outdated
The camera firmware is the software that controls the camera’s functions and performance. Canon may release firmware updates from time to time to fix bugs, improve features, or add new functions to the camera. If your camera firmware is not up to date, you may experience autofocus issues or errors. Therefore, it is important to check and update your camera firmware regularly.
To check your camera firmware version, you can go to the menu and select [Firmware ver. / Camera info.]. The current firmware version will be displayed on the screen. You can compare it with the latest firmware version available on the Canon website. If your firmware version is lower than the latest one, you need to update it.
To update your camera firmware, you need to download the latest firmware file from the Canon website and save it to your computer. Then, you need to copy the firmware file to an SD card that has been formatted in the camera. Next, you need to insert the SD card into the camera and turn on the camera. You can go to the menu and select [Firmware update]. The camera will detect the firmware file on the SD card and prompt you to start the update. You need to follow the instructions on the screen to complete the update. Do not turn off the camera or remove the SD card during the update process, as this may damage the camera.
- Also Read: LUTs For Canon EOS R50: Free Download
- Also Read: Top 3 Canon EOS R50 Alternatives