Welcome back to Filmmaking Elements! I’m Salik, and in this article, we’ll delve into the world of Fujifilm Instax Mini Evo photography. Specifically, we’ll tackle the challenge of overexposed photos and explore techniques to enhance your instant film captures.
Have you ever snapped a photo with your Instax Mini Evo, only to find it glaringly overexposed? Fear not; you’re not alone. The Instax Mini Evo, while a delightful camera for spontaneous moments, struggles when faced with intense brightness. Whether it’s a sun-drenched beach or a majestic mountain landscape, the camera’s default settings often lead to blown-out highlights.
The Instax Mini Evo’s limitations lie in its combination of aperture and shutter speeds. Let’s break it down:
- Aperture: The aperture controls how much light enters the camera. Unfortunately, the Mini Evo’s fixed aperture doesn’t adapt well to extremely bright scenes. It’s like trying to fit a square peg into a round hole.
- Shutter Speeds: The Mini Evo’s shutter speeds are optimized for average lighting conditions. When faced with intense sunlight or reflective surfaces, the camera struggles to adjust quickly enough, resulting in those blown-out areas.
Fixing Fujifilm Instax Mini Evo Photos Overexposed/Too Bright
As an avid instant photography enthusiast, I’ve encountered my fair share of challenges when it comes to capturing the perfect shot with my Fujifilm Instax Mini Evo. One of the most common issues I’ve faced is dealing with overexposed photos, especially in bright outdoor settings. But fear not! In this comprehensive guide, I’ll walk you through two effective methods for fixing overexposure: using sunglasses and employing neutral density (ND) filters.
1. Sunglasses Method:
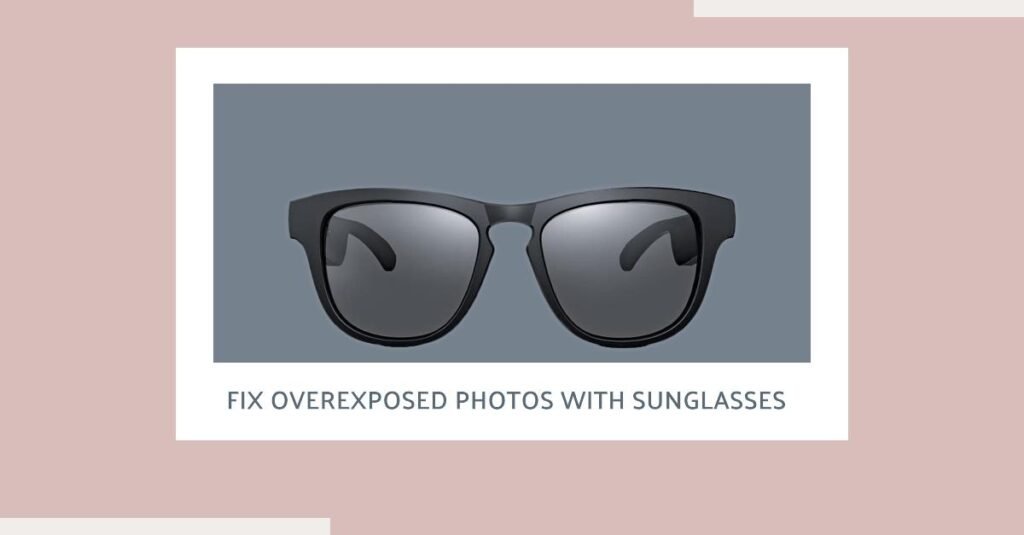
When faced with excessive light conditions, one quick fix is to utilize sunglasses to cover the lens of your Instax Mini Evo lens. The idea is simple: by reducing the amount of light entering the lens, you can prevent your photos from being blown out.
However, it’s essential to proceed with caution when using this method:
- Sensor Awareness: Be mindful not to obstruct the camera’s light sensors when placing sunglasses over the lens. Doing so may trick the camera into underestimating the available light, resulting in further overexposure.
- Light Reduction: Sunglasses come in various tints and levels of darkness, each corresponding to a specific reduction in light intensity, measured in stops. In my experiments, I found that sunglasses reducing exposure by three stops proved too severe, resulting in excessively darkened images.
2. ND Filter Method:
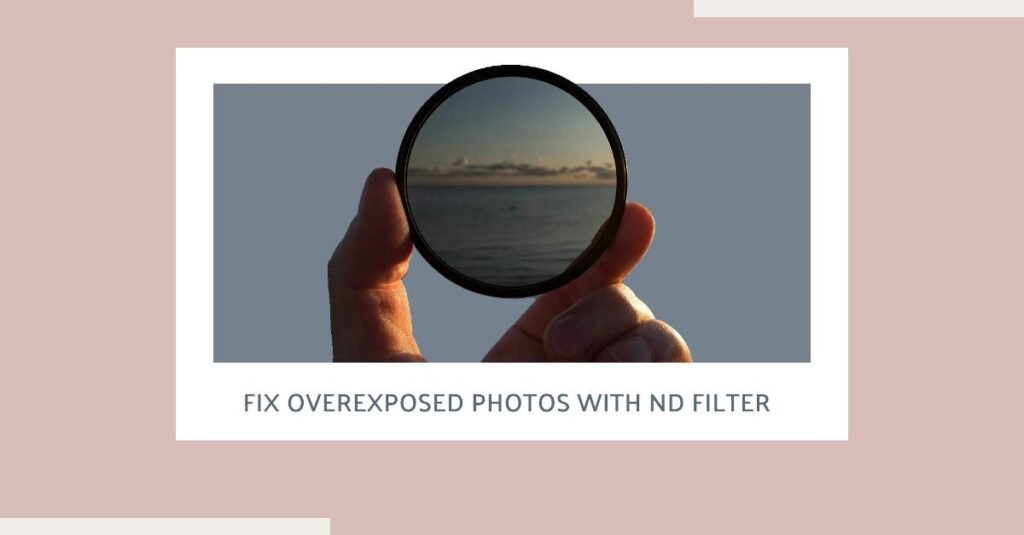
Alternatively, you can opt for a more precise solution by utilizing a neutral density (ND) filter. These filters allow you to control the amount of light entering the lens, providing greater flexibility in adjusting exposure levels.
Here’s how to incorporate ND filters into your Instax Mini Evo photography:
- Compatibility: If you already own ND filters for your DSLR or mirrorless camera, you can repurpose them for your Instax Mini Evo to cover its lens. Alternatively, ND filters specifically designed for instant cameras are also available on the market.
- Adjustability: Unlike sunglasses, ND filters offer variable light reduction settings, allowing for more nuanced adjustments. By dialing down the filter to reduce exposure by one to two stops, you can achieve a more balanced and well-exposed image.
- Results: In my experience, using ND filters yielded significantly improved results compared to sunglasses. The images were better exposed, with more detail retained in both highlights and shadows.
Comparing the Methods:
While both the sunglasses and ND filter methods serve the purpose of reducing overexposure, they differ in terms of precision, convenience, and cost:
- Precision: ND filters provide finer control over exposure levels, allowing for more precise adjustments to match specific shooting conditions. Sunglasses, while accessible, may lack the granularity required for optimal exposure correction.
- Convenience: Sunglasses are readily available and inexpensive, making them a convenient solution for quick fixes in bright outdoor settings. ND filters, while requiring an additional investment, offer greater flexibility and versatility in varying lighting conditions.
- Cost: Sunglasses are a cost-effective option for reducing overexposure, as they can be readily sourced from most stores. ND filters, on the other hand, may require a more significant upfront investment, particularly if purchasing high-quality filters designed for instant cameras.
Final Thoughts:
In summary, while sunglasses can be a convenient option for reducing overexposure, it’s essential to choose lighter tints that provide adequate light transmission. Alternatively, ND filters offer greater precision and flexibility in exposure correction, making them a preferred choice for photographers seeking optimal results.
Whether you opt for sunglasses or ND filters, the key is to experiment and find the right balance between light reduction and image quality. By selecting the appropriate tools for your Instax Mini Evo and understanding their limitations, you’ll be well-equipped to tackle any lighting situation and capture stunning instant prints with ease.
- Also Read: Top 3 Sony FX3 Alternatives
- Also Read: Remove Echo Davinci Resolve: Simplest Method