This article talks about 5 epic ways to fake golden lighting effect without golden hour. When we pay attention, most of us can spot good lighting. What’s more difficult to spot is how light in an image may be properly exposed and then altered to enhance a certain scene, which needs post-processing abilities.
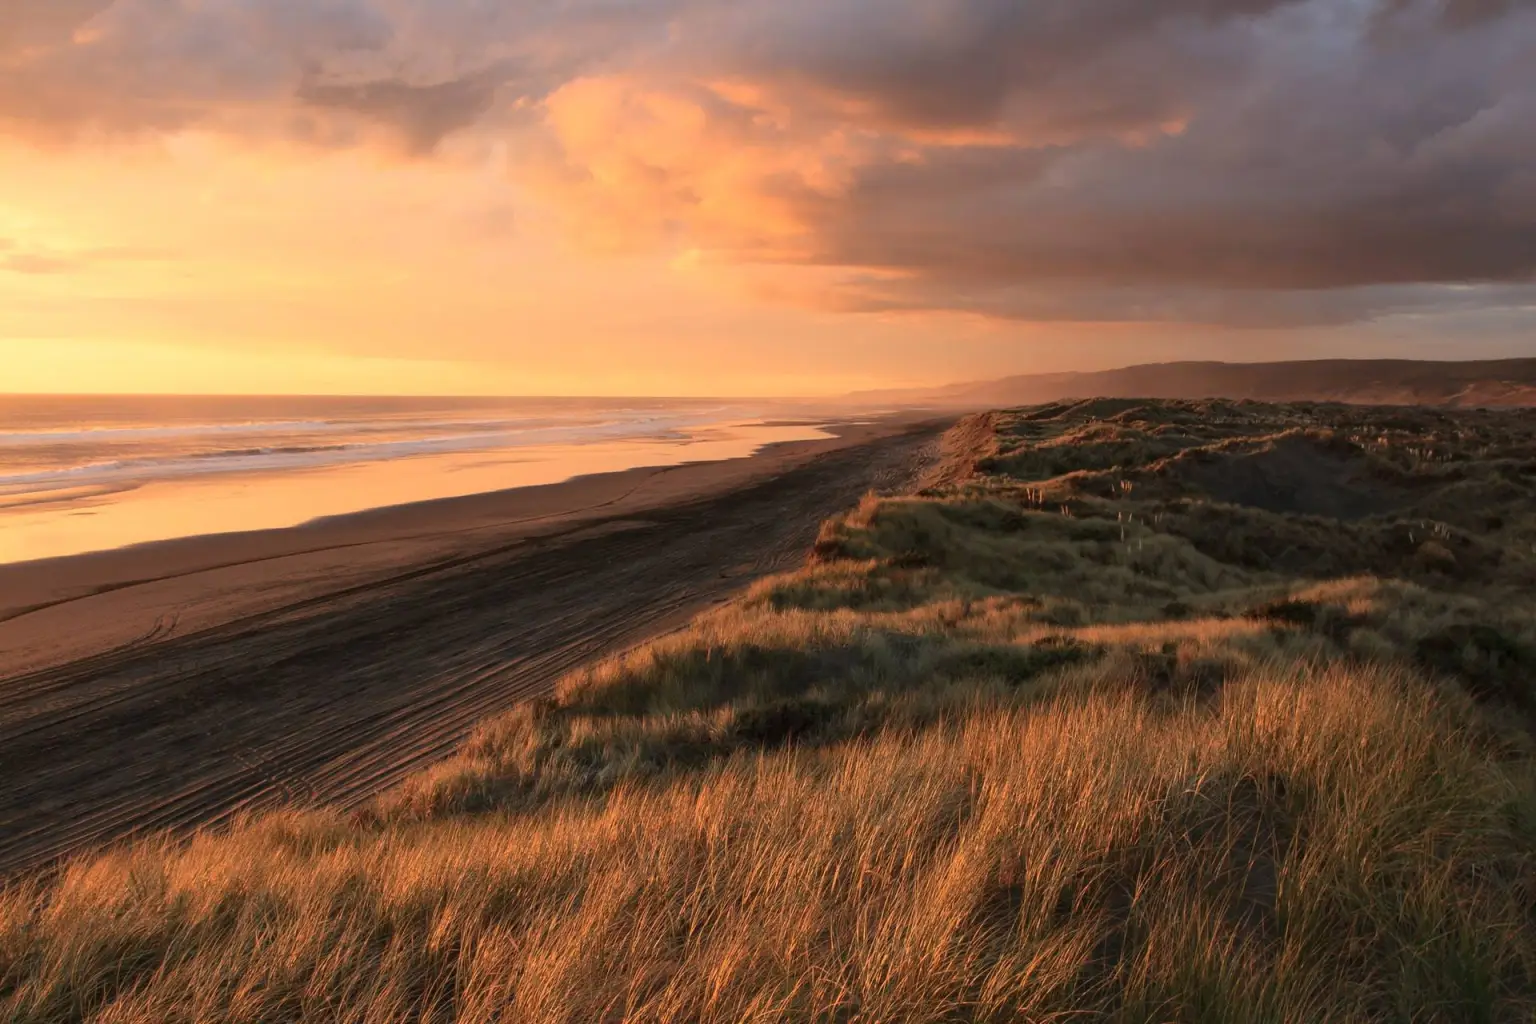
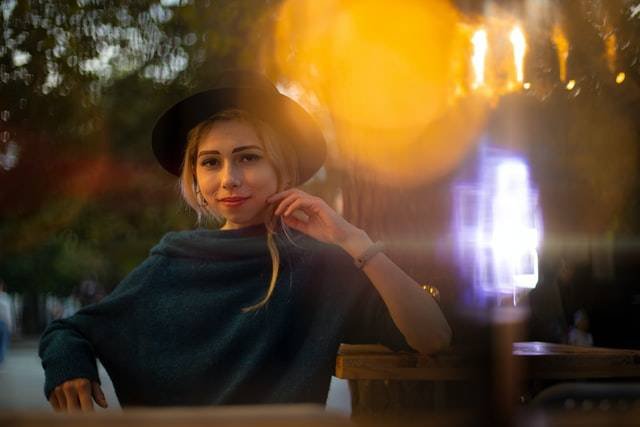
We are all naturally sensitive to light and its quality. Bright light can make us feel better, while low light can make us feel worse. Contrast attracts our attention, while soft colors evoke reflection. When making photos to communicate ideas or simply command attention, photographers can employ these qualities of light as a potent weapon. Golden hour is one of those mythical times when you can take dreamy, airy photographs that don’t simply look wonderful but also tell a story.
The art of photographing during the golden hour is something that many photographers want to achieve. It consists in catching the extremely natural golden light of the sun, at dawn or sunset, when a magnificent, mystical, and in some cases, unearthly impression is formed, and then transferring that light to an image.

It would appear that there is nothing difficult about such a shoot. At the end of the day, you just have to time your photographs so that you may capture them when the sun rises or sets. However, this is not the entire story. There are a plethora of elements to consider before making this judgment.
First and foremost, the weather may interfere with your photography. There can be days when you will not be able to do an outside photo session owing to heavy weather or even a storm warning, so plan accordingly.
Second, there may be solutions available to you if you are bound by strict time constraints and will be unable to satisfy them. As a result, you won’t be able to wait for ideal weather conditions in order to photograph during the golden hour.
These are the hours during which the sun, who is, after all, the star of the show during the golden hour, will not be visible to the camera.

Don’t be concerned, as there are really a few tips and tactics that can assist you if you’re caught in the worst shooting circumstances or just don’t want to be under such strict time constraints as you are. By following these simple steps you can create the magical golden hour according to your priorities.
How to create the effect of golden hour illumination with a few simple steps?
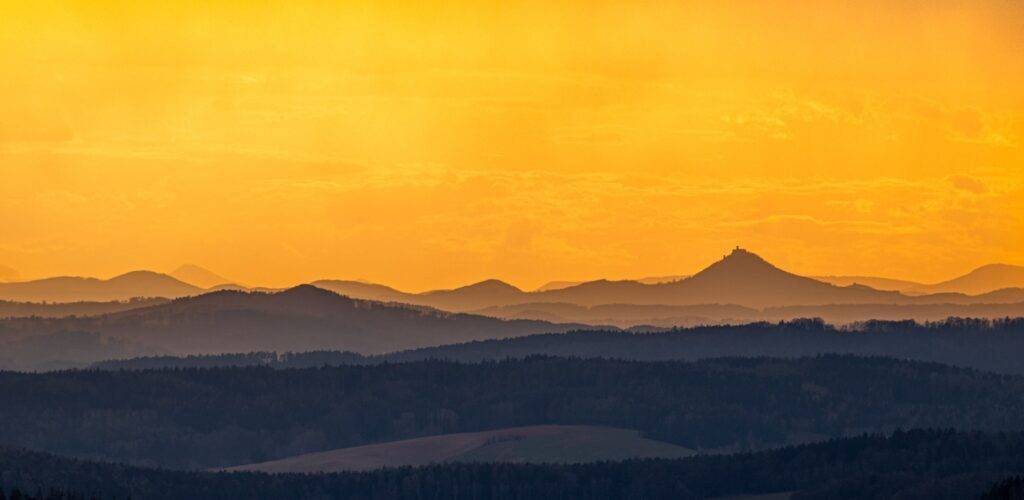
There are specific qualities to the golden hour. A warm and gentle light source, golden skin tones, and appropriate back lighting should be present in every photograph (the brighter the better). Despite the fact that this cannot be accomplished without venturing outside or shooting photographs first thing in the morning or at night, it is still possible. And here are a few straightforward suggestions for generating such an effect.
The following is the bare minimum of equipment required for imitating golden hour lighting:
- Gels in golden, yellow, or light orange hues (you may also use CTO gels and then alter the white balance); gels in golden, yellow, or light orange hues.
- As the primary light source, use an external light source (monolights or off-camera flash; any choice would suffice).
- The employment of a “fast” lens to soften the focus of the background (which is most typically done in portraiture to generate the bokeh effect).
- A selection of neutral density filters to prevent overexposure of photographs while shooting with wide open apertures such as f/2.8 or faster (the ND filter helps balance the exposure of the image).
More in-depth instructions on how to photograph in the golden hour are provided below.
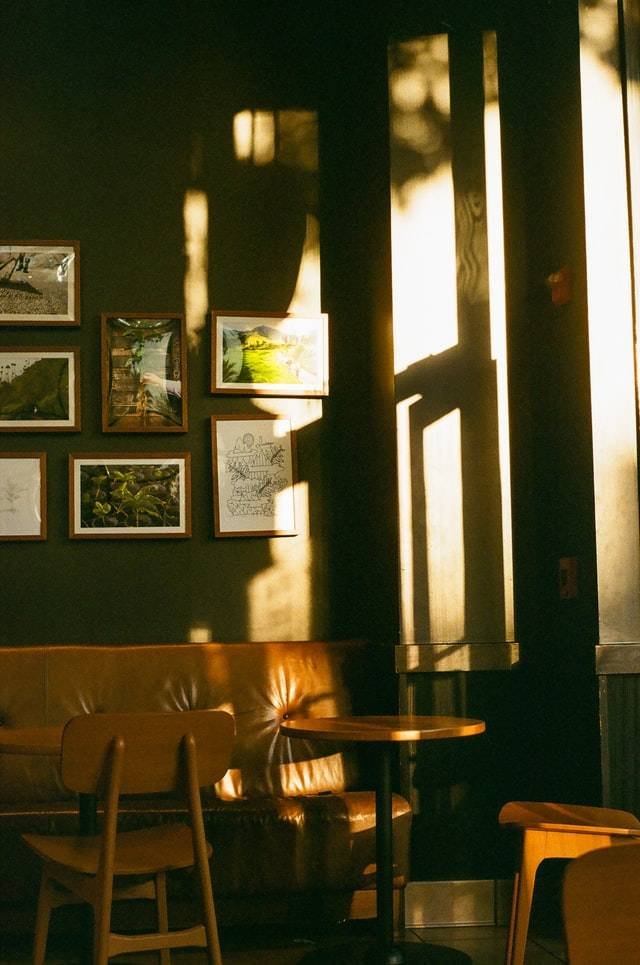
1. Decide if you’ll be shooting indoors or outdoors before you begin shooting.
You have the option of shooting both inside and outside the home in this scenario. Taking shots indoors will be less difficult since you will have more control over the lighting and gels than you will outside.
You’ll need to play about with your camera’s shutter speed, ISO, and aperture settings to alter the image’s exposure. You can experiment with different combinations to achieve various results.
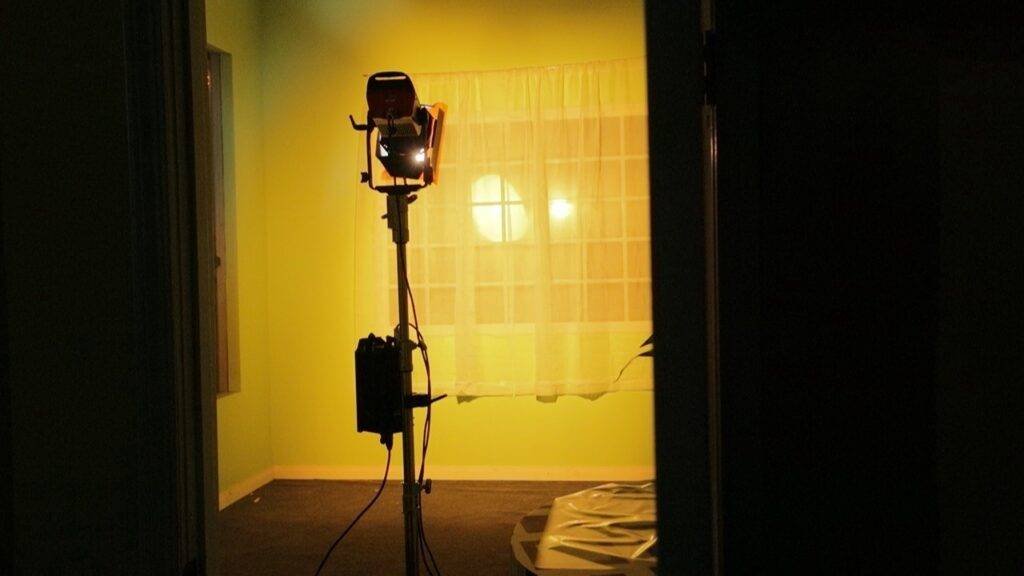
If you don’t want to use a window to create the effect of the setting sun in the background of the photo, position your backlight to avoid direct illumination. You could also use bare-bulb lighting instead of a flash. In either case, keep in mind that lighting placed further away from the foreground will cast darker shadows.
2. Make use of several flashes and a variety of gels.
Using a gold gel filter on your flash will give you the best results in the backdrop. Instead of using the precise hue you want, try using a lighter or brighter shade such as pale orange or yellow instead. Keep in mind to position your flash in front of or behind a window to maximise its effectiveness. It is possible to produce refraction of light by directing the flash at a window.
Another thing to bear in mind while designing lighting to replicate golden hour light is that, depending on the camera settings, the flash power may be reduced significantly. When it comes to reproducing golden hour illumination, High Speed Sync (also known as HSS – High Speed Sync) does not work well because of its variable recharge times. Take, for example, using a flash at maximum power with a shutter speed of 1/1000, an aperture of f/1.4, and ISO 100, you would lose 5-8 stops of light in comparison to shooting in manual mode.
It’s important to know where you’re going and arrive early enough so you can get into position and shift around if your composition isn’t working. To get a good flare, keep the light behind the subject. Make sure the light from the artificial light source does not cast a shadow on the subject. It’s also crucial that the subject doesn’t totally obscure the light source; otherwise, there won’t be any flare.
- Also Read- How to Add Cinematic Black Bars in DaVinci Resolve (Best Explained)
- Also Read- How do you write a compelling short film? 7 great instructions
- Also Read- How to get your short film funded- Complete Guide
3. Avoid using a high-speed sync mode by using an ND filter.
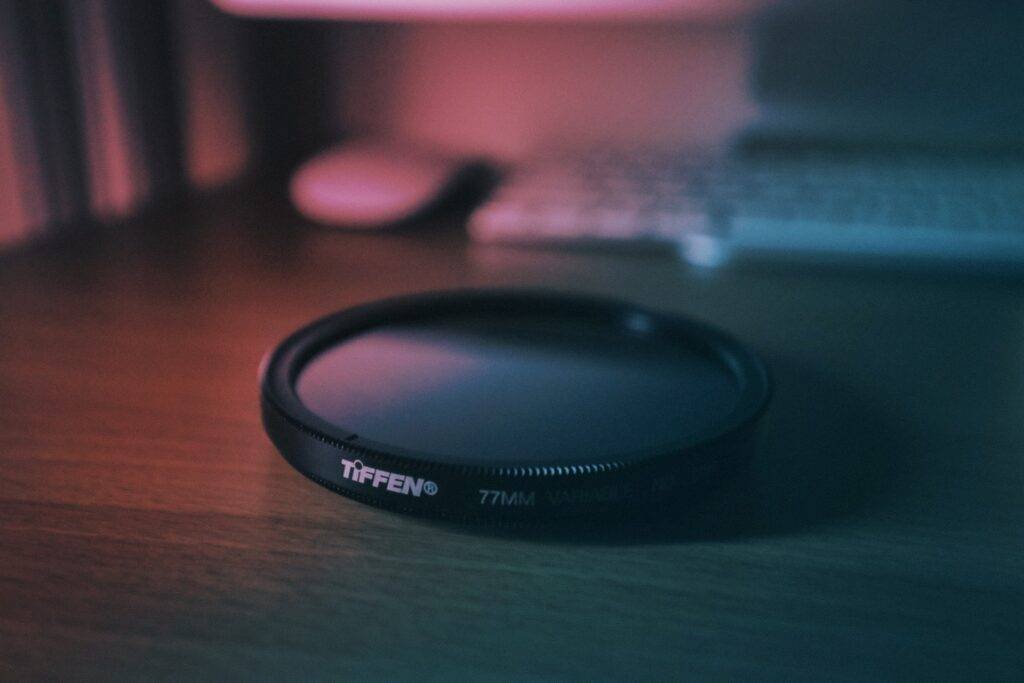
One alternative is to use a 3-5x ND filter, which will reduce all light by 3-5 stops and allow for slower shutter rates to be employed while still maintaining the flash’s usual sync speed. Accordingly, the power will grow by around 5-8 steps.
Consider increasing the ISO value of your camera. Obviously don’t overly rely on ISO camera settings. For example, if you set the shutter speed to 1/60, the aperture to f / 1.4, and the ISO to 200, you will obtain 1 stop of light at full flash output (or 200 percent ). However, increasing the ISO to 640 while maintaining a shutter speed of 1/200 and an aperture of f / 1.4 results in an increase in power of 2.5 stops, or 600 percent. The use of an ND filter, increasing the ISO, and increasing the shutter speed with each ISO level ultimately results in more power being extracted from our equipment.
4. Using a weaker flash, draw a line through the foreground.
For the foreground, use a dimmer flash and cover it with gold, orange, or yellow gel to give it a more vibrant appearance. Attach the gel to the flash unit.
It is critical to employ light diffusion to generate a mellow glow while lighting. Make certain that the light is directed to the side rather than the front. Find a suitable gold reflector and softbox for your project. The reflector’s purpose is to focus light onto the wall, whereas the softbox’s purpose is to provide directional lighting. This means utilising a softbox to bring the light to the front in order to produce the desired look.
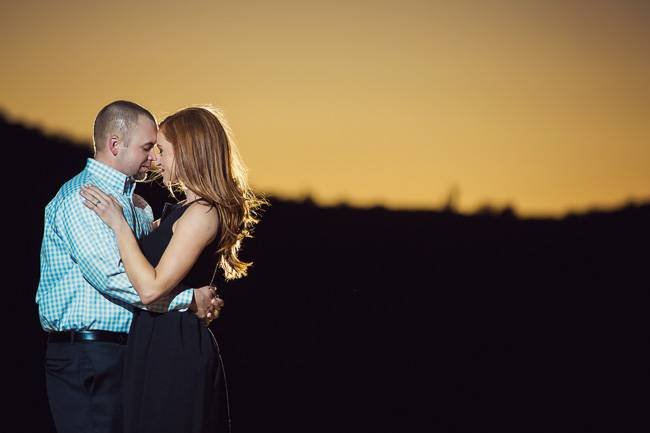
You must first arrange your subject between the camera and the light source in such a way that the light does not distort features near to their face in order to get a decent sun glare while reproducing golden hour lighting in your photograph. Instead, while photographing portraits, the flash should be barely visible in order to retain highlights near to the subject’s eyes and mouth. If you entirely turn off the flash, the backlighting of the image will be substantially more intense than it would be during the genuine golden hour of photography.
Place the light behind your people and progressively move back to disclose more and more light until you achieve the desired amount of light for the photo you’re looking for. Due to the fact that the level of glare will fluctuate, it is important to take many photographs in order to obtain the appropriate image.
5. Adding GOLDEN LIGHT in Adobe Photoshop or Lightroom
While it can obviously be that your tight on budget and cannot invest in any lighting equipment for as if now. But you are an awesome photographer and trust your skills. You can add a golden light effect in Adobe Photoshop. Thing to keep in mind it that, you know hundred percent of what you are trying to achieve and how much you can push the golden light effect into an image so that it does not look an absolute fake.
You can add light streaks or golden glow in Photoshop very easily by using overlays and different blending modes or make them manually with brushes. The radial filter in Adobe Lightroom can be used to generate a sun-like effect. The split toning panel and the highlights color slider are also used in this technique, which is very crucial if you want to achieve nice, natural colors.
Tips to shoot in Golden Hour if you manage to catch it
- If you’re going to a gorgeous outdoor location, arrive with at least 30 minutes before the golden hour begins. You can set up your photographs and equipment this way, and then start shooting as soon as the sun is in the right spot in the sky.
- Golden hours are always in the morning or evening, and summer months provide your photos the most vibrant light. Overcast or gloomy days don’t have the same enchantment.
- Take as many photos as you can in an hour – the lighting will change as the sun moves, offering you a range of styles to choose from.
- Make certain to turn off any automated camera settings such as auto white balance that can detract from your golden hour photographs in order to make the most of the evening light.
- The lighting will vary considerably as the sun moves across the sky during golden hour. Manual mode allows you to experiment with settings to get the finest images possible if.
- If you’re shooting pictures at golden hour, a wide aperture will add blur to your subject’s background, heightening the beautiful golden light.
- Lens flare is a professional-looking aesthetic that can be achieved by almost anyone. When too much light reaches the lens, lens flare occurs. All you have to do is angle the camera appropriately, and you’ll see that lovely sun flare across your image. To capture some beautiful lens flare, try different angles towards the sun.
No matter if you fake the golden hour effect or you were able to catch one. One thing often photographers lack on is. Enjoying the process. Remember photography is an art form. Let it flow from your heart and don’t stress out. Best of luck!