Hi, I’m Salik, the author of FilmmakingElements.com. I have been a filmmaker for over 10 years. I am also a certified DaVinci Resolve Trainer and I have used DaVinci Resolve for many of my projects. Speed ramping is a dynamic video editing technique that can drastically enhance your footage by transitioning from one speed to another.In this article I am going to show you, how to do speed ramping in DaVinci Resolve on iPad
Setting Up Speed Ramping in DaVinci Resolve on iPad
Step-by-Step Instructions:
- Launching DaVinci Resolve:
- Open the DaVinci Resolve application on your iPad.
- Select the Edit Page:
- Once inside, you will come across multiple pages like the “cut” page and “edit” page. For speed ramping, ensure you’re on the “edit” page.
- Insert Your Clip:
- In the edit page, import or drag your desired video clip into the timeline.
- Accessing Retime Controls:
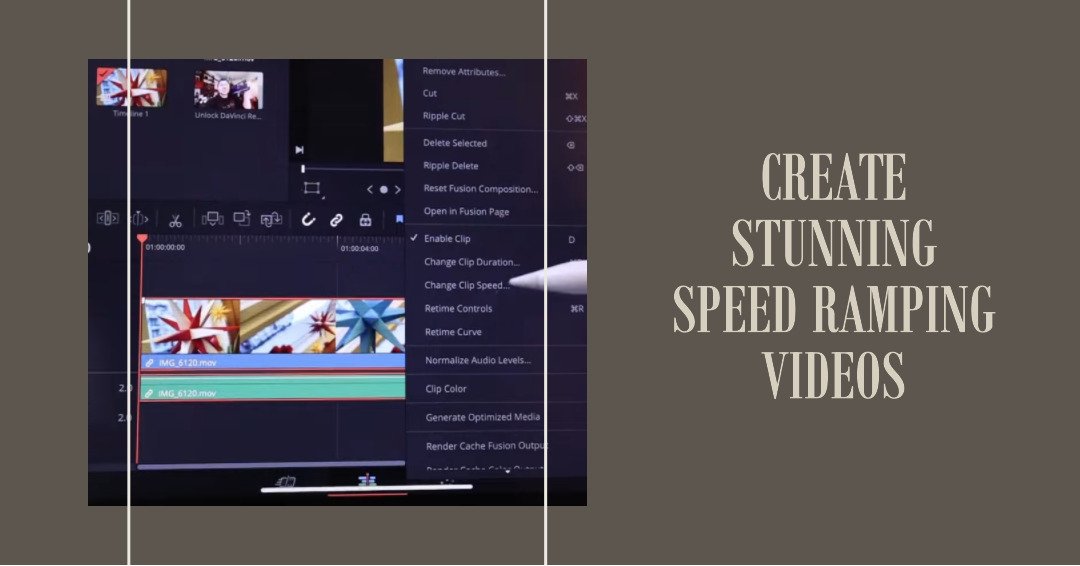
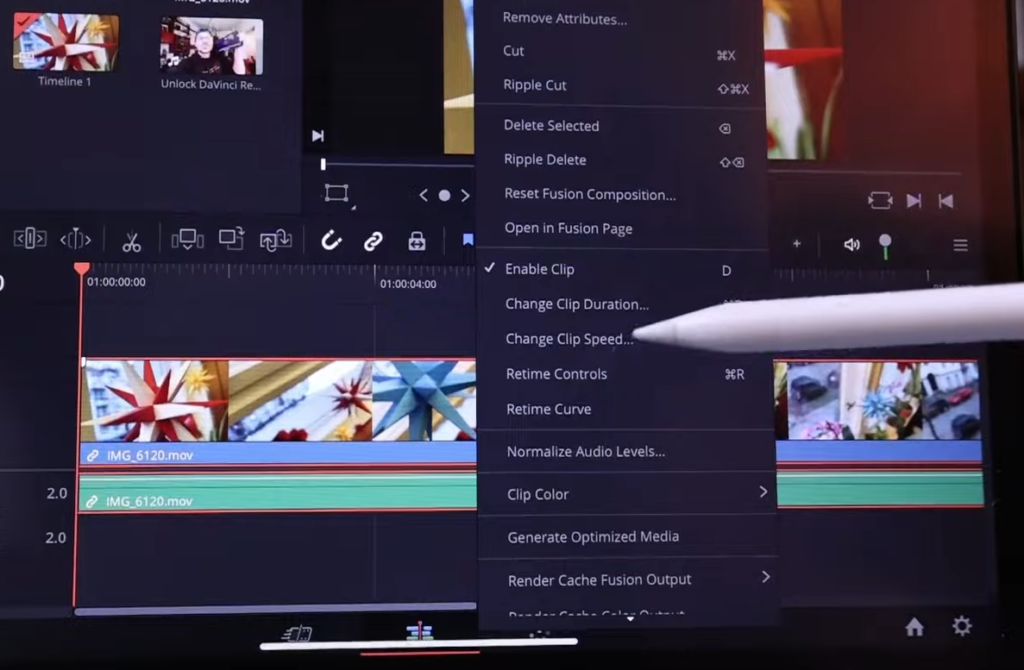
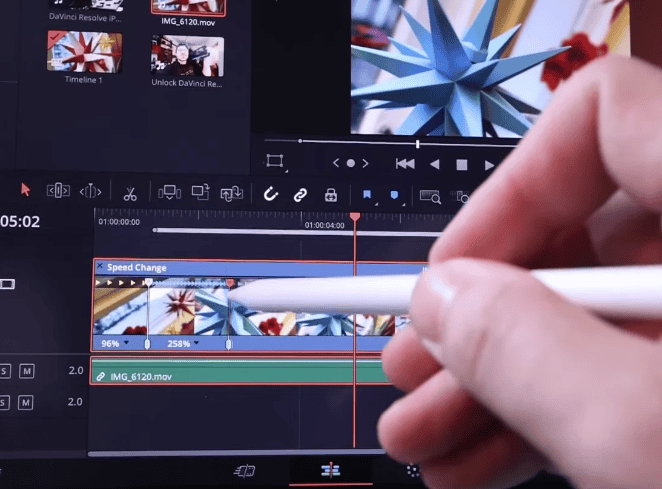
- Long-press on your clip in the timeline. This action will pop up several options.
- Among these options, locate and select “retime controls.” This will open the speed ramping controls for your clip.
- Identifying Key Visual Cues:
- Upon activating the retime controls, you’ll notice a few visual markers on your clip. A dotted line and a “100 percent” label are significant at this stage.
- The “100 percent” indicates the current speed of your video, while the dotted line aids in visualizing your speed adjustments.
Adjusting Speed Points and Timing
Now that you have set up the foundational elements for speed ramping in DaVinci Resolve on your iPad, the next step is to tweak and adjust the speed points to your liking. This phase involves a bit of precision and practice but is crucial for achieving the desired speed transitions.
Step-by-Step Instructions:
- Identifying the Speed Transition Point:
- Play your clip to identify where you want the speed change to occur.
- Pause at the exact moment where you want the speed ramp to begin.
- Setting the Speed Point:
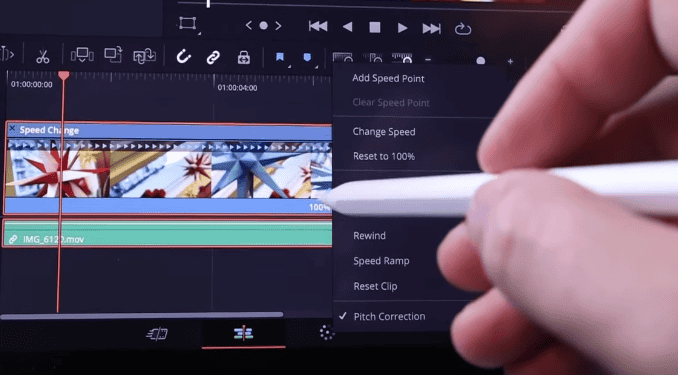
- Click once on the “100 percent” label on your clip. This single tap is essential; a longer press will open a larger menu, which is not what we want at this stage.
- Upon clicking, you’ll find an option called “Add Speed Point.” Click on it.
- You’ll now notice a division in your clip indicating the beginning of the speed ramp.
- Adjusting the Speed:
- To change the speed of a section, click on its respective percentage label (e.g., “100 percent”).
- Drag it right to speed up or left to slow down. You might see values like “200 percent” for double speed or “50 percent” for half speed.
- Inserting Additional Speed Points:
- If you wish to have multiple speed transitions within the same clip, simply repeat steps 1 and 2 at different moments in your video.
- Utilizing Markers:
- On either side of your speed point, you’ll notice markers.
- You can click and drag these markers to adjust the speed of the respective section further. For instance, dragging them outwards might speed the section up to values like “200 percent” or “300 percent.”
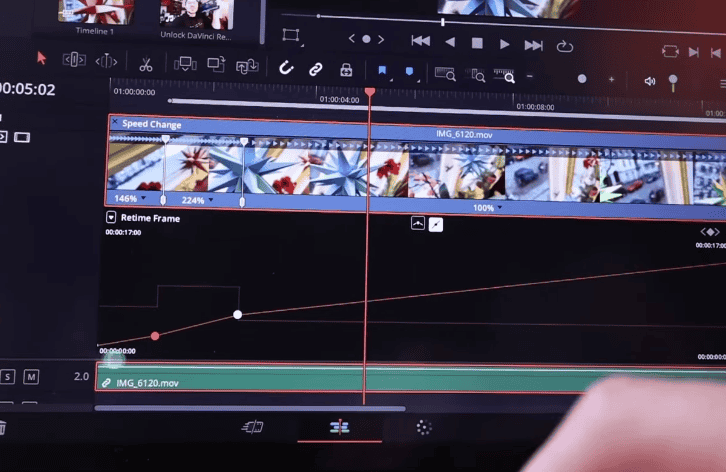
- Retime Curve Introduction:
- For a more visual and precise control over speed ramping, you again long press the clip and click on the “retime curve” option.
- This will present a graphical representation of your speed changes, allowing for a more intuitive adjustment.
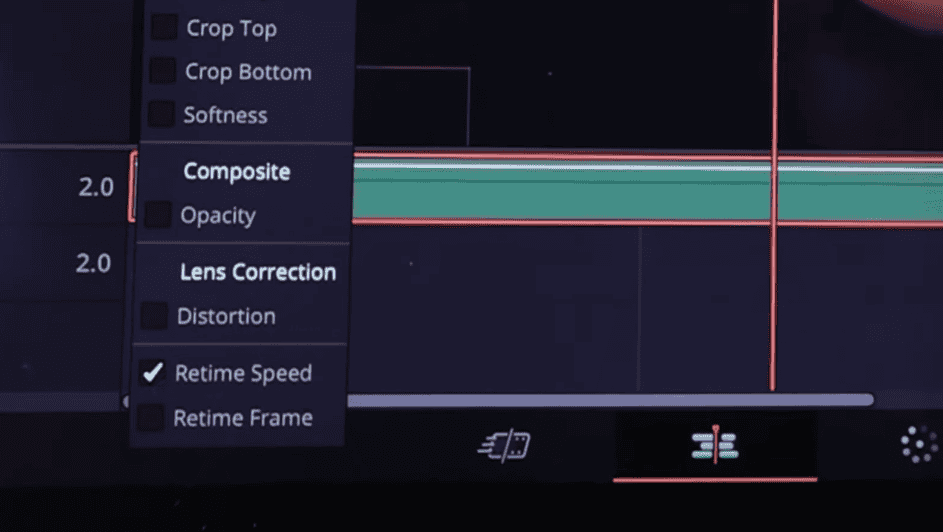
- Now click on the arrow pointing downwards which appears after you have selected “retime curve” and uncheck the “retime frame” and check the “retime speed” box.
Optimizing the Speed Ramp and Troubleshooting
With the basics of speed ramping in place and adjustments made, it’s essential to refine and optimize your speed transitions to achieve the best results. Here, we’ll also cover common issues and their solutions to ensure a seamless experience in DaVinci Resolve on your iPad.
Step-by-Step Instructions:
- Refining the Retime Curve:
- Once you’ve activated the retime curve, you can further fine-tune your speed transitions.
- Click on the curve to see handles on each speed point.
- Drag these handles to smooth out or sharpen your speed transitions, ensuring a more natural feel.
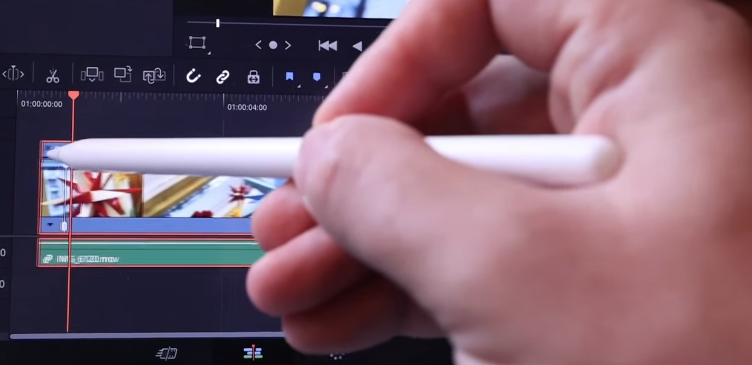
- Troubleshooting with the Apple Pencil:
- If you’re using an Apple Pencil, be aware that it may not always provide the precision needed for these adjustments.
- For better accuracy, consider using your fingers.
- Handling Unintended Menus and Clicks:
- If you press too long on a speed point or percentage label, you might activate an unintended menu or make an undesired change.
- To avoid this, practice quick taps and be mindful of your touch duration.
- If you make an error, utilize the “undo” function to revert to a previous state.
- Smoothing Speed Transitions:
- To avoid abrupt changes in speed, ensure your transitions are smooth.
- Use the handles on the retime curve to make the speed change gradually rather than suddenly.
- Final Playback:
- After making all adjustments, play back your clip multiple times to ensure the speed ramping feels natural and achieves the desired effect.
- Make any necessary tweaks based on this playback.
- Dealing with Unexpected Errors:
- Occasionally, you might face unexpected behaviors or glitches.
- When in doubt, save your work, close DaVinci Resolve, and restart the application. This can resolve many minor issues.
- Final Thoughts:
- While DaVinci Resolve on the iPad offers powerful video editing capabilities, it might have some limitations compared to its desktop counterpart. Be patient and practice regularly to master the nuances of speed ramping on this platform.