
Hi, I’m Salik, the author of FilmmakingElements.com. I have been a filmmaker for over 10 years. I am also a certified DaVinci Resolve Trainer and I have used DaVinci Resolve for many of my projects. How To Use Soft Clip Tools In Davinci Resolve? Davinci Resolve has now started to become a mainstream video editor. As more people try to learn it, it becomes cumbersome very soon. The software can be a little intimidating for a first-time Davinci Resolve user.
Especially the Color Page of Davinci Resolve can be challenging to get oneself accommodated.
In this article, we’ll take a look at a powerful technique that will help avoid unwanted clipping in your images. Clipping occurs when a video or film signal exceeds a certain threshold and is most often caused by images that are either overexposed or underexposed in-camera during production.
Additionally, this can happen in post-production as well when images are pushed too far in the high range or low range during our color grading. Let’s look at a couple of images that appear clipped due to overexposure in camera and how we might use the Soft Clip tools inside of Resolve to help.
What Are Soft Clip Controls?
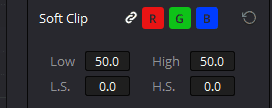
Soft Clip tools are present in the Curves option on the Color tab of Davinci Resolve. Soft Clip controls comprise four options that allow you to adjust highlight and shadow soft clipping. These sliders can be used either collectively with the Ganging enabled or manipulated on a per-channel basis for more granular control.
What is Soft Clipping?
Soft clipping is a technique that applies a “knee” to the upper and lower extremes of an image’s luminance or color channels, essentially acting as a gentle curve rather than a hard cutoff. This results in smoother transitions between the clipped and unclipped areas, preventing harsh loss of detail.
The Practical Application
Imagine you have a video clip with deliberately blown-out highlights, leading to unpleasant areas where details are lost. With Soft Clip controls, you can subtly or dramatically compress these highlights, ensuring that each color channel remains within an acceptable range. The result is an image that is more balanced and easier on the eyes, where the edges of the clipped areas retrieve much-needed detail.
How To Use Soft Clip Tools In Davinci Resolve
Understanding Soft Clip Tool In Davinci Resolve with Example #1
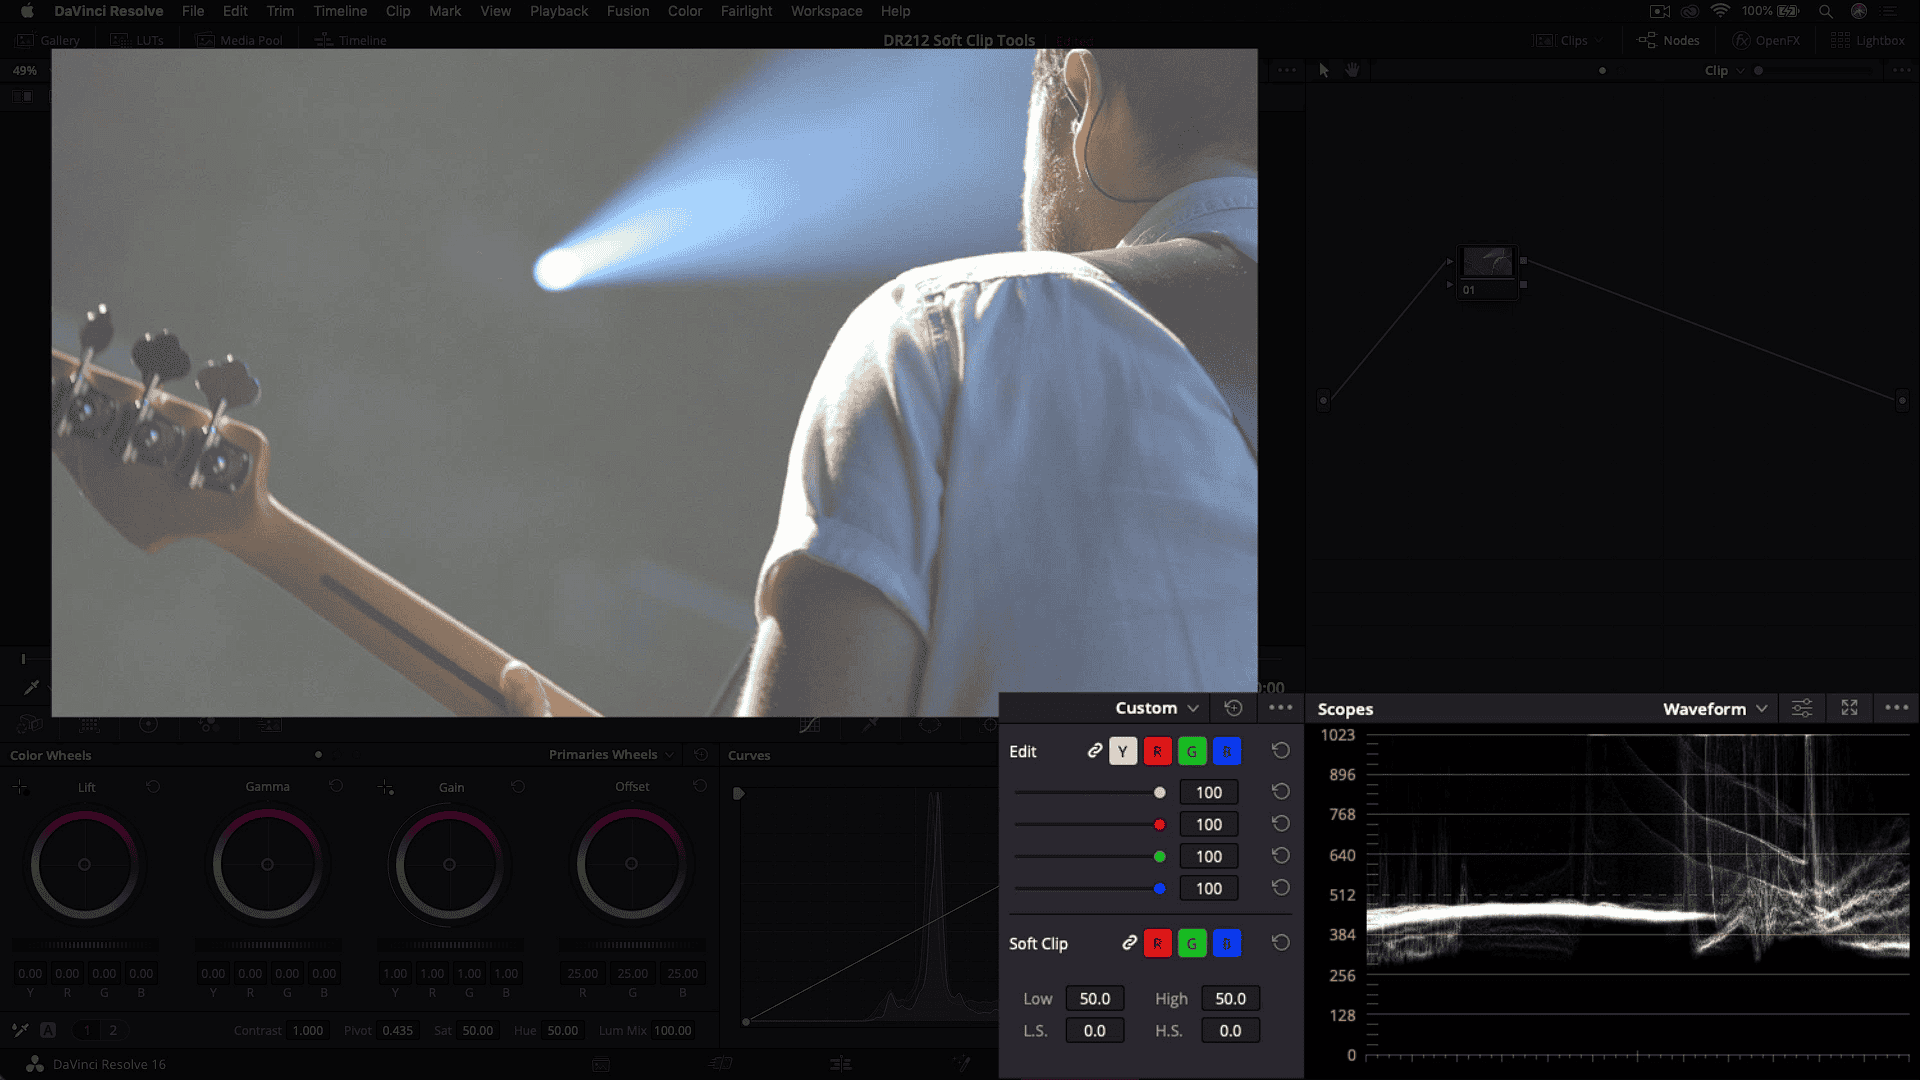
Here we have an ungraded image of a live performer (as shown in the picture) that was shot on the Canon 5D, and it looks like the highlights are clipped. The easiest way to confirm clipping is to look at the top of the trace in the waveform scope.
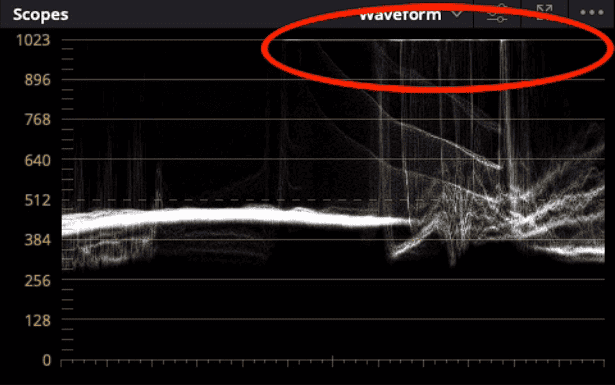
If it is pancake flat, then the shot was overexposed in-camera, and the image is clipped. You can recover the highlights using the Soft Clipping tool.
By default, the controls are ganged, which means any adjustments to one channel affect all the other channels equally. However, if you want to adjust an individual channel, disable the ganging feature by clicking on the chain-looking icon.
For the purposes of this example, we’ll keep the controls ganged. Ok, as I said earlier, this shot appears clipped. Using the High Soft(H.S.) control, we’ll begin to lower our highlights by pulling the slider to the right. As you see, the High Soft slider is pulling the highlight levels down but not recovering any detail.
It’s important to note that some cameras, like the 5D, for instance, will clip the video levels that go above 100 Ire or levels that go below zero Ire.
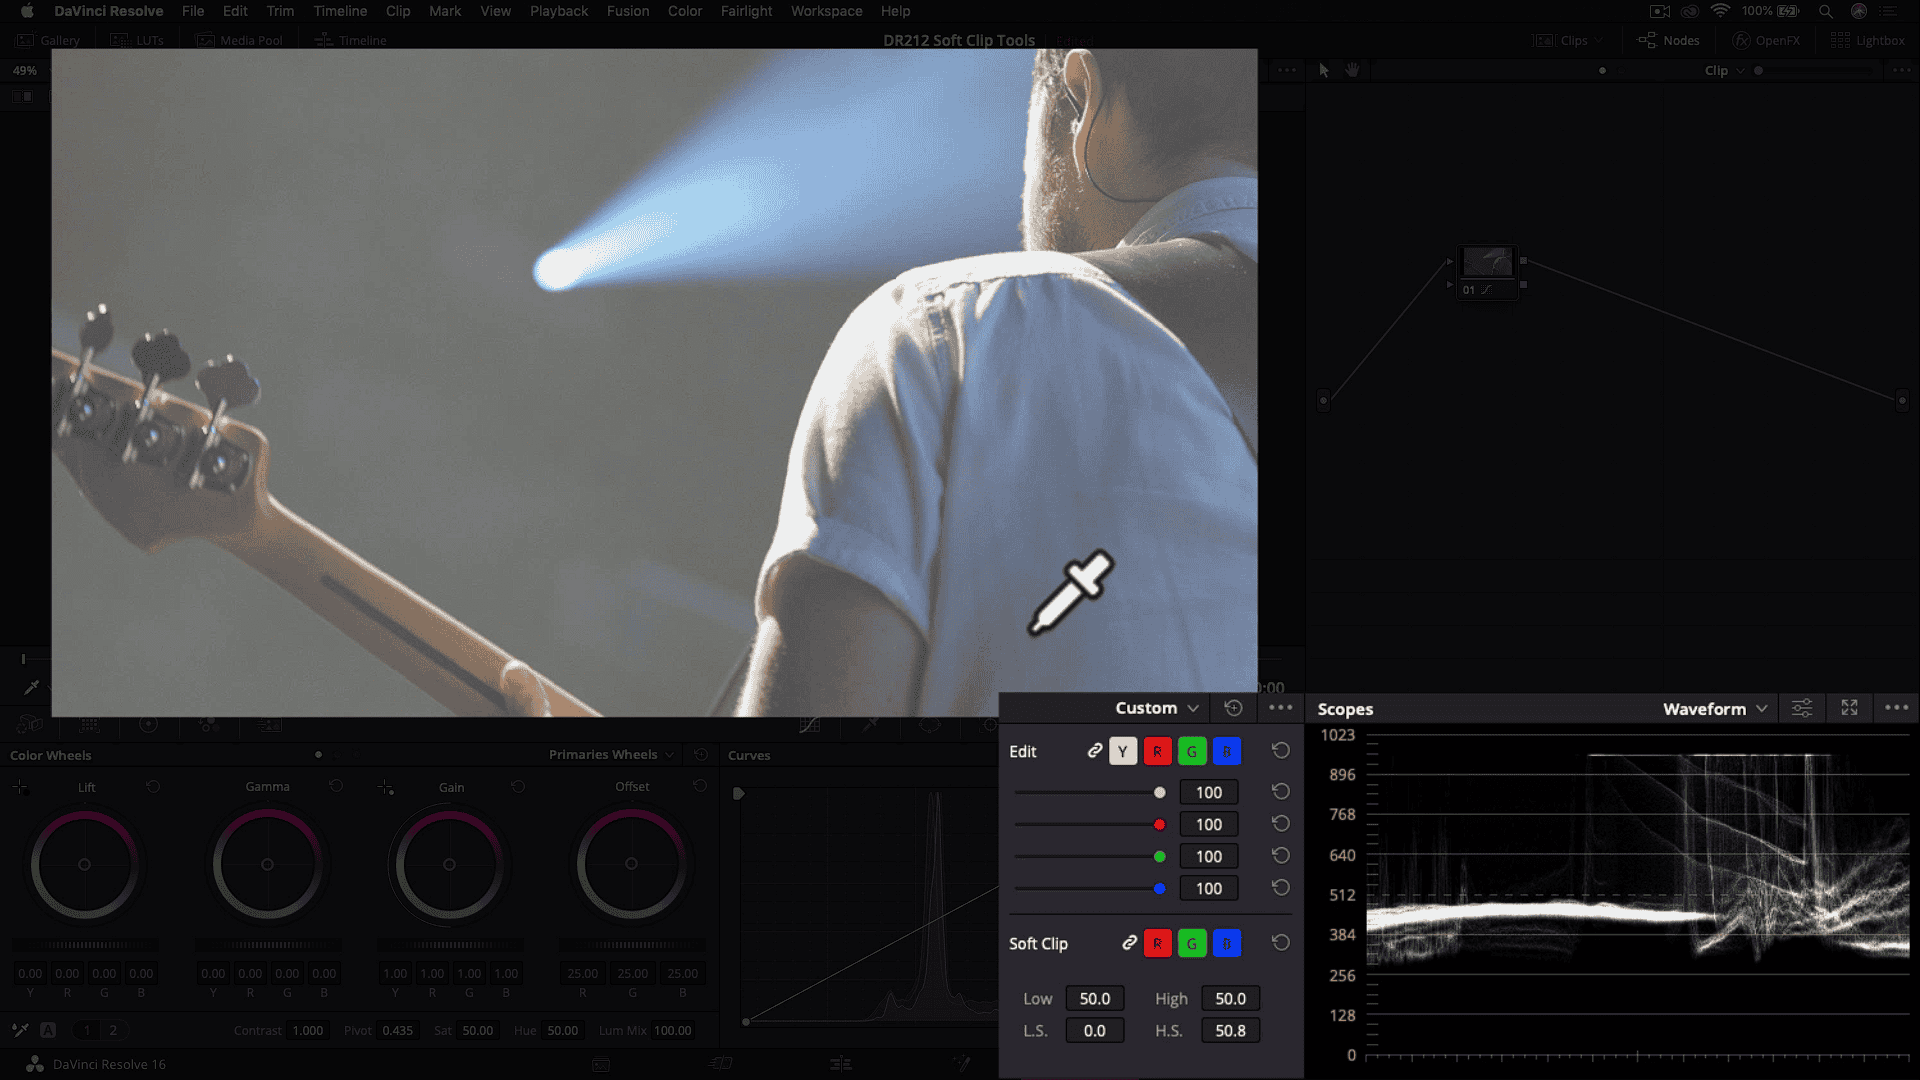
Unfortunately, in this case, the High Soft Clip tool doesn’t appear to rescue our clip highlights. Let’s look at another example.
Understanding Soft Clip Tool In Davinci Resolve with Example #2
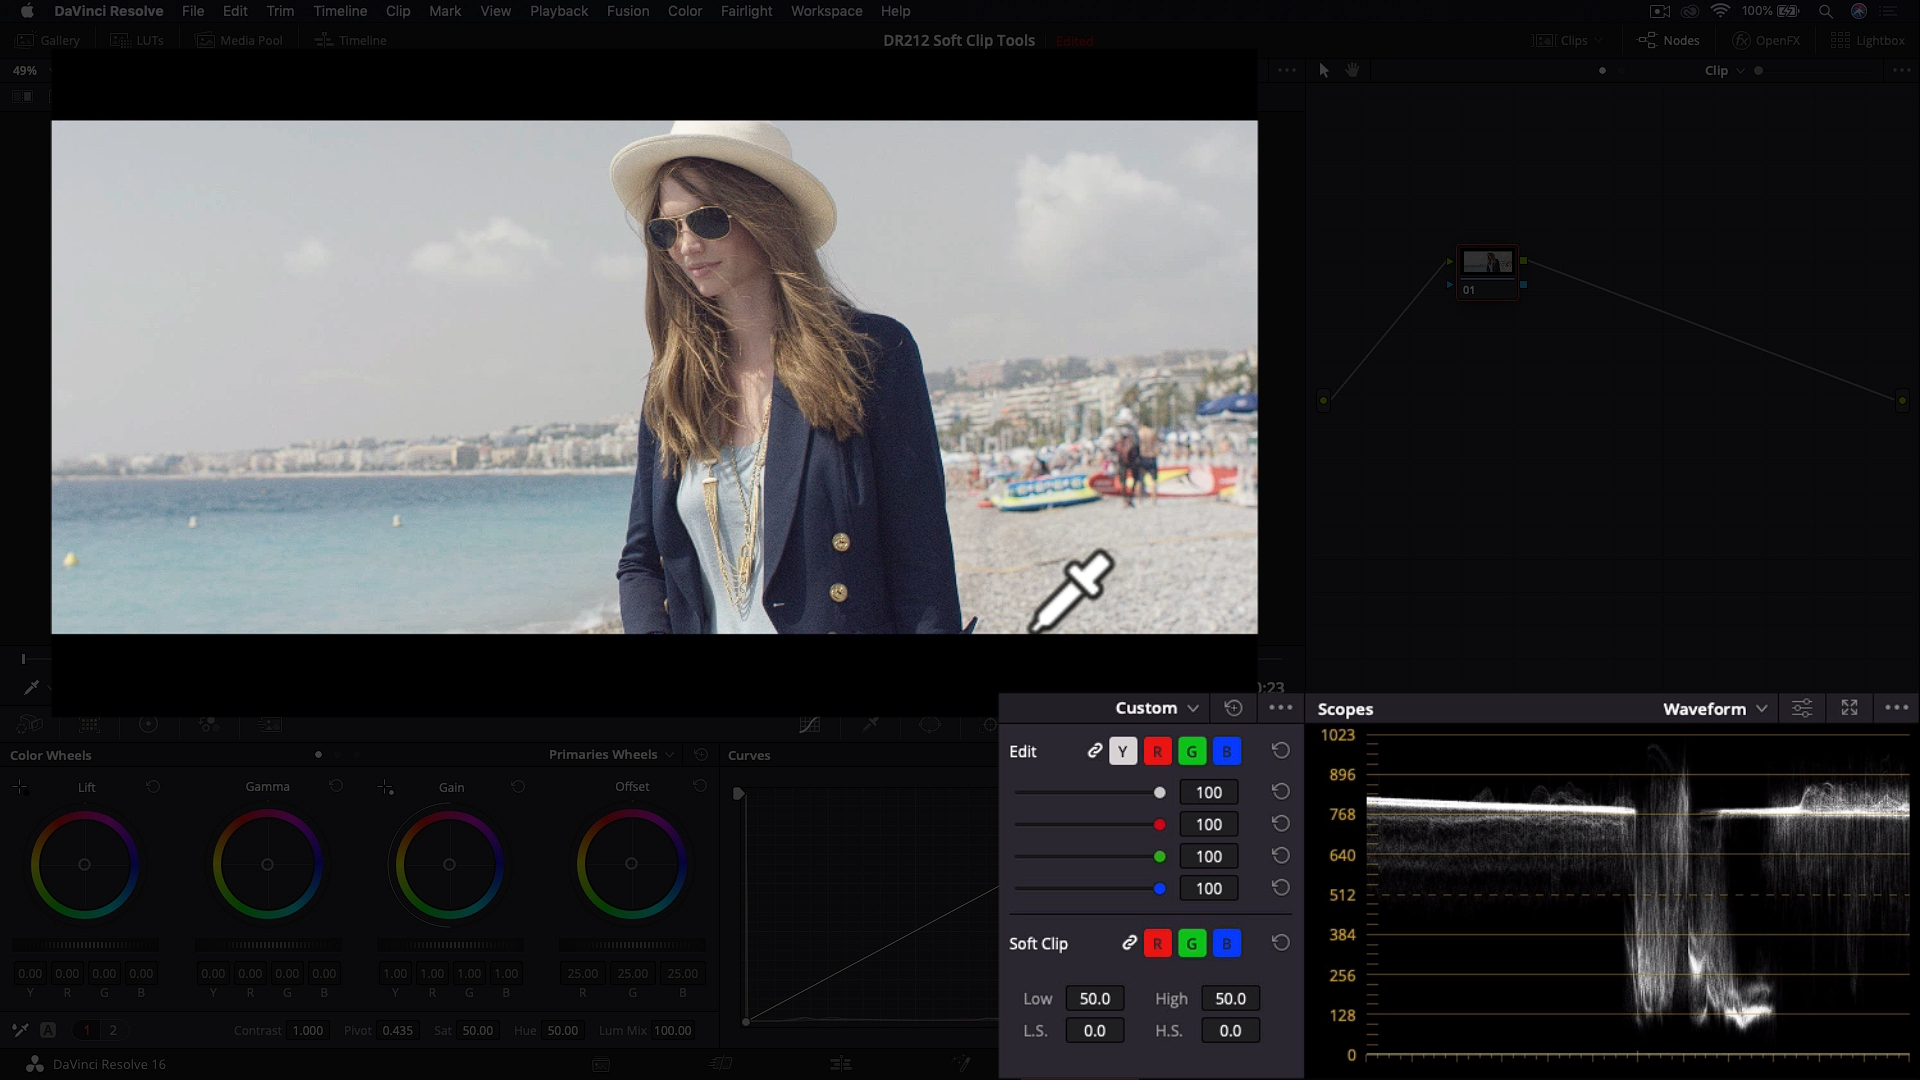
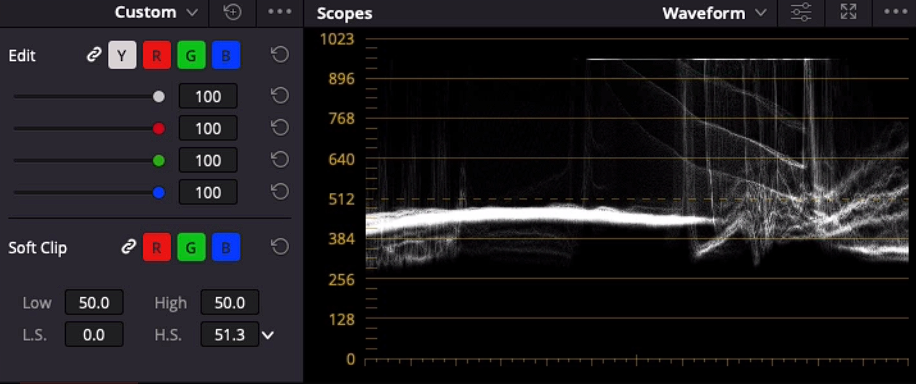
Looking at the waveform, this shot also (as shown in the picture) appears to be blown out or clipped. You can use the High Soft slider again to see if we can rescue any detail in the highlights.
We can begin by dragging the High Soft Clip slider to the right and as you will see on the waveform, not only are the highlight levels coming down, but the hard-line is changing shape, and we’re beginning to recover some of the overexposed image.
As I mentioned earlier, not all cameras record image data above 100 Ire. However, some cameras, like the Canon C300, Red, Arri, and Blackmagic cinema cameras that shoot in Raw formats have sensors and encoding that retain higher exposure levels, also known as super whites.
This means you’ll be able to rescue the high range in some shots, and you can bet your clients will love you for it.
Understanding Soft Clip Tool In Davinci Resolve with Example #3
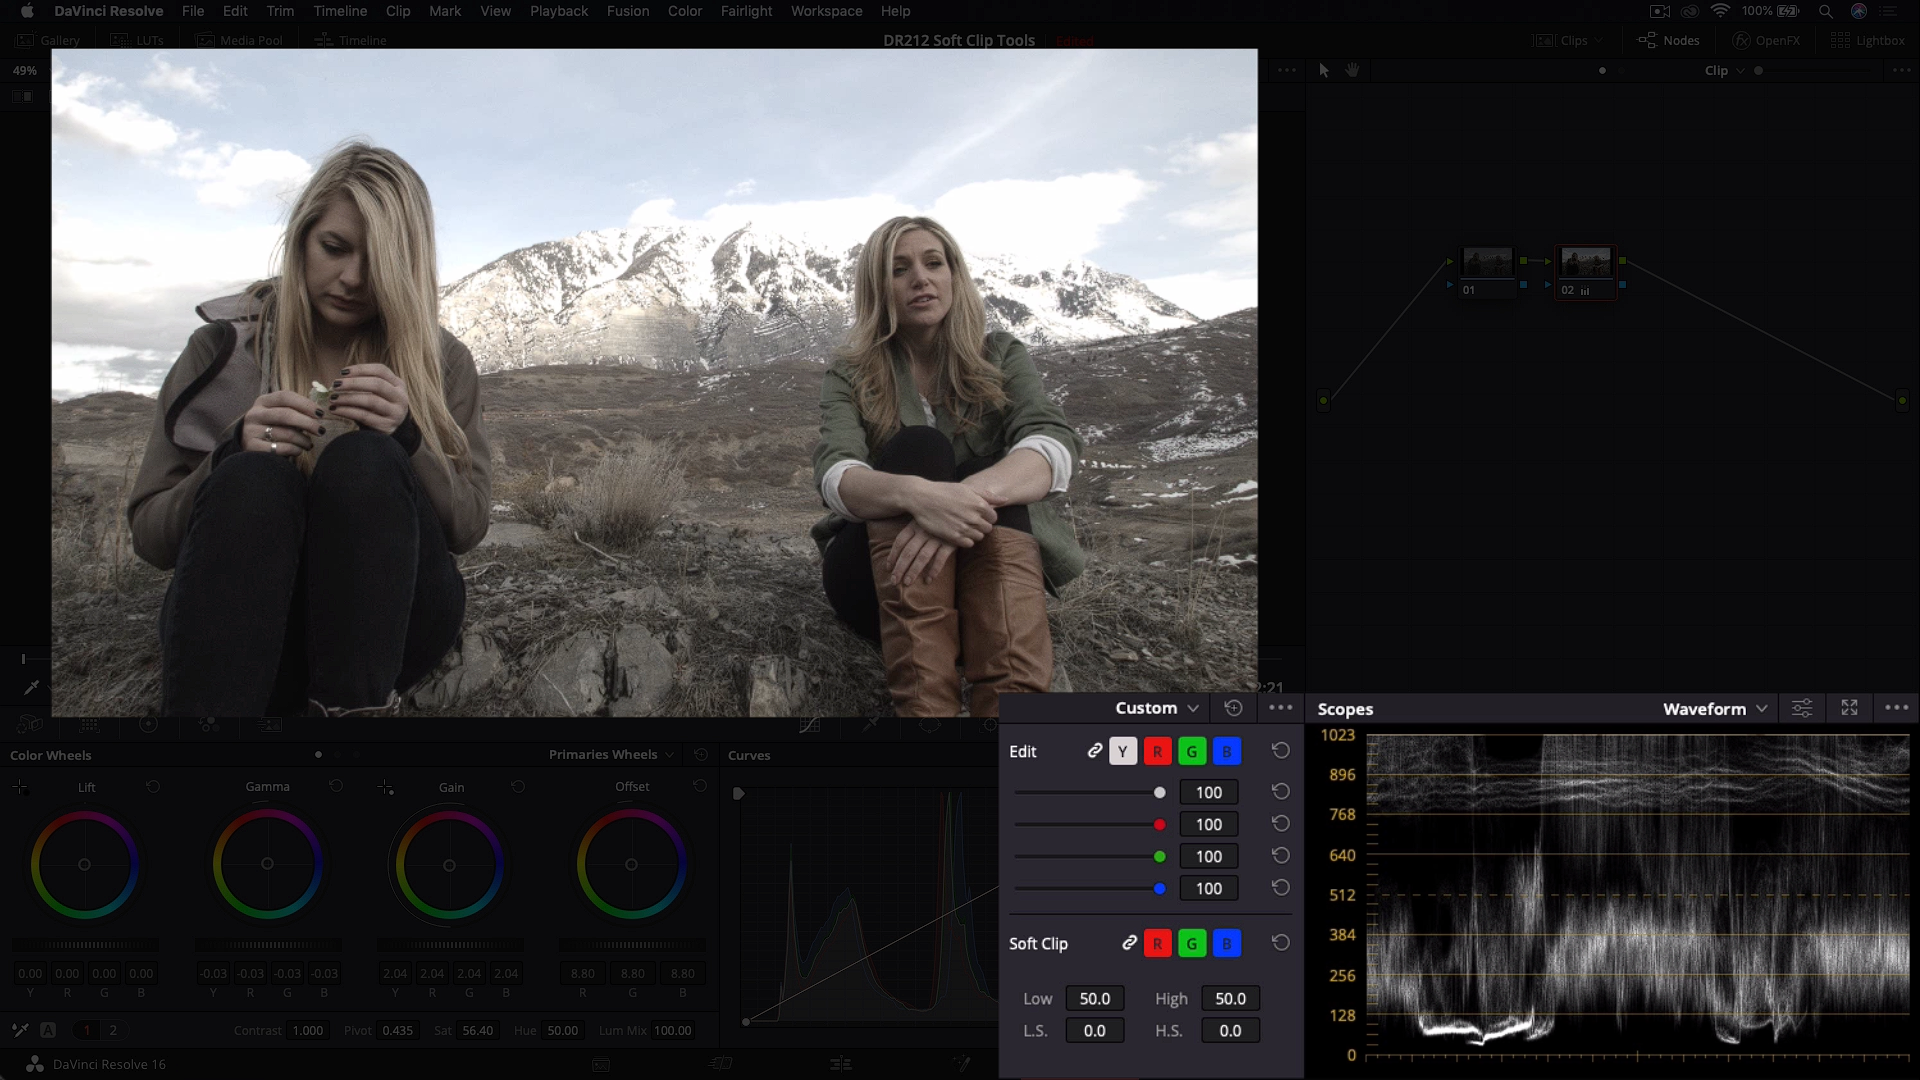
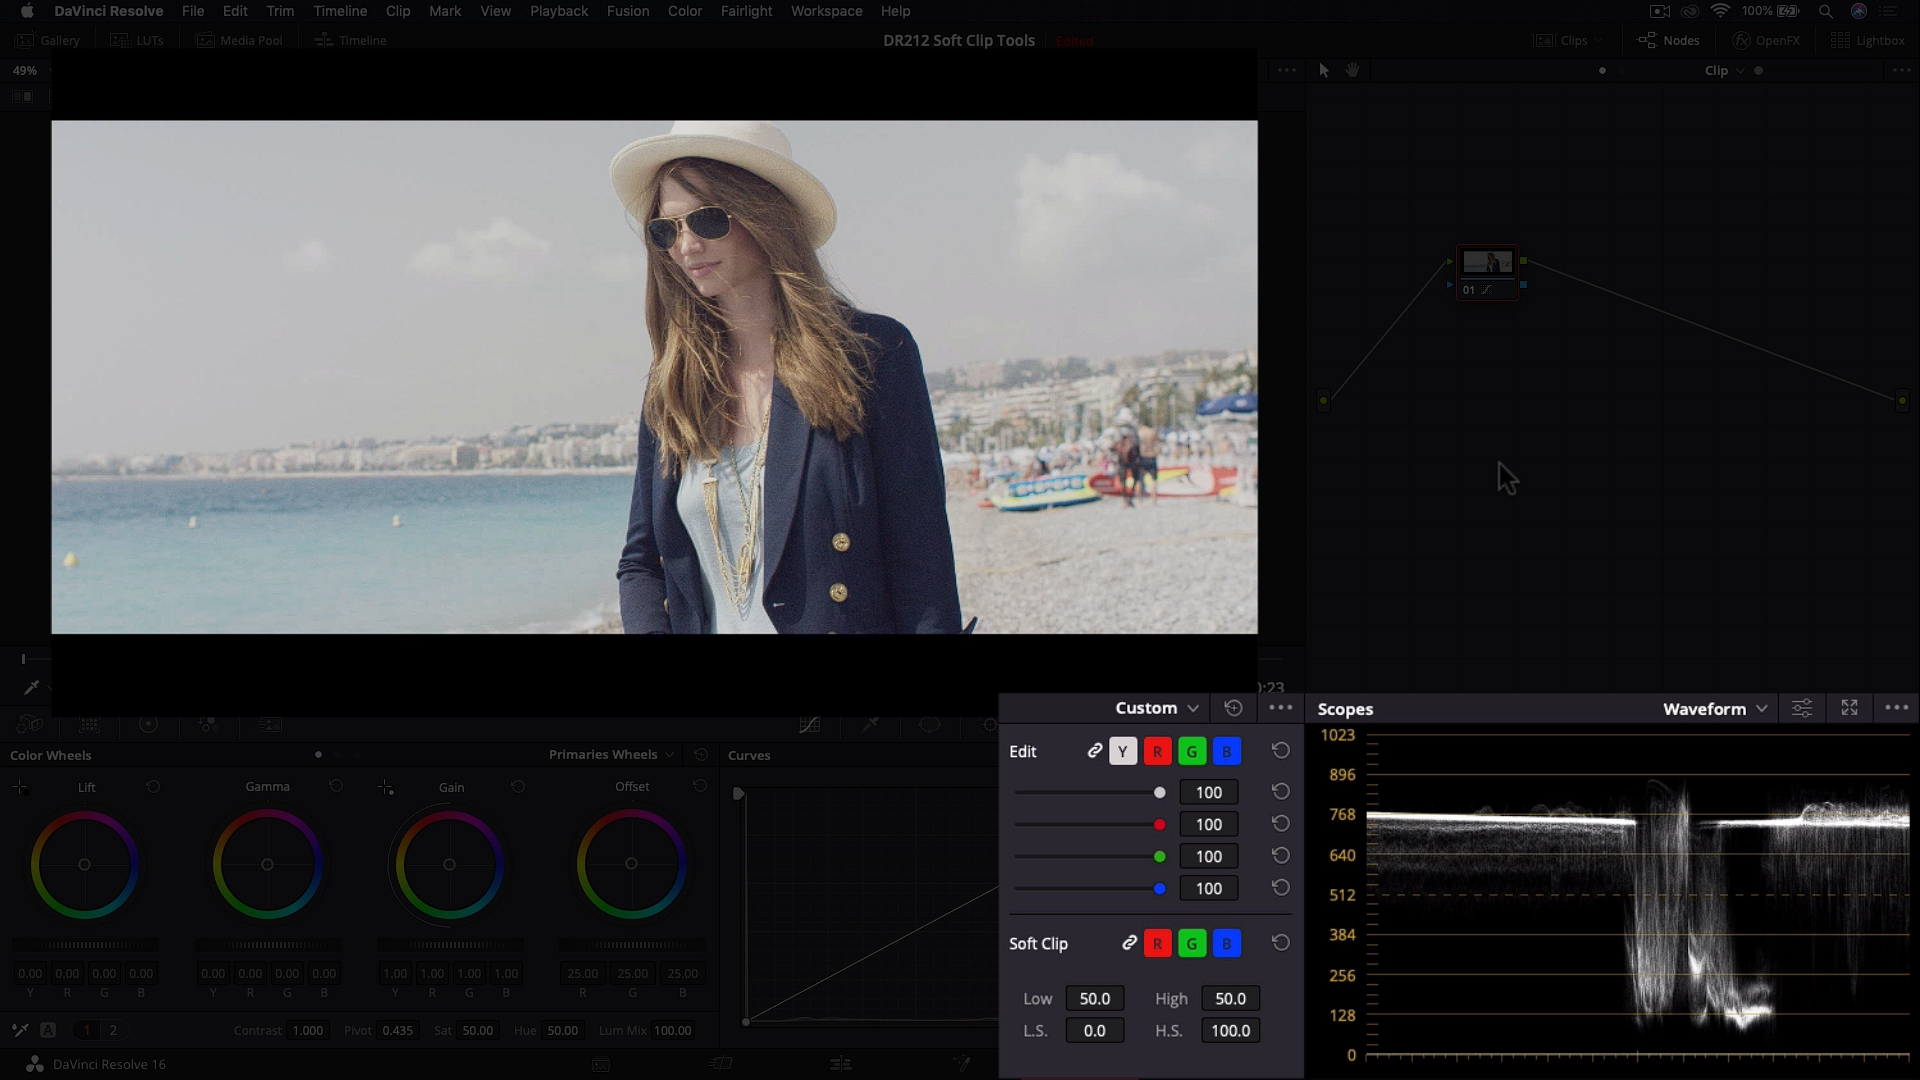
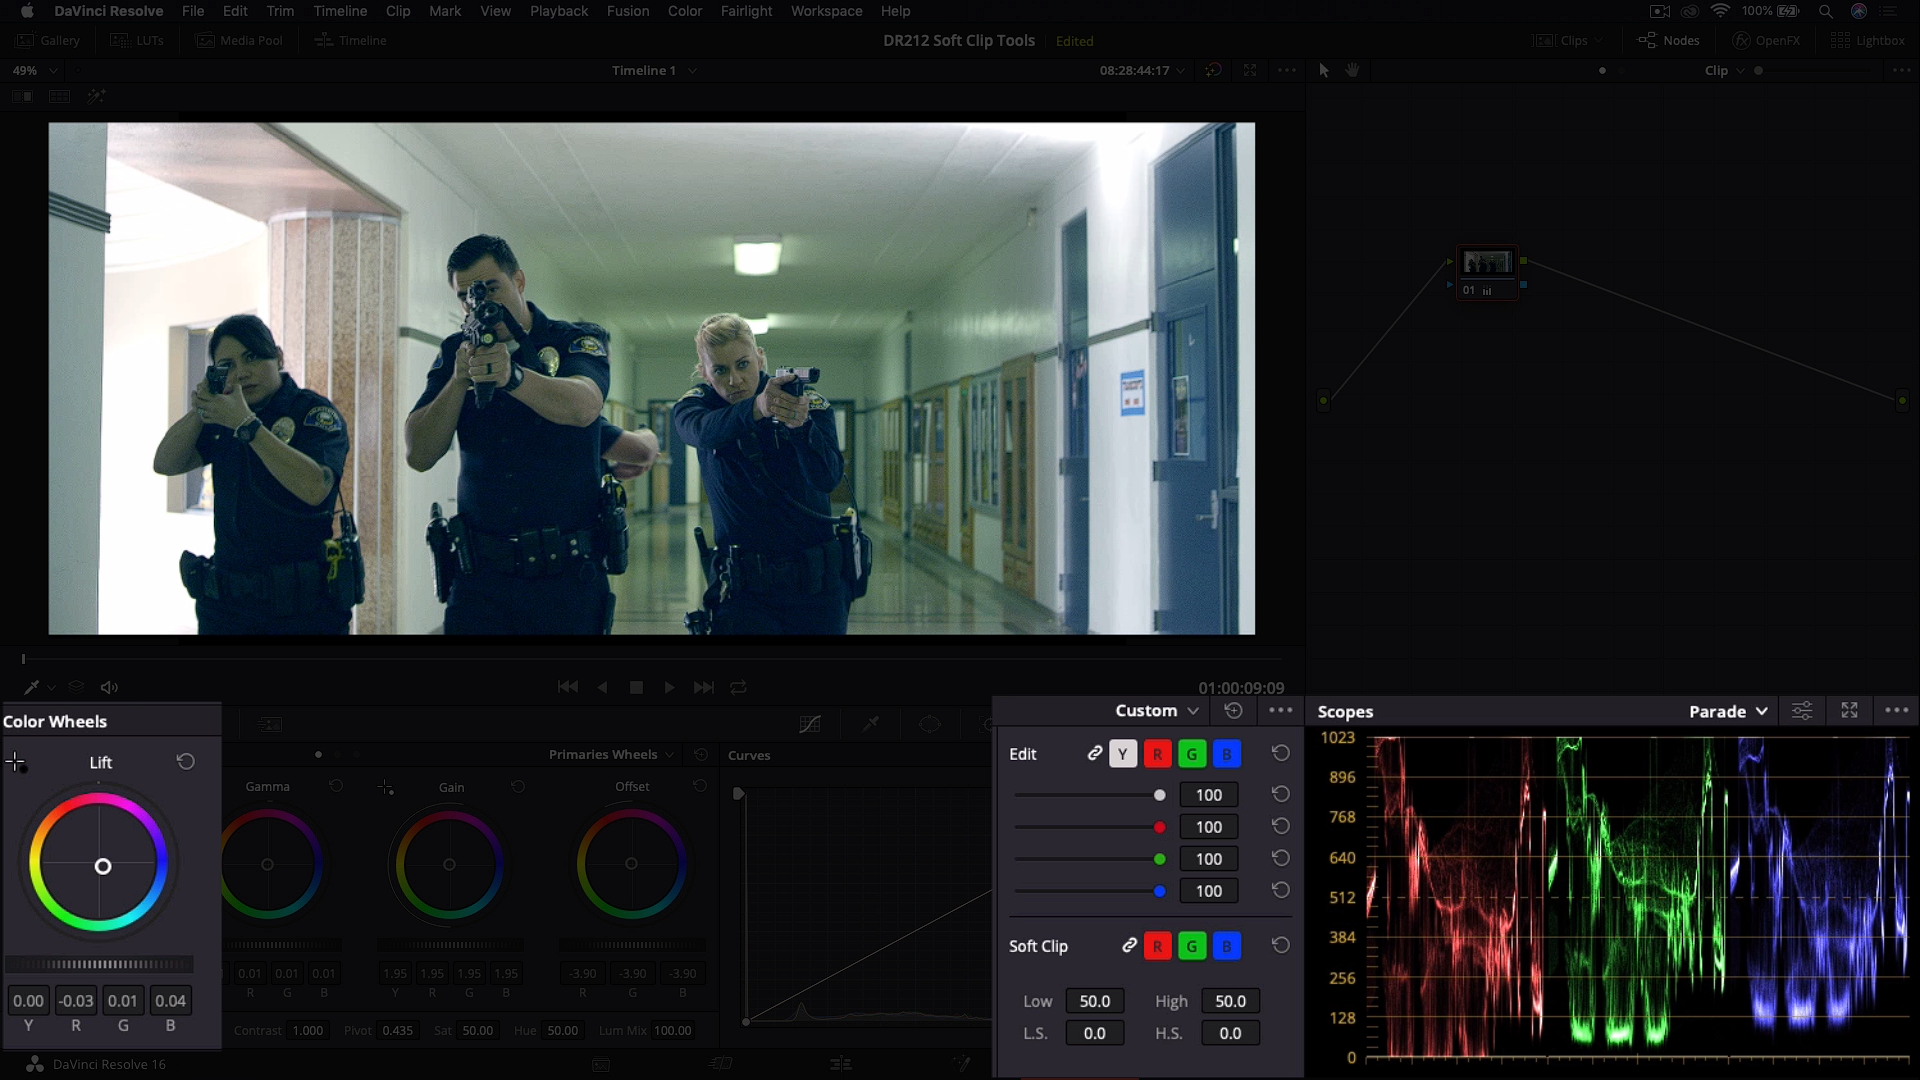
Next, let’s look at an example of clipping that can occur during a color correction or color grade. In other words, we’ve inadvertently caused it. Here we have a clip of two women sitting in front of a mountain (as shown in the picture).
This shot has already been given a primary correction, and because we brought the “Gain” up a lot to brighten our talent, we’ve pushed the highlights too far, resulting in losing detail.
It’s always important to keep in mind that our talent is the main focus, and we want to grade around them. But also, if we can, we want to hang on to our shadow and highlight detail, and this is where the soft clip tools in Davinci Resolve can come in real handy.
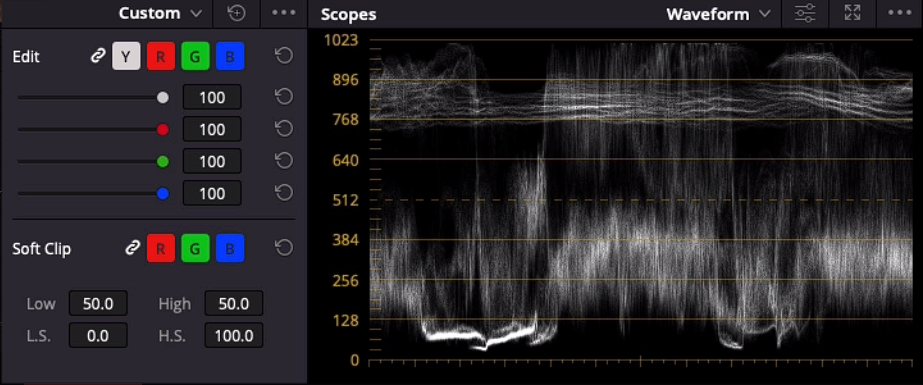
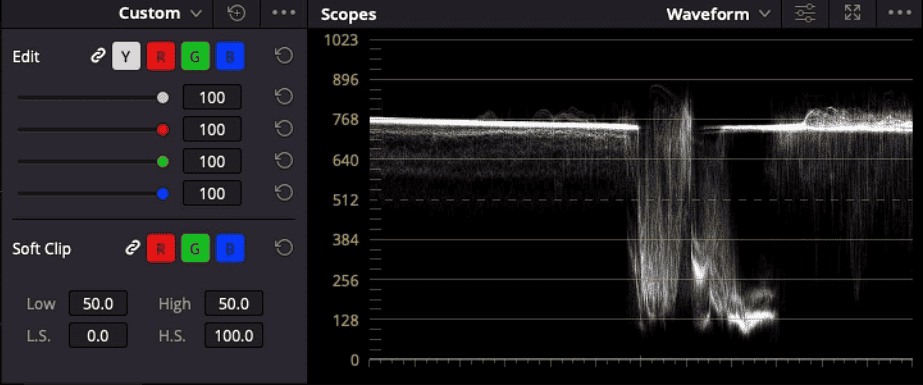
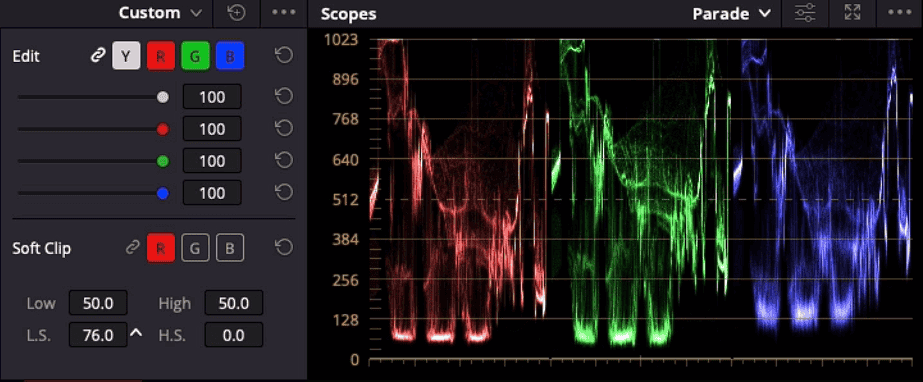
So to fix this shot, we’ll create a new serial node (Option/Alt+S). Then we’ll drag the high soft(H.S.) slider to the right and bring the highlights just below 1023 in the waveform, and voila, it’s that fast and easy.
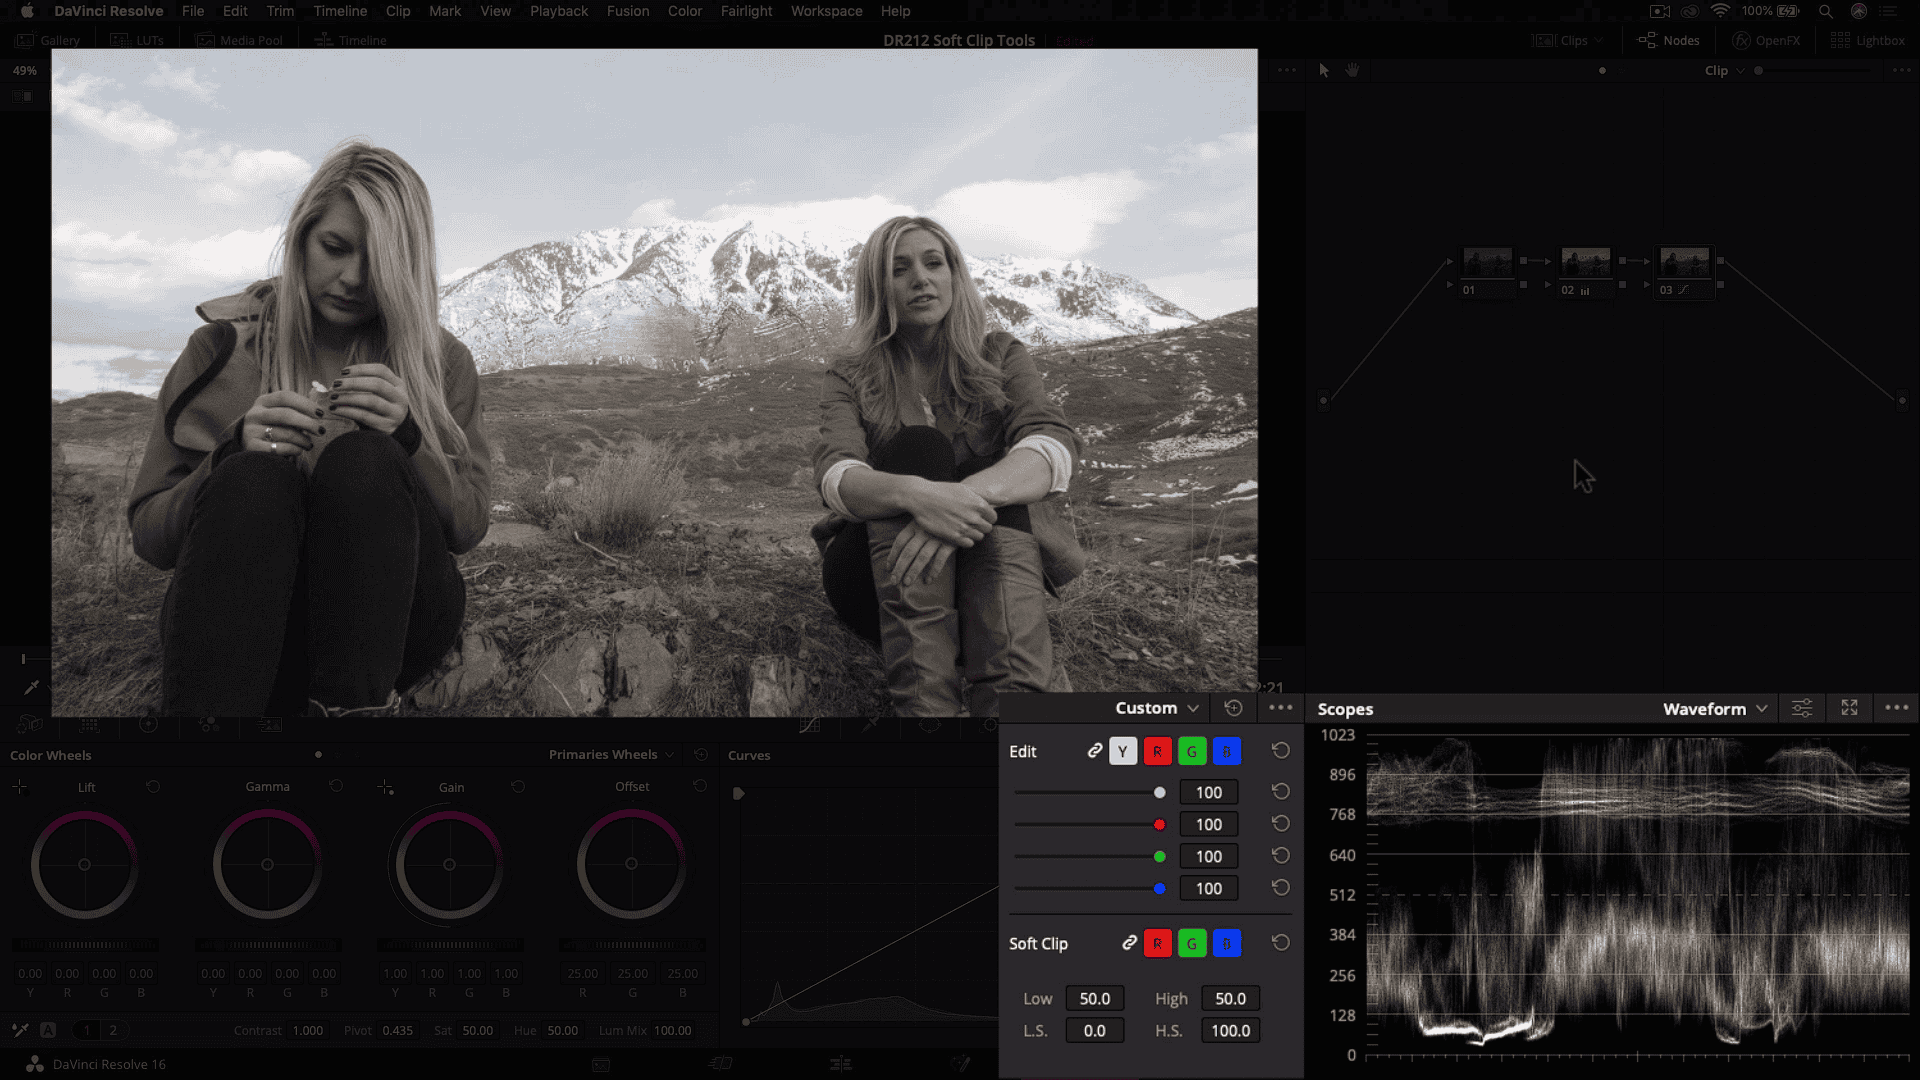
You’ll also notice another control Called the “High” slider. Pulling this to the left causes the highlights to clip at lower levels, While dragging to the right causes the highlights to clip at higher levels.
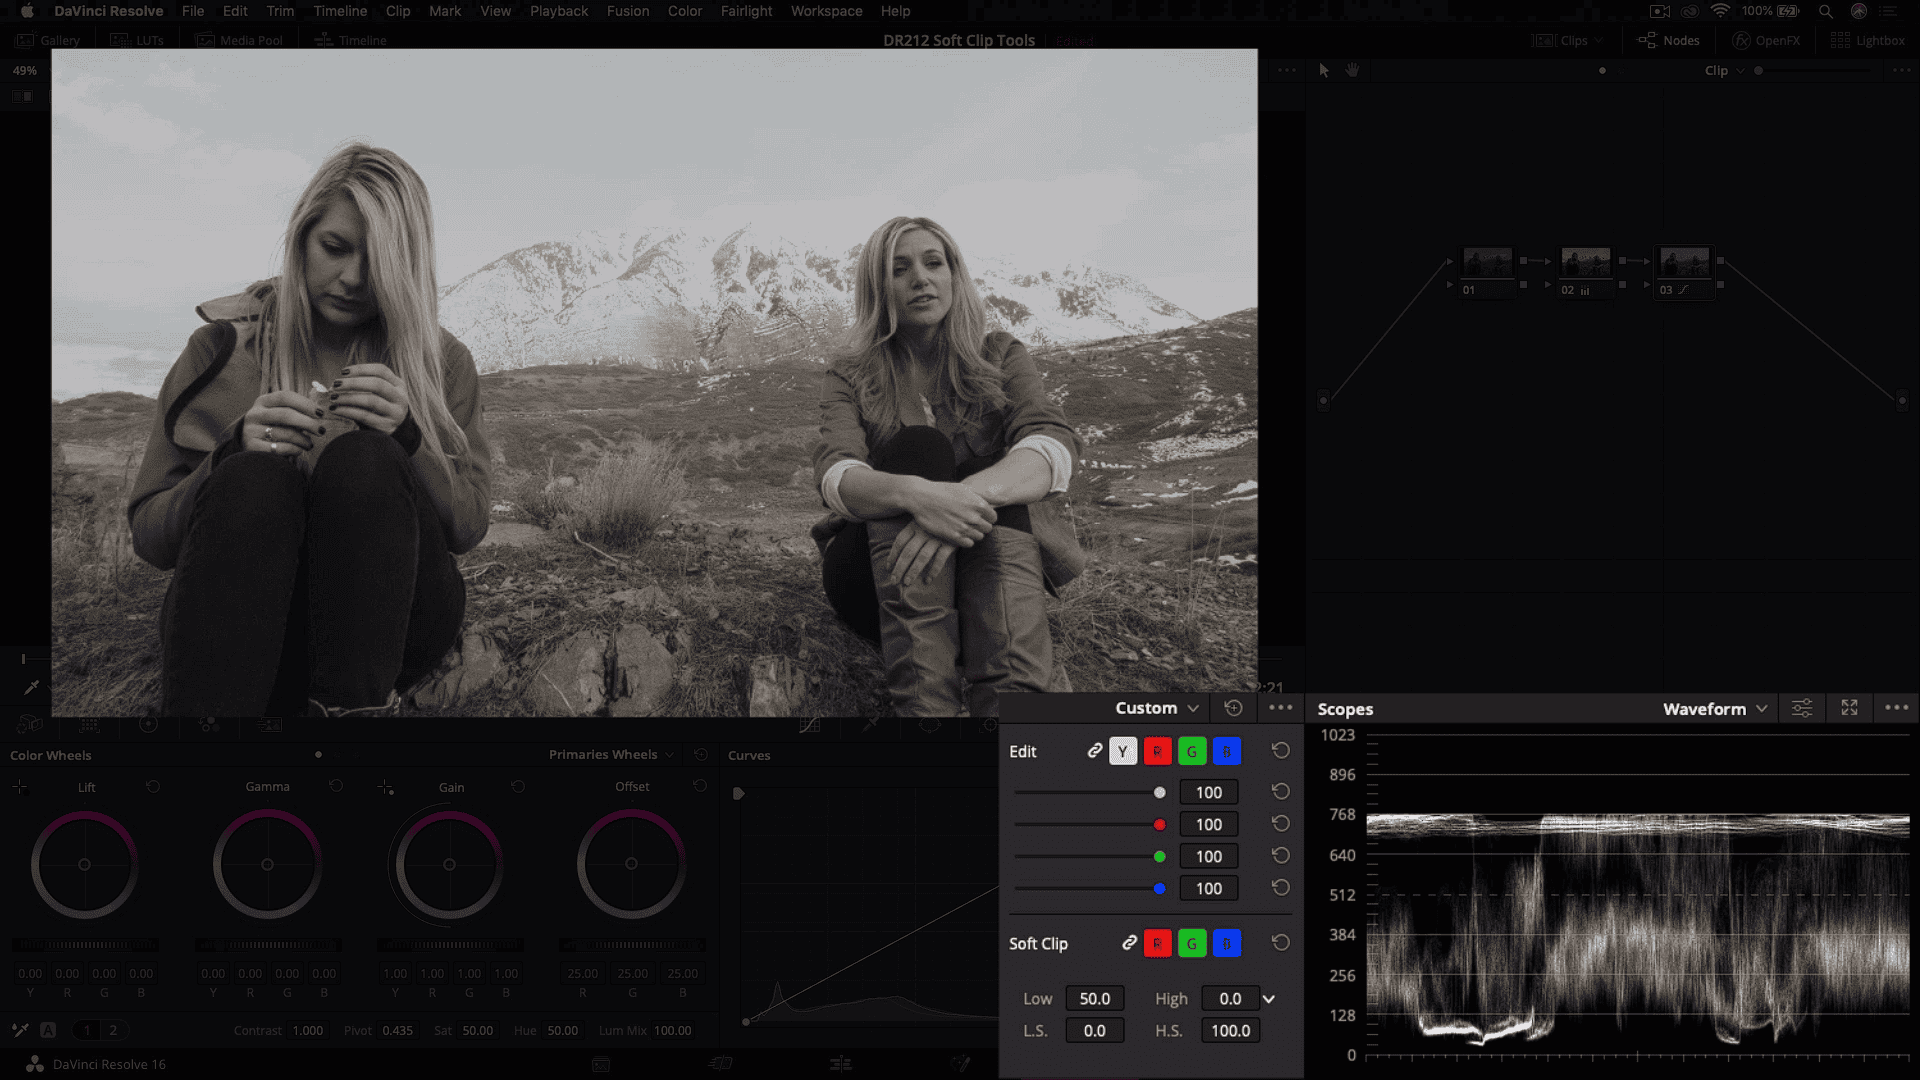
Finally, we can use the Low Soft(L.S.) control to restore detail in the shadow areas when we push colors into the shadows with the lift control as part of a look.
Understanding Soft Clip Tool In Davinci Resolve with Example #4
For instance, in this next clip, I have pushed some cool colors into the shadows by using the “Lift” control to create a color contrast with the skin tones. In the process, you’ll notice that I’ve slightly crushed the Blacks, and by adding a blue tinge to the shot, I’ve also pushed the red channel too far into the Blacks, and as a result, it’s clipping.
To fix this, we’ll create a new serial node. Using the low soft (L.S.) slider, we can bring up our shadows by pulling the slider to the right.

The green and blue channels look fine, but the red channel is still below zero. So to fix this, we’ll need to isolate only the red channel.
To do that, we need to un-gang the soft clip tool by clicking the link button. Then we’ll select the red channel and begin pulling the soft clip slider to the right until it comes just above 0 in the waveform.
We will then start seeing some details back in the shadow region.
I hope you found this tutorial helpful. The soft clipping tools can be beneficial when dealing with clip details resulting in-camera and restoring details that are a result of our look. Either way, they can help you work faster and achieve great-looking images. Thanks for reading. Happy Color Grading!