
This article goes through how to shoot 16mm film on a budget in great detail.
With finer grain and richer colors than super 8mm and greater character and grit than 35mm, 16mm motion picture film delivers undoubtedly one of the most stunning and iconic images of any imaging format.
When it comes to motion picture image quality, 16mm is a beautiful happy medium.
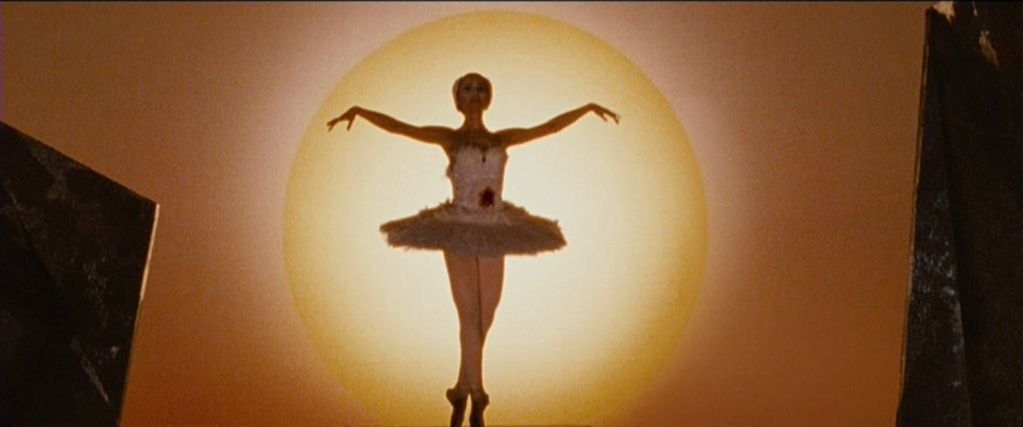
Films like The Hurt Locker and Black Swan were shot on 16mm, while Quentin Tarantino used it for the bounty scenes in Once Upon a Time in Hollywood. Numerous Cannes premieres were also shot on 16mm.
It also appears to be gaining popularity in music videos, advertising, and short films. It is an extremely adaptable format that both novices and experts can shoot.
While shooting 16mm may appear to be more difficult and expensive than shooting super 8mm, there are techniques to streamline the process and reduce some of the expenditures. This article will show you how to shoot 16mm film on a budget.
Most affordable 16mm camera
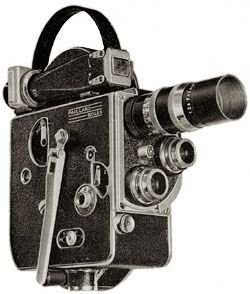
Obviously, you’ll need a camera that can shoot 16mm film. The Bolex H16 is the model that you’ll generally hear the most about.
This was the camera I had my heart set on acquiring, but I wanted the reflex version, which allows you to compose directly through the lens, and those models seem to be selling for upwards of $2,200 presently.
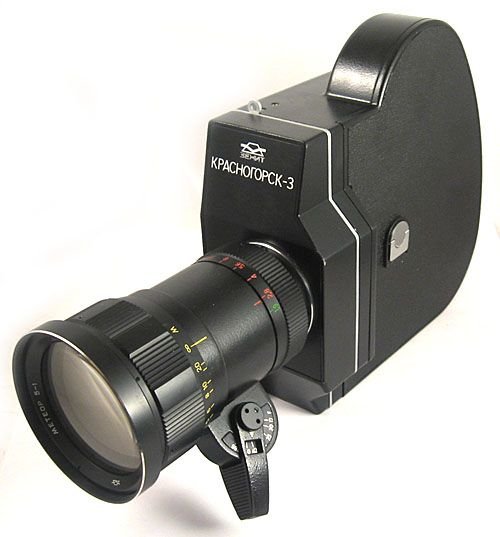
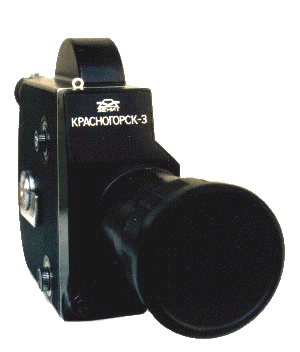
Please don’t leave right now! I’m going to tell you about a less expensive choice. So, while I was looking for a less expensive Bolex, someone recommended Krasnogorsk-3. So, what is a Krasnogorsk-3, exactly?
The Krasnogorsk-3 or K3 is a Soviet-made spring-wound 16mm mirror reflex camera that was produced between 1971 and 1993. The two important phrases to note here are “spring-wound” and “mirror reflex.”
- Spring wound means this is a mechanical camera, so no batteries are required to operate. Simply wind the motor, and it’s ready to shoot. This decreases the chances of any electrical malfunctions down the road.
- Mirror reflex implies that you compose through the lens, which results in more precise compositions, easier focusing, and, in my opinion, a better overall shooting experience. It’s also considerably more convenient when using the Zoom lenses that come included with this camera.
I began looking at some test footage taken with the Krasnogorsk-3’s 17-69mm f1.9 kit lens and quickly discovered that it is capable of creating stunning shots.
This camera is now a relatively affordable alternative to the Bolex H16. But don’t get me wrong: I’m not a hypocrite. You are not sacrificing quality in any way. Just make sure you get it from a reputable supplier. Depending on the condition of the camera, the price might range from $200 to $1,000.
Now I’d like to briefly discuss the differences between 16mm, regular 16, super 16, and ultra 16 aspect ratios.

Standard 16mm, which the Krasnogorsk-3 shoots stock, has an aspect ratio of 1.33:1, which you can get modified depending on the seller you are buying it from. Super 16 extends the frame out to achieve a wider aspect ratio of 1.66:1, and ultra 16 extends both sides of the frame out to achieve an even wider aspect ratio of 1.85:1.
While the ultra 16 modification is usually easier and produces better results than the super 16 modification, I still like the aesthetic and aspect ratio of the super 16.
However, because you can always crop in to create your desired look, Ultra 16 effectively allows you to choose between all three aspect ratios because you can always crop in post-production.
Does the kit lens work with modified Krasnogorsk-3
One thing to keep in mind when converting your K3 to super 16 or ultra 16 is that the kit lens, the 17-69mm f1.9 that comes standard with the camera, is not designed to cover the entire super 16 or Ultra 16 frame.
So you might hear a lot of people state that shooting at a focal length wider than 25 mm would result in a lot of vignetting in the corners of your frame.
Now, I’ve put this to the test. On my Ultra 16mm K3, I shot two rolls of 16mm film. I filmed around 80% of the video at the lens’s widest focal length, 17mm, which technically should have resulted in a lot of vignetting. But for some reason, I didn’t have any vignetting.
It turned out perfectly fine. Many people believe that if you wish to shoot anything wider than 25mm and have a super 16 or ultra 16 modification, you’ll need a lens like the Zenitar, which is designed to cover that larger size frame.
However, for whatever reason, I had no issues with this at all. So I can shoot it as wide as I want with my lens.
Which negative film stock to choose?
After you’ve received your K3 and established your plan for shooting 16mm film on a budget, the next item you’ll need is film stock. The K3 is compatible with 100-foot daylight spools.
I use a local seller to purchase the 16mm Kodak Motion Picture Film stock. When it comes to 16mm film, Kodak offers a variety of choices. Color negative film, reversal film, and black and white film are all available.
When selecting motion picture film stock as compared to still image film stock, you should now be a little more strategic. This is due to the fact that while shooting motion picture film, you are tied into a set shutter speed when you are out shooting. When shooting at the regular 24 frames per second on the K3, the shutter speed is 1/60.
To determine the correct shutter speed at any particular frame rate, consult the Krasnogorsk-3 manual, which is accessible on the “K3Camera” website.
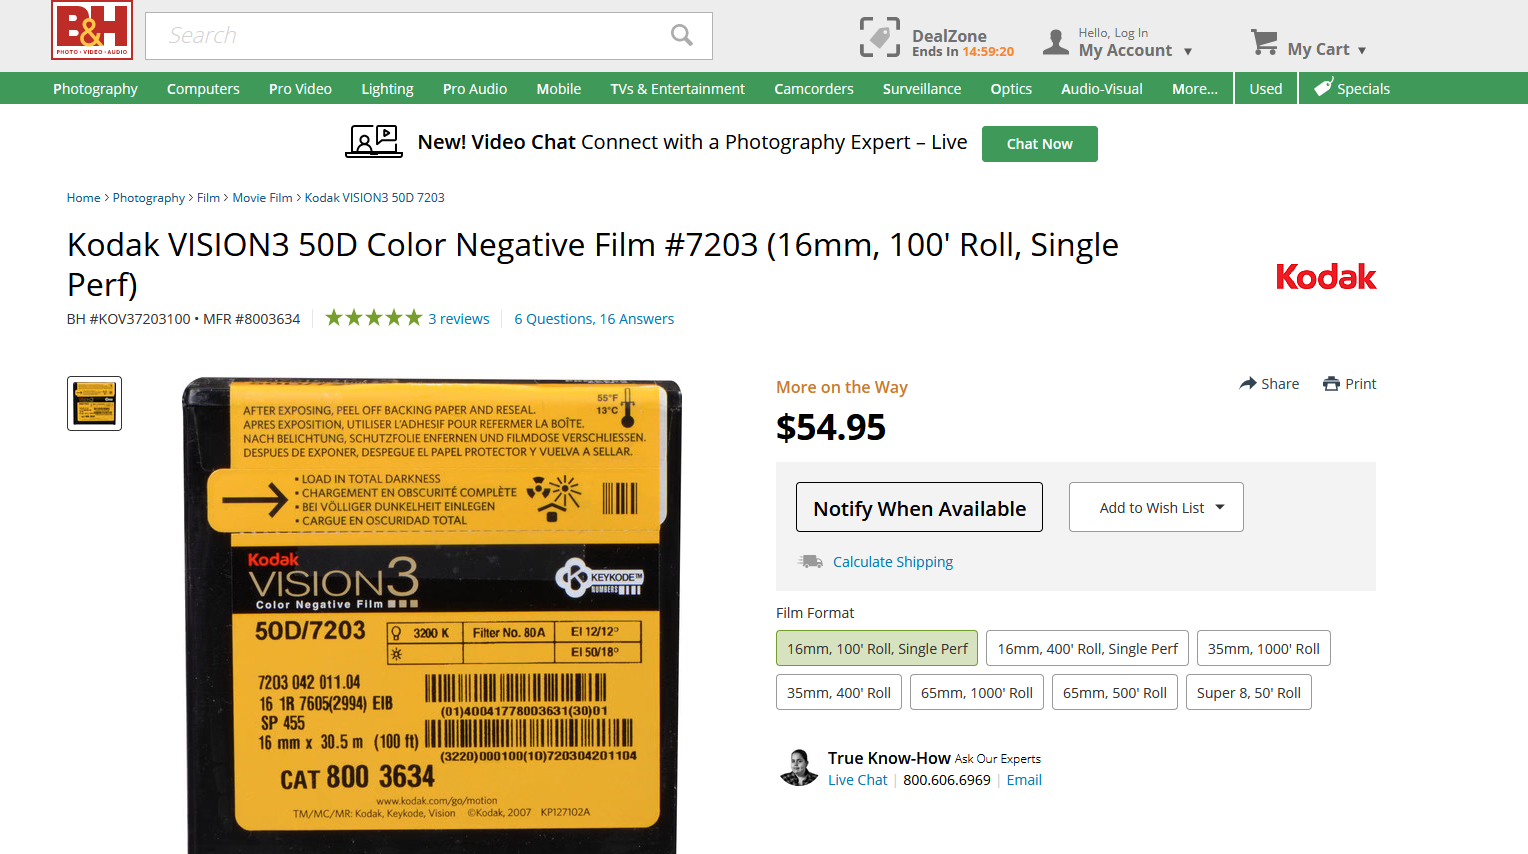
If you intend to shoot in bright sunlight, I recommend the Kodak 50D. Buying a 250D or 500T will be too fast for bright daylight, and you won’t be able to stop down the K3 lens sufficiently to compensate for the camera’s slow shutter speed.

I understand what you’re thinking. If you want to shoot these faster-paced films in stronger sunshine, why not just use an ND filter? And, yes, you totally can. However, after using an ND filter, I discovered some flaws with my camera’s viewfinder. I’m not sure if this is a universal problem.
Also, one important thing that I would recommend is being more calculated when picking the film stock that you want to shoot. If you’re shooting in bright sunshine or during the day, I recommend the Kodak 50D.
Pick up a Kodak 250D if you’re going to be shooting in cloudy lighting. And 500T is definitely your best pick for the evening and interior shots.
If you’re wondering what the letters D and T after the film speed number mean, they relate to the color temperature for which the film stock is balanced.
- D stands for daylight, meaning if you shoot a daylight-balanced film in a cooler color temperature or daylight, you’ll receive a neutral-looking image.
- On the other end of the spectrum, T stands for tungsten, meaning if you shoot a tungsten-balanced film in tungsten light or warmer light, you will receive a neutral-looking image.
For example, if you shoot a tungsten-balanced film in broad daylight or at cooler color temperatures, you will get a cooler-looking image with more blue tones. This, however, is easily remedied in post-production.
A Kodak motion picture stock will cost you anywhere between $55-$60
How to expose a 16mm film?

Motion picture film stocks have an insane amount of latitude when it comes to exposing the film. Overexposing 16mm color negative stocks by one to two stops usually leads to the increased color richness and post-production flexibility. I overexposed my test roles by one to two stops and was pleasantly surprised by the outcomes.
After you’ve completed your entire part, you can also unload the film in daylight. I like to save the original box of film that came with it, put the take-up spool in it, and then ship it to the lab for the developing process.
Developing your film
You’ll need to get your 16mm film developed and scanned once you’ve finished shooting it. Now, this is where things can quickly get prohibitively expensive, but there are a few tiny businesses out there that provide very high-quality developing and scanning services at a reasonable cost. I will suggest searching for local businesses on Google.
You can also give it a try on open forums and see if someone can help you find a film lab in your city.
I am getting my 16mm developed from a local store, and they have been super generous with their pricing. I will suggest taking some time out and exploring while choosing a film lab.
They scan a roll of 16mm film for $12. It’s probably a good idea to get a “Leader and Cleaning” service as well, which is $6 from my lab, so that will bring the total to $18.
But still, $18 to develop a roll of 16mm film. That’s pretty damn good, and for scanning, I pay $25 per roll for 6K resolution scans.
When looking for someone who can develop your film, try to find a service that can offer plenty of different options like color correction, set up, cropping, different resolutions, and can deliver in a variety of codecs.
For my scans, I prefer the flat log option for my deliverables. This is best if you plan on color correcting the footage yourself. And let me tell you, color grading 16mm film is one of the most enjoyable experiences I’ve had as a filmmaker.
Also, I ask my seller to deliver me a 6k ProRes 4444 12 Bit in LOG color space. That not just enables me to do the color grading. Prores is also easier to edit with all the latest NLEs. Also, keep this in mind when you plan to shoot a full film on 16mm.
It does not matter if it’s a short film, a feature-length film, or a documentary. Suppose you go for 4k and above scannings. The size of the data will be huge. You would also need to invest in some good SSD or hard drives for not just editing but also getting it out from the scanning and developing labs.
Breaking down the cost of shooting 16mm film on a budget
So breaking down the cost of shooting one roll, you’re looking at approximately $60 for one roll of 16mm Kodak color negative film after-tax ordered from B&H, about $8-10 to ship it to a film lab, $20 for developing including the leader and cleaning, $8-10 for shipping it to another seller who offers to scan, just in case he doesn’t do both, $25 for a 6k ProRes 4444 12 Bit scan, and $8-10 to ship the physical film back to you, bringing the grand total to roughly $135.
Obviously, this is without the camera.
Now trust me, you will get cheaper options. Chances are, you will be able to wrap up your film processing part at a much lower price. There are availability issues in my area, and also I am very satisfied with my sellers and don’t want to risk it with anyone else handling my films.
- Also Read- 10 Common Mistakes Made by Amateur DP/Cinematographers
- Also Read- Everything About Using LUTs In Davinci Resolve
- Read- How To Use Color Warper In Davinci Resolve
Should you even shoot in 16mm?
So, after all, is said and done, shooting a roll of 16mm costs only $20-$25 more than shooting an 8mm roll. While Super 8mm has a mystical quality of its own, 16mm adds another dimension of beauty.
The extra $20 is well worth it for the added detail, richer colors, ability to shoot in slow motion, and post-production flexibility.
I can’t begin to express how amazing the entire experience is, and I’m not joking when I say that receiving my 16mm scans for the first time made me swear I’d never shoot another digital video again.
Now you might be wondering and thinking to go for 35mm film. Well, Kodak’s 35MM now feels like you are shooting on digital. You start to see the actual richness in color in 16mm film.
Challenges and Considerations in 16mm Film Shooting
Filmmaking, especially with 16mm film, brings a set of unique challenges. Unlike digital media, where errors can be easily rectified post-shooting, film demands forethought and precision. Two particularly tricky challenges are light leaks and the fear of running out of film mid-shot. These issues can make or break a shot, affecting the outcome of the final product.
1. Light Leaks and Ways to Prevent Them:
Challenge:
Light leaks manifest as unexpected and often unwanted streaks or flashes of light that show up on the finished film. They typically result from light entering the camera body or the film chamber, affecting the film’s emulsion. This issue can introduce an element of surprise in the film, occasionally leading to a ruined shot.
Considerations:
- Camera Body Condition: Regularly inspect the camera’s body, especially older models, for cracks or openings.
- Foam Seals: These can deteriorate over time. Ensuring they are intact can prevent unwanted light from seeping in.
- Loading/Unloading Film: Always load or unload your film in a dimly lit environment or use a changing bag. Exposing a roll to direct light, even momentarily, can lead to leaks.
- Tape and Caps: When not shooting, keep lens caps on. Black tape can be used to seal any suspicious areas where light might intrude.
2. Film Duration and the Risk of Running Out Mid-Shot:
Challenge:
Film reels come with limited durations. A filmmaker can easily run out of film during a crucial scene or take, leading to missed opportunities and disrupting the flow of the shoot.
Considerations:
- Pre-Planning: Storyboarding and rehearsing can give a clearer idea of the length of each shot, allowing filmmakers to strategize film usage.
- Backup Rolls: Always have extra rolls on hand. It might sound basic, but running out and not having a backup is a rookie mistake.
- Monitor Film Duration: Some 16mm cameras have counters to keep track of film length. Regularly checking these can prevent sudden run-outs.
- Audio Cues: For cameras without counters, the sound of the film reel can give clues. As the reel nears its end, it often sounds faster.
While these challenges present potential pitfalls for filmmakers, they also shape the discipline and craft of 16mm film shooting. By navigating these considerations, filmmakers not only preserve the integrity of their work but also grow in their understanding and appreciation of the medium.